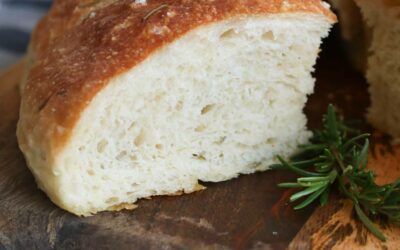
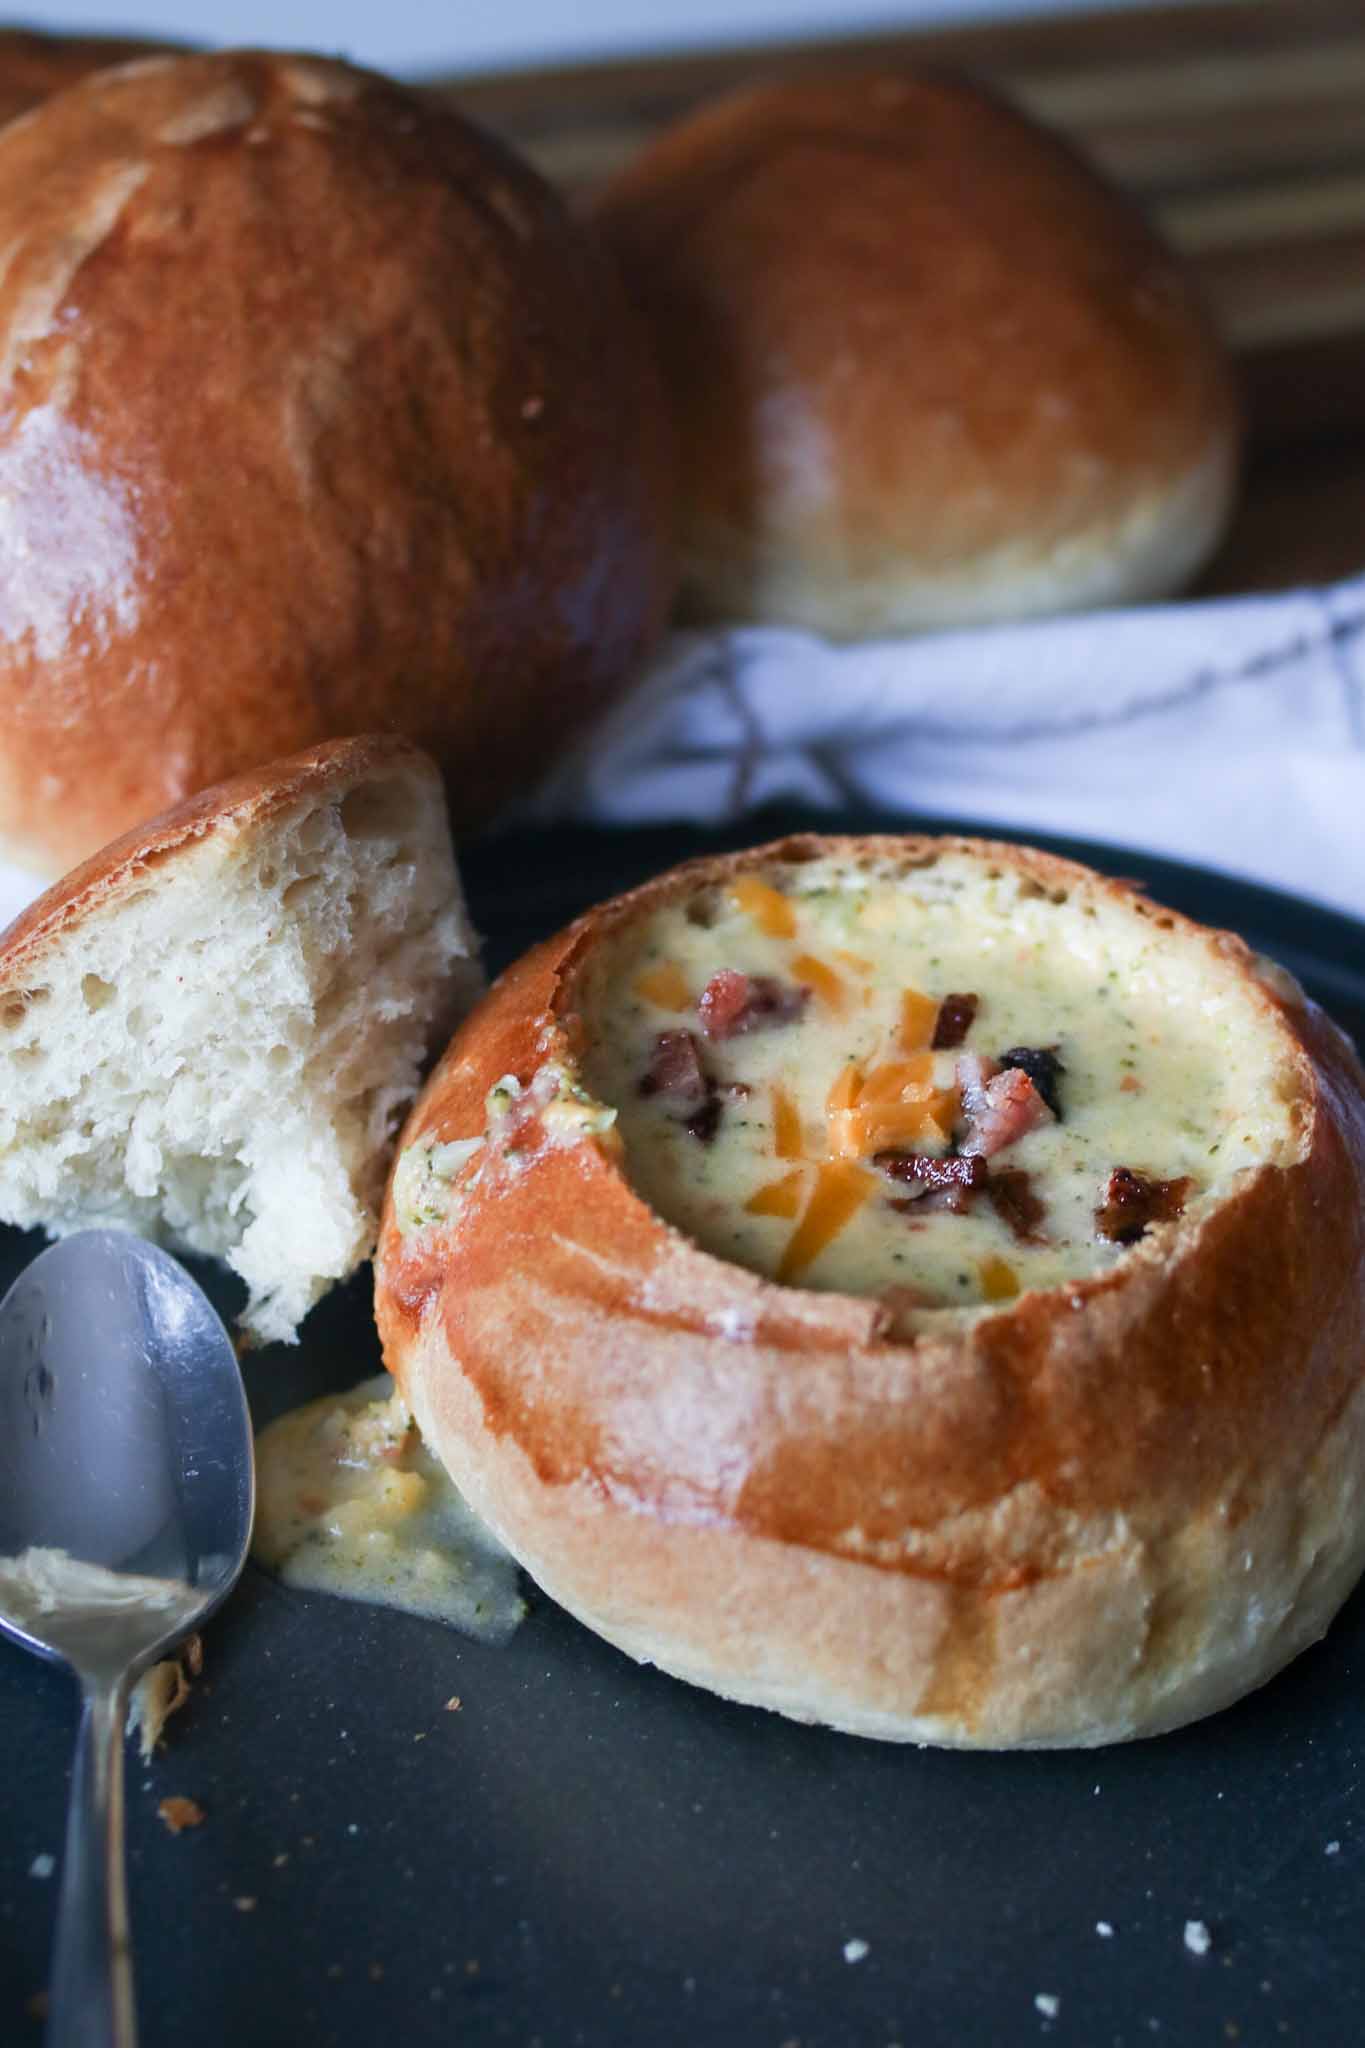
This homemade bread bowl recipe has a chewy crust with the softest interior. With just a few simple ingredients and steps, you will have fresh, bakery style bread bowls to be the home for your favorite soup.
How to make homemade bread bowls
Making homemade bread bowls are easy and will make your kitchen table feel like you are eating at the finest bakery. They are also easy to make ahead and freeze great, so you can make ahead or double the batch and save some in the freezer for an easy, impressive ready-to-go dinner.
How to make homemade bread bowls:
1. Make the dough
This is a lean, simple dough with ingredients you likely already have at home. I like using bread flour over all purpose flour as the extra protein content found in bread flour gives a wonderful structure and soft chewy texture to the bread.
2. First rise
I’ve found amazing results by giving this dough 2 rises – an initial rise, shaping, then final rise before baking. BUT, if you are tight on time, they still turn out great with just ONE rise. I would make the dough, go straight to forming, then let them do one rise before baking.
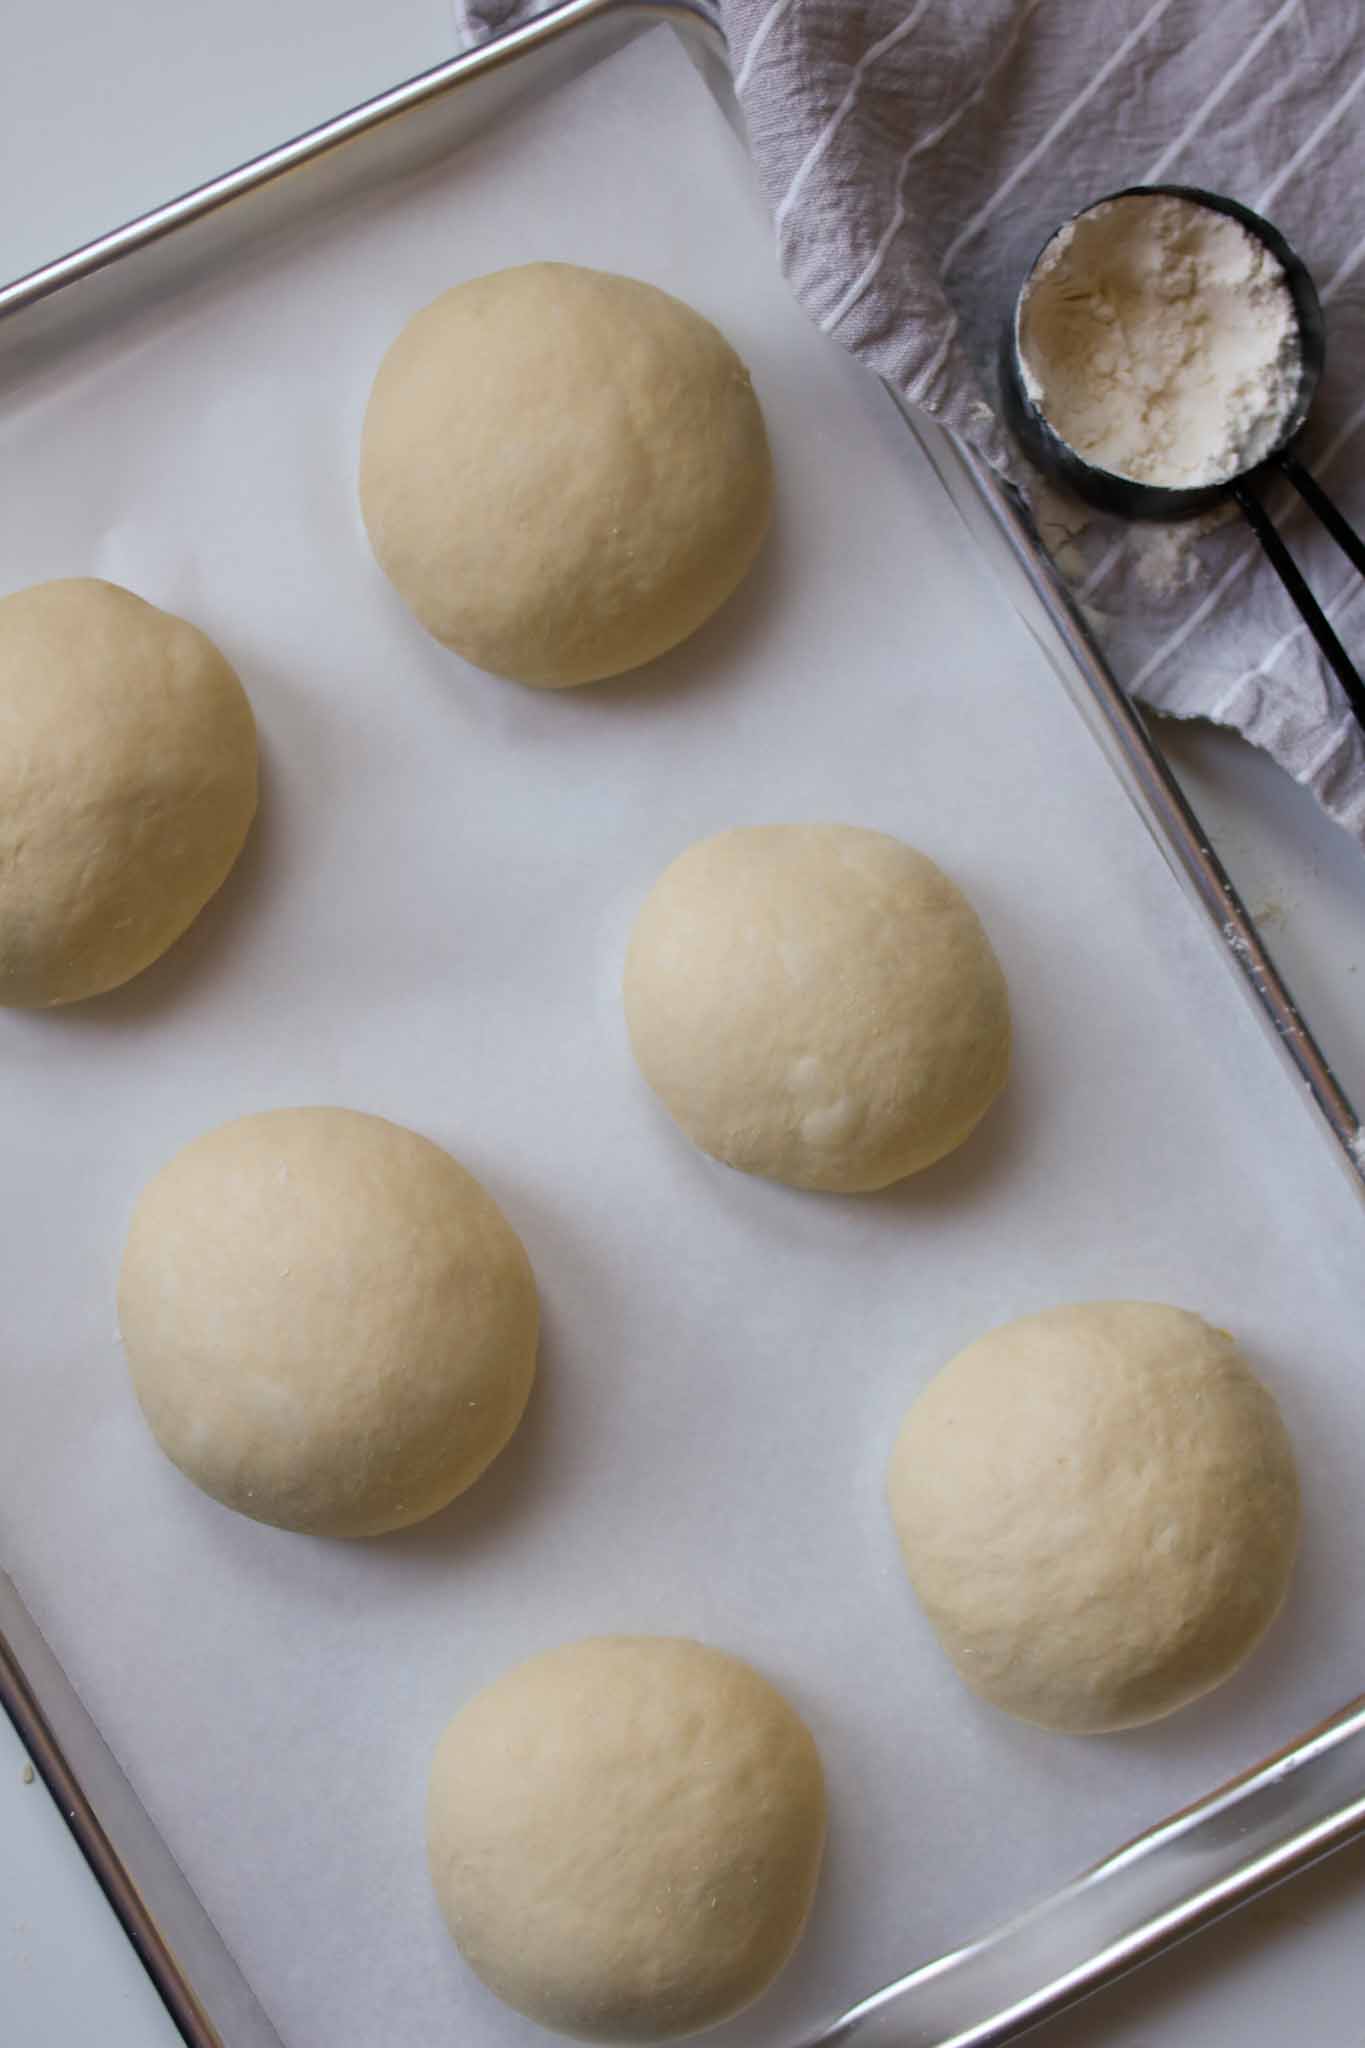
3. Shape
This recipe makes 6 bread bowls. Divide the dough into 6 even sections and round off into a ball.
4. Rise & egg wash
Give it one more short rise, then brush with an egg wash (just egg and water whisked together) for that glossy, golden brown appearance.
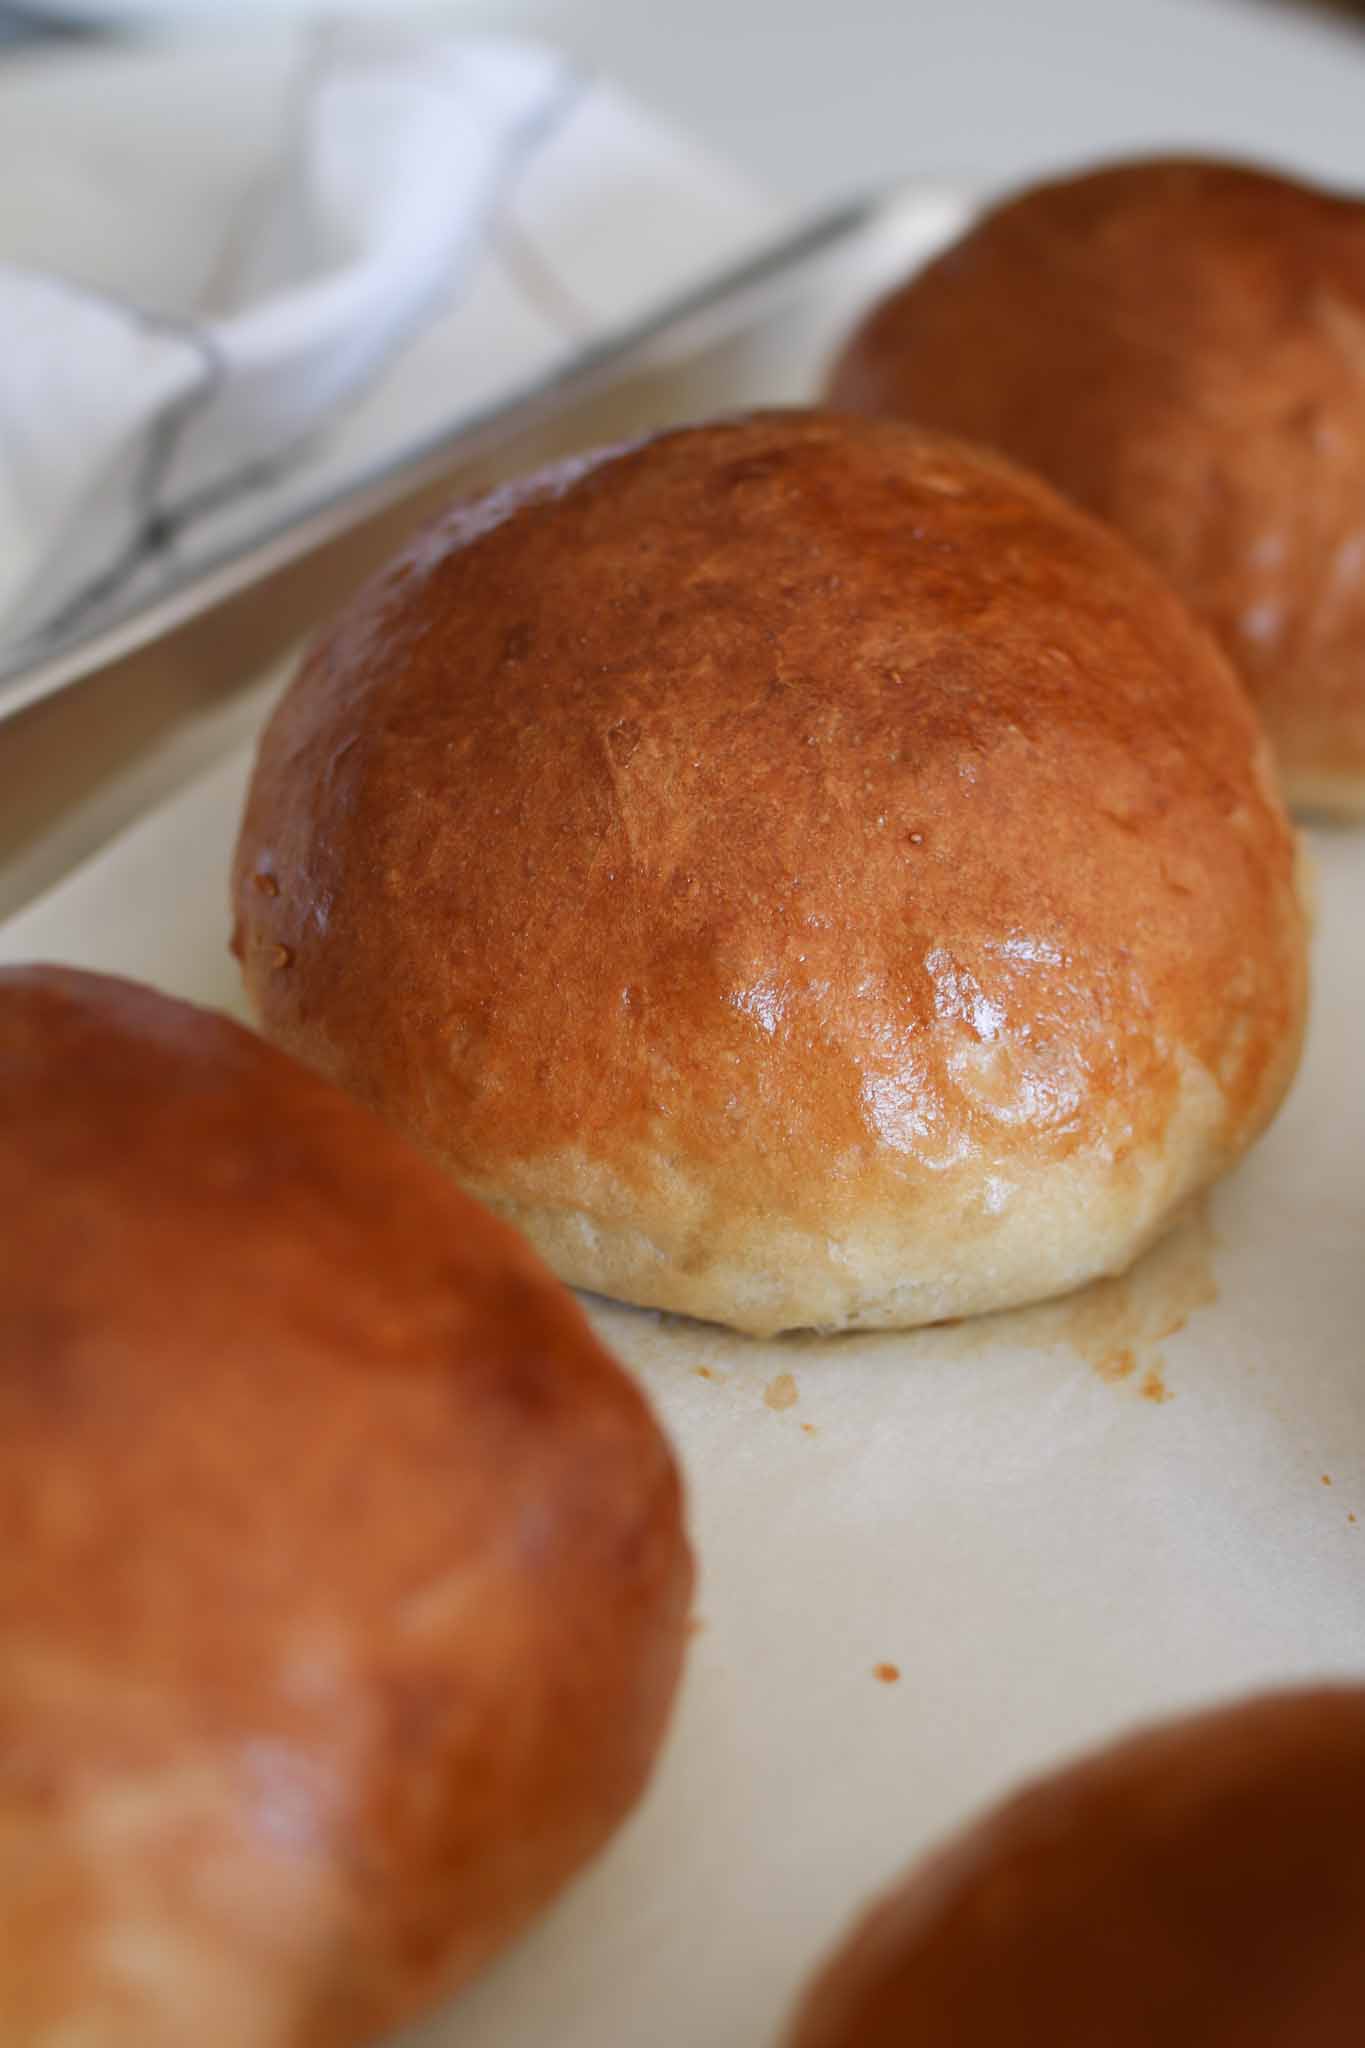
5. Bake and enjoy!
Bake for about 25-30 minutes until the bowls reach a nice golden brown color. Let them sit for at least 15 minutes (they’ll be easier to cut when they aren’t piping hot!) Serve with your favorite soup!
What is a lean dough?
This dough is what is referred to as a lean dough, meaning the ingredients in it are simple and lower in fat content, as opposed to a rich dough such as brioche that has heavier ingredients that make it fluffy – milk, eggs, butter. Brioche dough examples include my brioche buns, babka bread, or cinnamon rolls.
You can use this lean dough recipe for many other things! You can use it to make
– Hamburger or hot dog buns
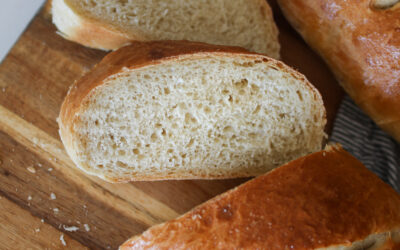
– 2 loaves of french bread
– Dinner rolls (though I’d swap the bread flour for all purpose flour for dinner rolls)
– 2 pizza crusts
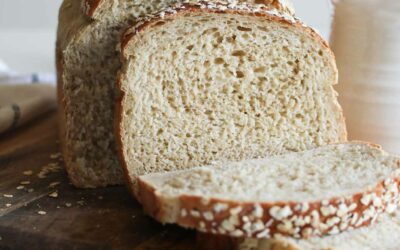
It’s also a similar lean dough to my tried and true sandwich bread recipe.
What soup to serve in bread bowls
It is hard to go wrong with choosing a soup! Anything that you’d put bread with is a winner!
Tomato, broccoli cheddar, creamy chicken noodle…you could even serve cheese dips in bread bowls!

More bread recipes you’ll love…
If you make this recipe, make sure you tag @loskitchenco on Instagram and leave a comment below! You can also save for later by clicking the ‘Pin Recipe’ button on the recipe card. Happy baking!
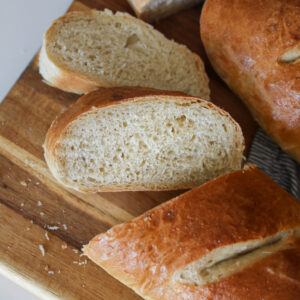
Homemade French Bread
Ingredients
Dough
- 2 1/4 cups warm water (~110° F)
- 1 ½ tbsp instant yeast
- 1 tbsp honey (or granulated sugar)
- 2 tsp salt
- 2 tbsp olive oil (or unsalted butter)
- 5 1/2 - 6 cups bread flour
Egg wash
- 1 large egg
- 1 tbsp water
Instructions
- In the bowl of an electric mixer (or a large bowl if doing by hand), combine warm water (should feel like gentle baby bath water), yeast, and honey. If you're using active dry yeast, let it sit for about 8 minutes for it to activate and get foamy. If you're using instant yeast, proceed to the next step.
- Add about 3 cups of the flour, salt, and oil/butter. Mix together on low until combined.
- Slowly add remaining flour. You will know when you've added enough flour when the dough is smooth and tacky. If it feels very wet and sticky, add a bit more flour at a time. If it feels real dense and tough, you may have added too much. If you do, you can add a splash of warm water to help moisten the dough again. You're looking for that sweet spot in the middle!
- Knead on low for 8 minutes with a mixer (or 10 minutes by hand).
- Cover the dough and let it rise for 30-60 minutes until the dough is doubled in size. (If short on time, you can skip this first rise)
- Once risen, gently flour a work surface and divide the dough into 2 even sections.
- Form each section into a thick rectangle. Starting from the long side roll the dough into a log about 12-14" long. Fold the ends in and pinch the seams. Flip it over so it's seam side down and you should have a nice smooth top.
- Place each of the loaves on a half sheet baking pan lined with parchment paper. Let it rise one more time for about 30 minutes, until puffy. While rising, preheat the oven to 350°F (you can also do 375℉ for high altitude).
- Prepare an egg wash by whisking together one egg with one tbsp of water. Use a pastry brush to gently brush the egg wash onto each ball. Using a sharp knife or bread lame, cut several slits at an angle at the top of your loaves. Immediately stick in the oven after applying egg wash.
- Bake for about 25-30 minutes until golden brown. Let the bread cool before cutting into the bread. Enjoy!