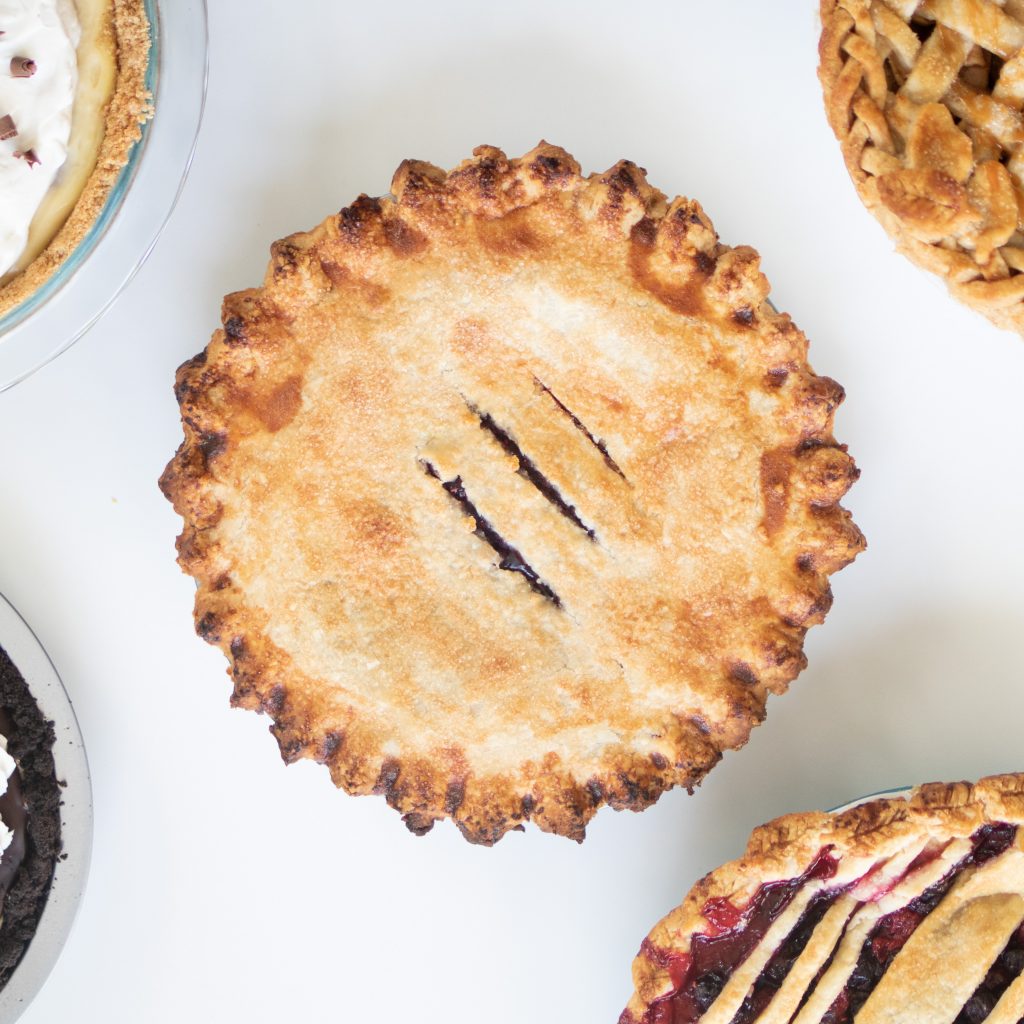
Flakiest Pie Crust
Fool proof flaky traditional pie crust recipe! Easy steps, simple ingredients, and fun crimping and weaving ideas included!
This recipe makes 2 single pie crusts, or one double pie crust.

Perfect Pie Crust Every Time
Hold your own next to Grandma’s famous pies with this fool proof flaky pie crust recipe! With a few simple tricks and basic ingredients, you can master the PERFECT, FLAKIEST crust! I have tried this crust using 8 different combinations from all butter, to all shortening, egg vs no egg, and everything in between. I hope our found favorite becomes your new family favorite too! See a list of our favorite pies here. Make it into 2 single pie crusts, or one double pie crust.
Key tips for a perfect pie crust every time:
1. Shortening – Because of shortening’s high melting point, it bakes in a way that yields to a flaky result. If you prefer more of a butter flavor, I recommend using 1/2 classic shortening and 1/2 butter flavored shortening. That way you get the butter flavor without sacrificing the flaky result. I tried using 100% butter flavored shortening and it was too buttery for my personal taste. You can also use half real butter for great results too! But for grandma’s iconic 100% flaky traditional crust, 100% shortening is what I recommend.
2. Cold ingredients – Using ice cold water will keep your fats tender and easy to roll out. I often even put my shortening in the freezer before hand as well for coldest and best results. Chilling the dough for at least 1 hour before rolling is key! (You can place in the freezer to chill even faster.) before rolling is key!
3. Dough handling – The less you touch the dough the better! A flaky pie crust is one that has hardly been touched. Fold the dough together instead of mixing, and try not to handle the dough too much.
Crimping techniques
There are so many fun methods out there of ways you can crimp or weave a pie crust. Making sure your dough is properly chilled is key to easy rolling. There are endless ways to decorate a pie crust. Here are 5 ideas. This video tutorial I shared on Instagram include the tutorial on how to make it and these different crimping techniques.
1. Fluting – the classic crimping around the edges with just simple pinching!
2. Fork – so easy and fast with a classic look!
3. Cookie cutter – a fun way to make your pie designs look next level! Plus an easy way to customize the look for each holiday.
4. Braid – easier than it looks! Just cut the dough into long narrow strips and braid. I find it easier to do it in sections of 8-12 inches then pinch them together once they’re on the crust. It’ll end up looking like a long seamless braid.
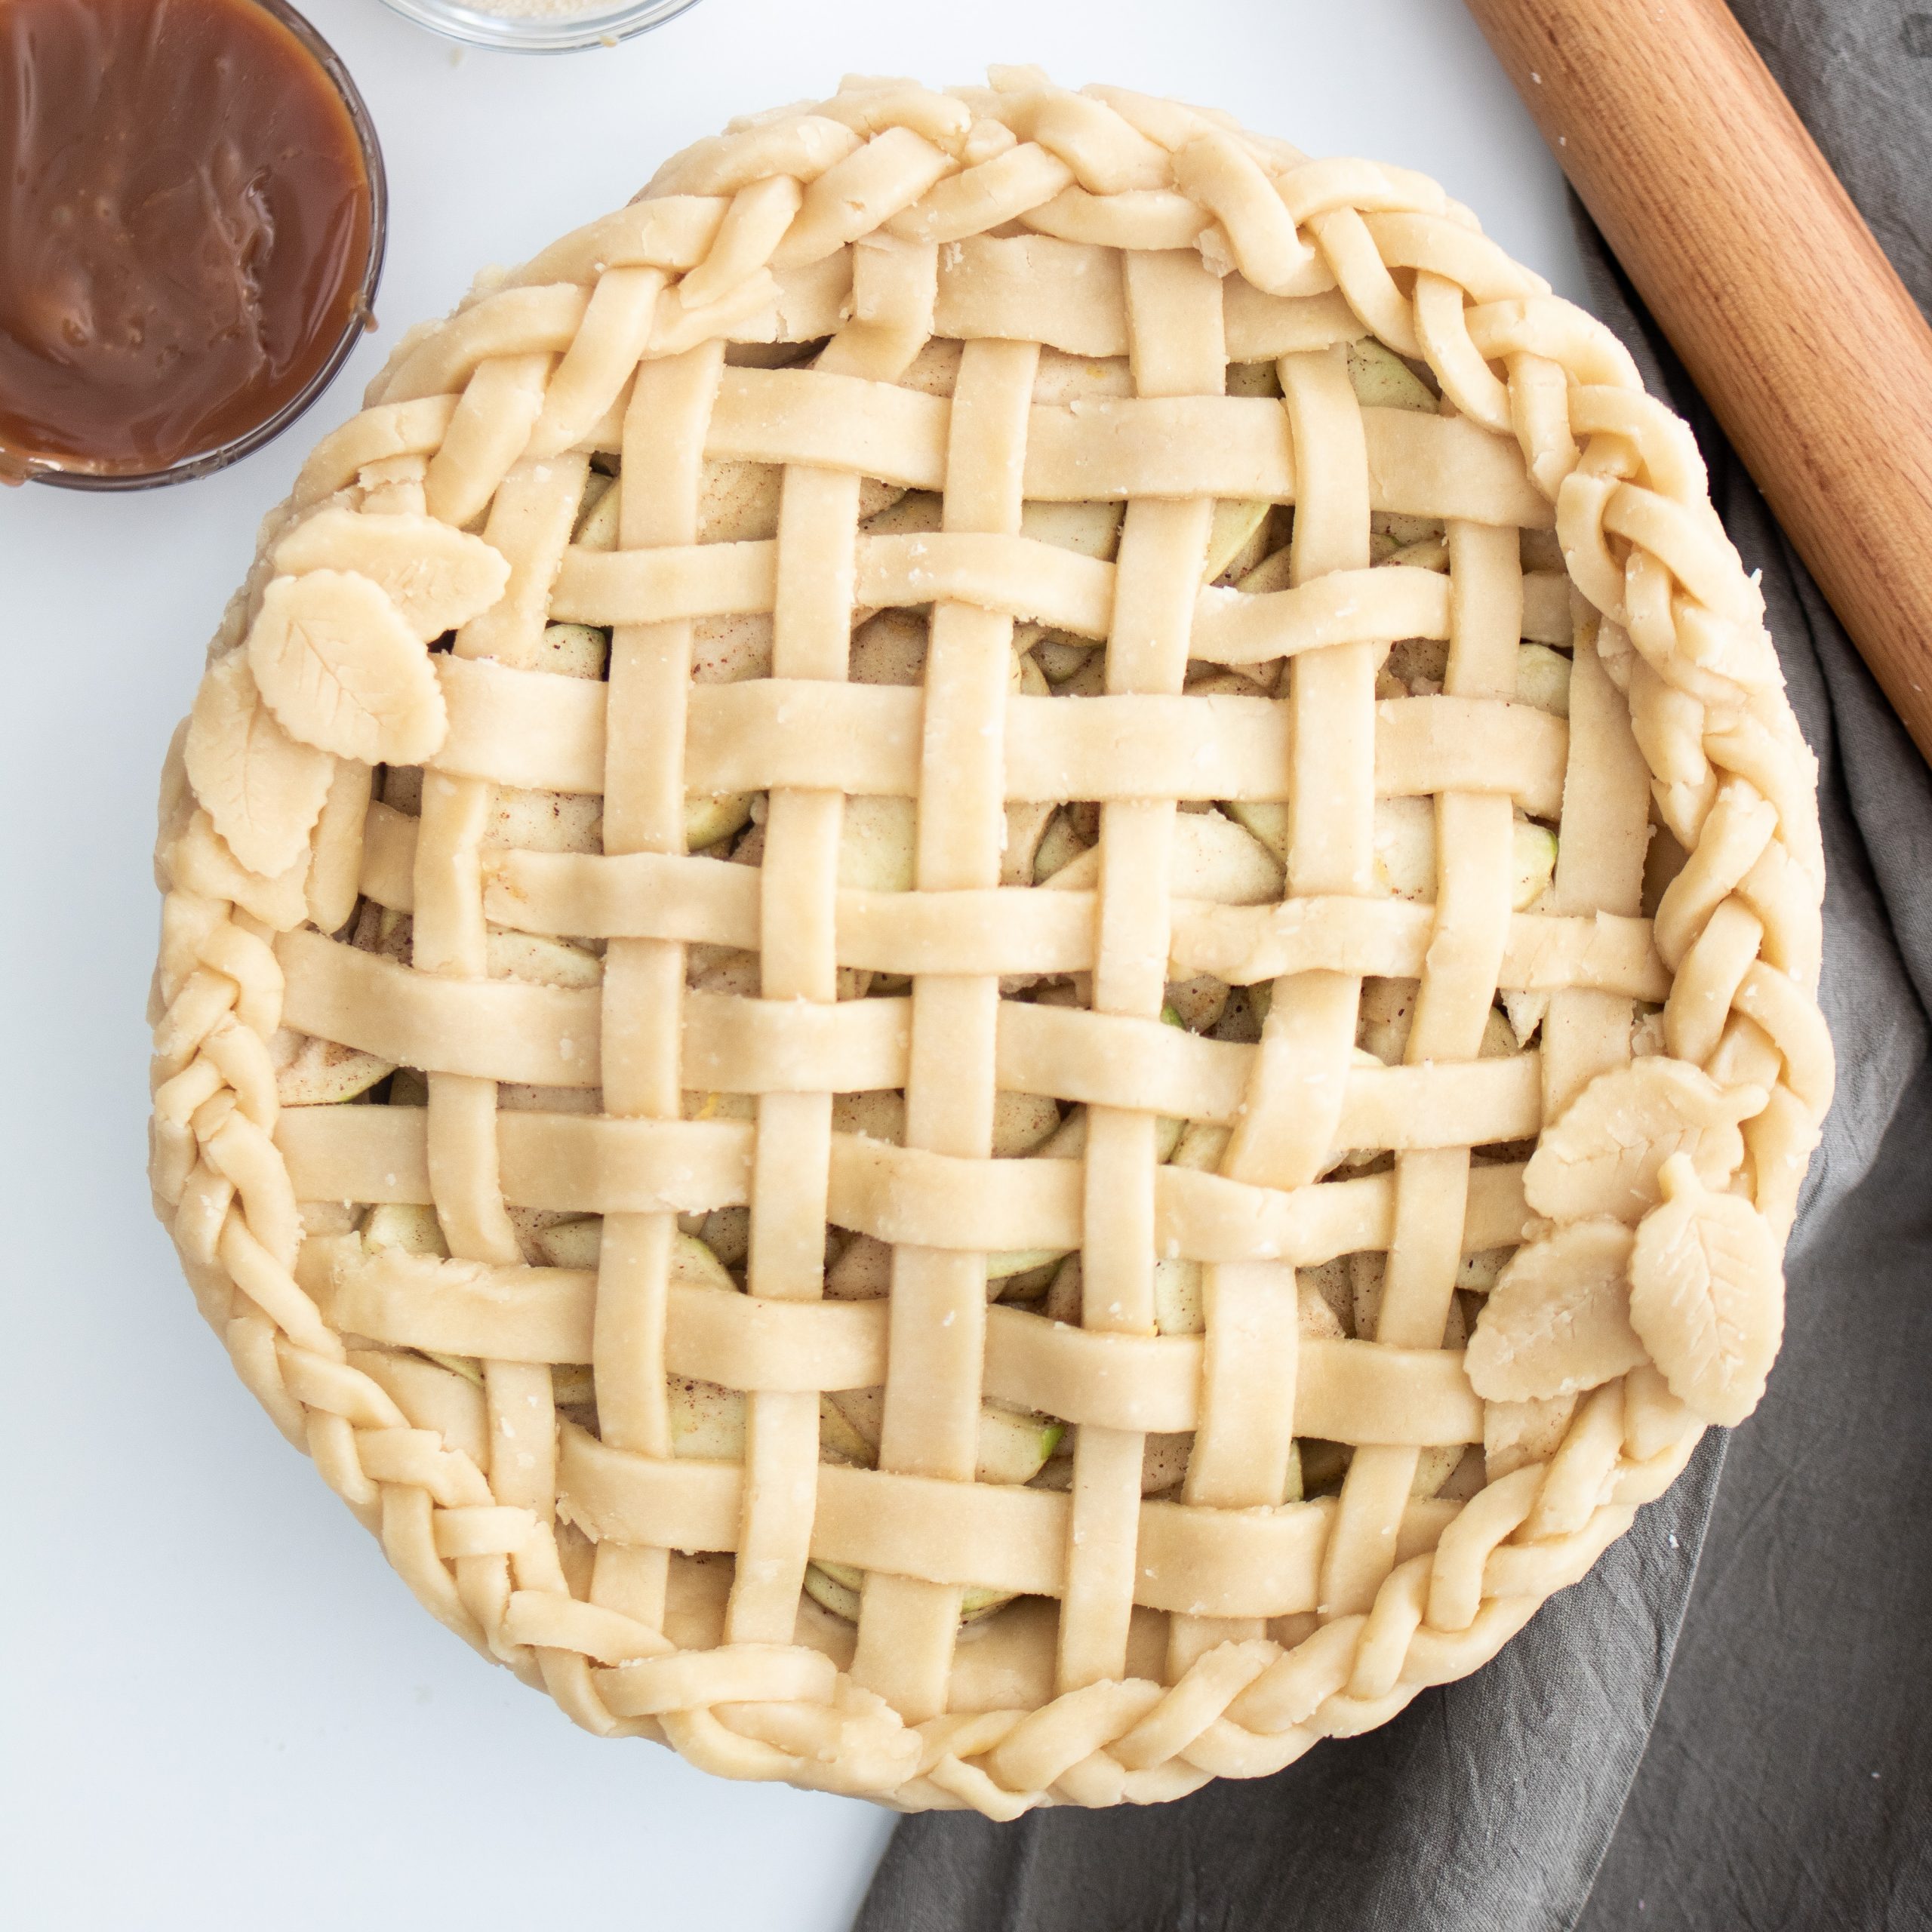
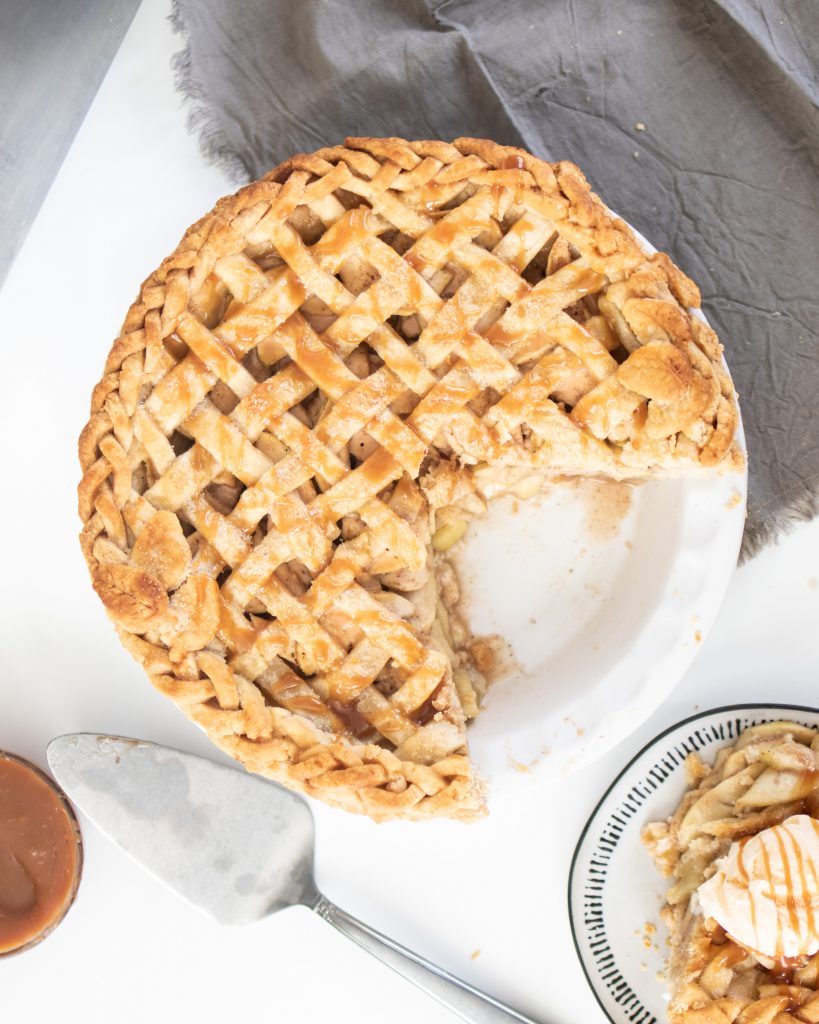
5. Lattice – start with one row at a time and gently weave in another strip going the opposite direction.

How to make pie crust in advance
Pie crust is SO easy to make in advance. With all the Thanksgiving preparations on your list, definitely make the crust in advance so you can cross that off your list.
Make ahead options:
1. REFRIGERATE: Store either the dough ball or formed pie crust in refrigerator for up to 3 days. Great way for those last minute preparations that you still want to get ahead on.
2. FREEZE THE RAW DOUGH BALL: Great option for those short of freezer space, divide your dough into 2 sections, wrap well in plastic wrap, and freeze for up to 3 months in advance. (If you’re storing more than a few weeks in advance, I also recommend wrapping it in aluminum foil on top of the plastic wrap for extra protection against freezer burnt). To thaw, you can either slow thaw in the fridge overnight, or go straight from freezer to countertop.
3. FREEZE FORMED RAW CRUST IN THE PIE DISH: If you have extra freezer space and want additional ease, freeze the pie crust formed in the dish! Wrap well with plastic wrap and find a safe place where it won’t be likely to get bumped too much. You can thaw slowly in the refrigerator overnight or go straight from freezer to countertop.
4. FREEZE BAKED CRUST: For maximum ease and for those pies that need a pre-baked shell, bake the crust ahead of time and freeze the baked crust!
5. FREEZE THE WHOLE PIE! RAW OR BAKED!: Warning, this doesn’t work for every pie. Many fresh custard pies like banana cream pie don’t hold up the same in the freezer. But for cheesecakes and even many fruit pies, you can freeze these raw or baked so they are ready to go!
Pie recipes you’ll love…
- Salted Caramel Apple Pie
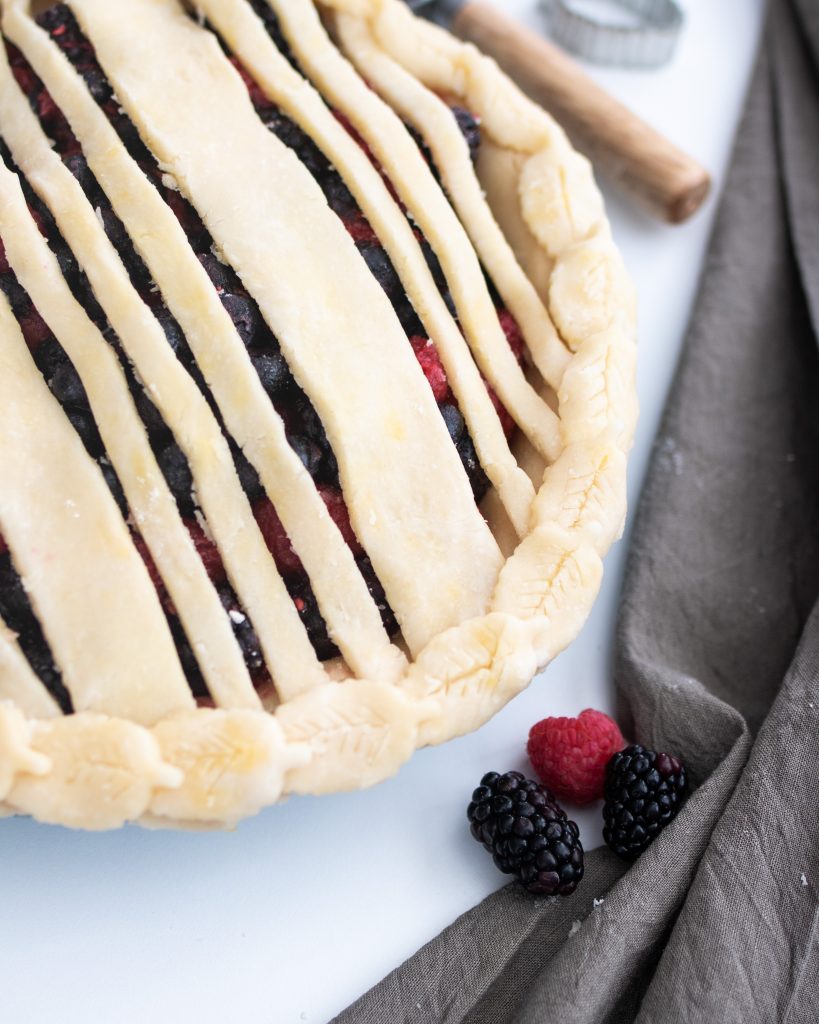
- Razzleberry Pie
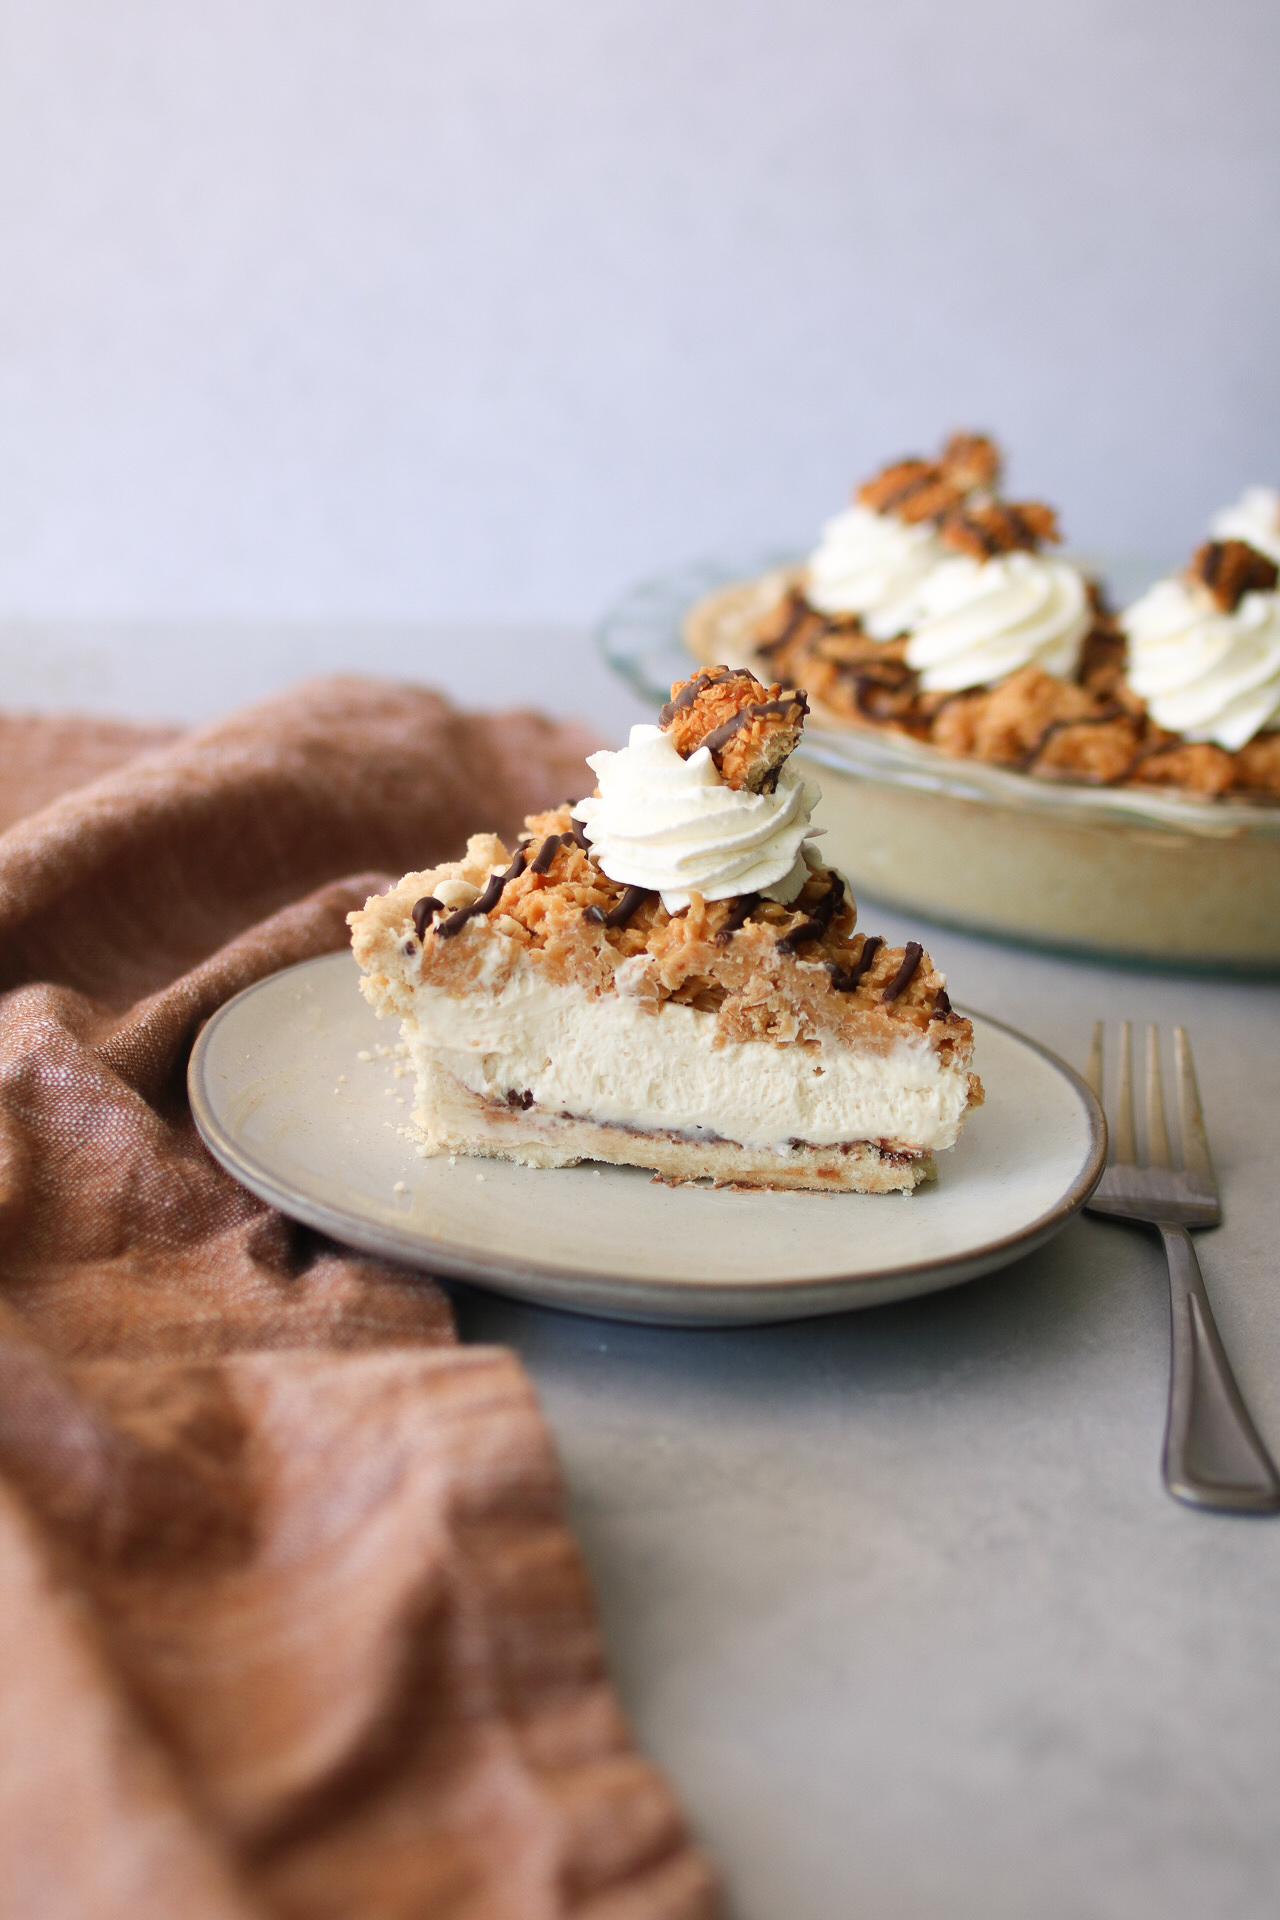
- Black Bottom Banana Cream Pie (Make with this flaky crust, or a graham cracker crust)
- Chocolate Chip Pecan Pie
Click here for a complete list of my pies and cheesecakes. If you make this recipe, make sure you tag @loskitchenco on Instagram and leave a comment below! You can also save for later by clicking the ‘Pin Recipe’ button on the recipe card. Happy baking!

Flakiest Pie Crust
Ingredients
- 315 grams (2 ½ cups) all purpose flour
- 1 tsp salt
- 1 cup shortening*
- 2 tsp white vinegar
- ~ 6-8 tbsp ice water
Instructions
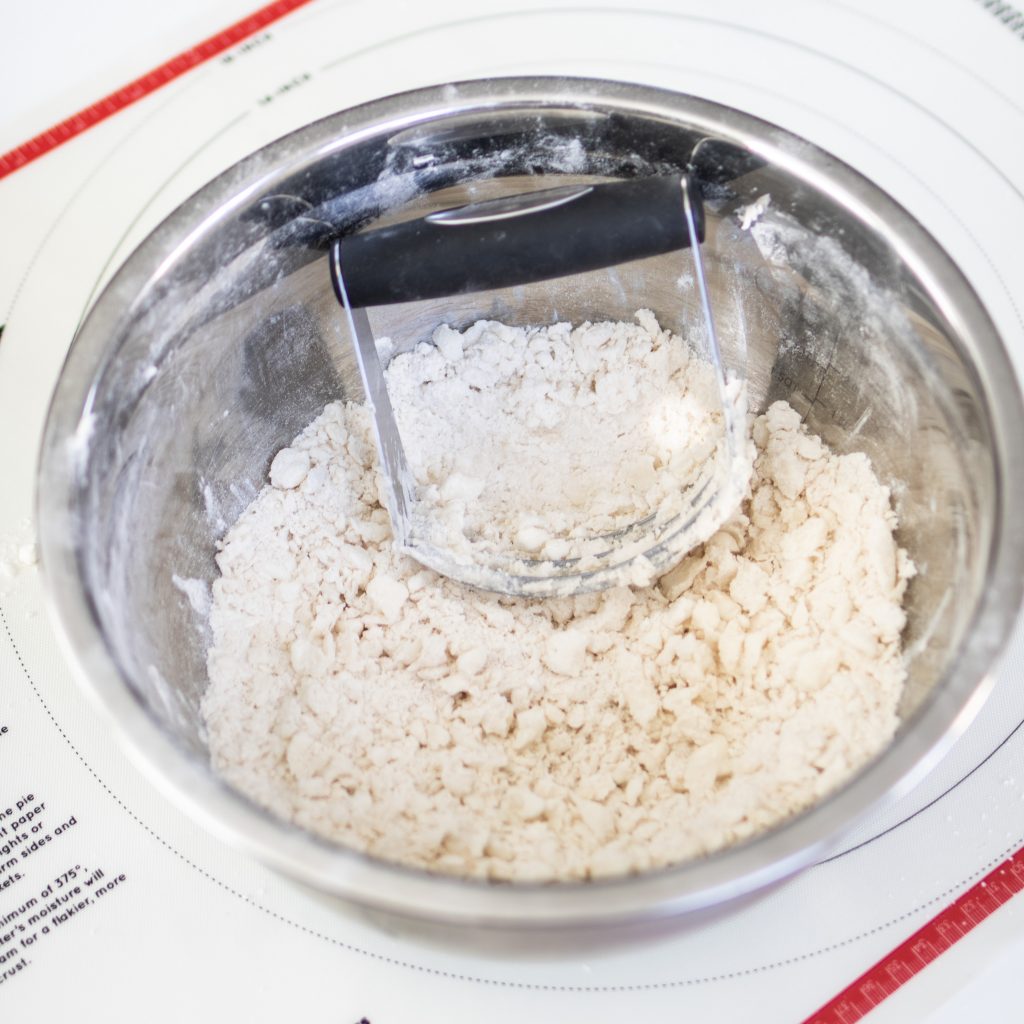
- In a large mixing bowl, combine flour and salt.
- Pulse in shortening using a pastry cutter, fork, or food processor until you have pea sized bits of shortening evenly through out the dough.
- Add vinegar and ice cold water (don't include ice cubes, we just want the really cold water). Gently fold together until just combined. Do not vigorously mix or overwork the dough. Add additional tbsps of water as needed. You want just enough water that it comes together and is sticky, but not overly wet.
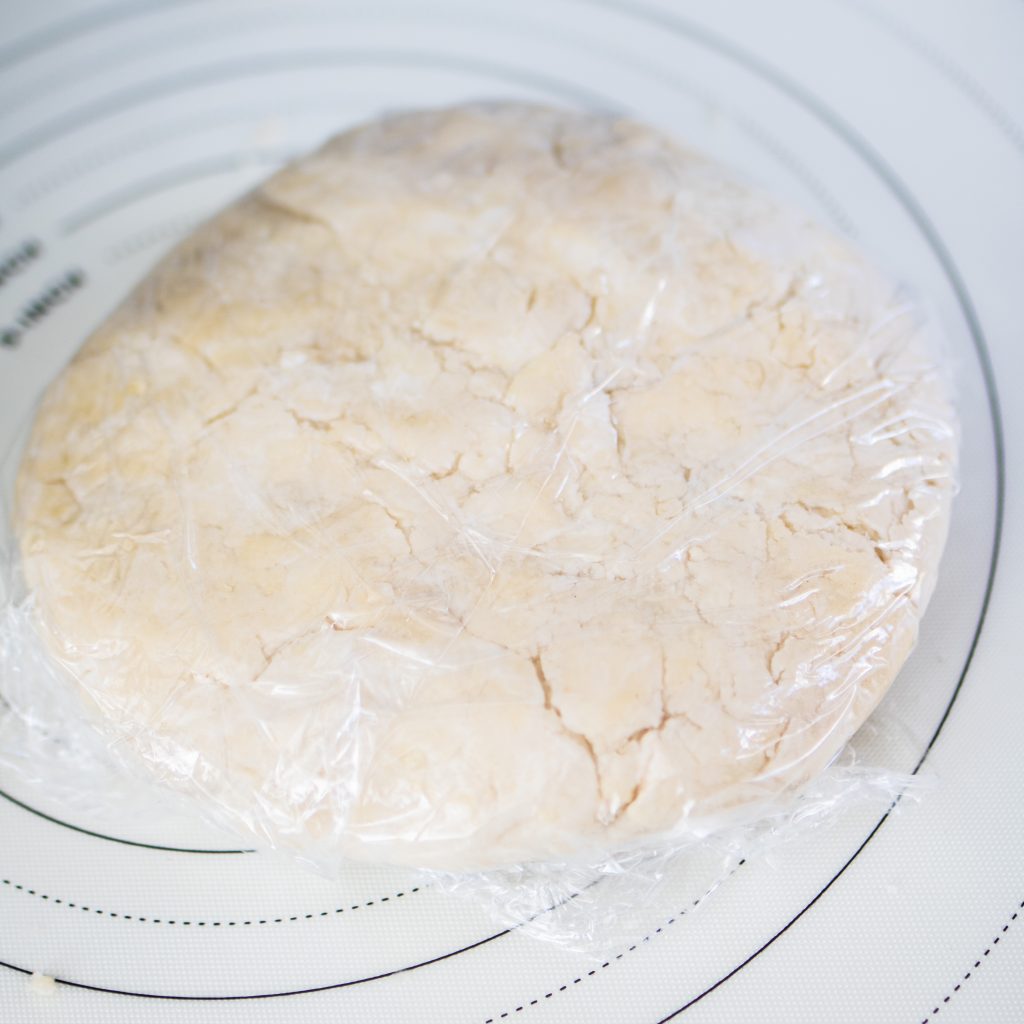
- Divide the dough into 2 sections and form each one into a thick disk. Gently wrap each one in plastic wrap and let it rest in the fridge for at least 30-60 minutes, or up to 5 days. You can also freeze it for up to 3 months.
- When the dough is chilled, gently roll out one disk on a floured work surface. Always roll out starting from the center of the dough, working your way around to create an even circular shape. I love using a silicone mat for this for easy transfer to the pie dish. Rolling it between 2 pieces of wax paper or parchment paper also works well. Roll it out until the dough is about 1" larger than your pie dish. (Flip your pie dish over and place on crust for easy measurement against the dough)
- Using your silicone mat or wax paper, gently flip over the dough into your pie dish. Lift up the edges of the pie crust as needed to make sure the crust falls into the corners of the dish. Follow your pie recipe's baking instructions for the finished steps. Below are a few baking tips:
- Crimping tips: See notes above for crimping ideas! For a single baked pie crust: Using a fork, prick the bottom of the crust a few times. Line with parchment paper and fill with dried beans or pie weights. Bake at 400° F for 13 minutes, then take the pie weights out and bake for about 3-5 more minutes, until golden brown. You can use a pie crust shield or aluminum foil to cover the edges of your pie crust to prevent over browning. For a double pie crust: To prevent a soggy crust, sprinkle a teaspoon of flour on the bottom of the pie crust or brush with an egg wash. Add filling and top crust. Brush with an egg wash (1 beaten egg + 1 TB water mixed together) and lightly brush the top. Top with coarse sugar if desired. Bake as recipe directs.
Notes

DID YOU MAKE THIS RECIPE?
Tag @loskitchenco on Instagram and
hashtag it #loskitchenco
You may also like…

SALTED CARAMEL APPLE PIE

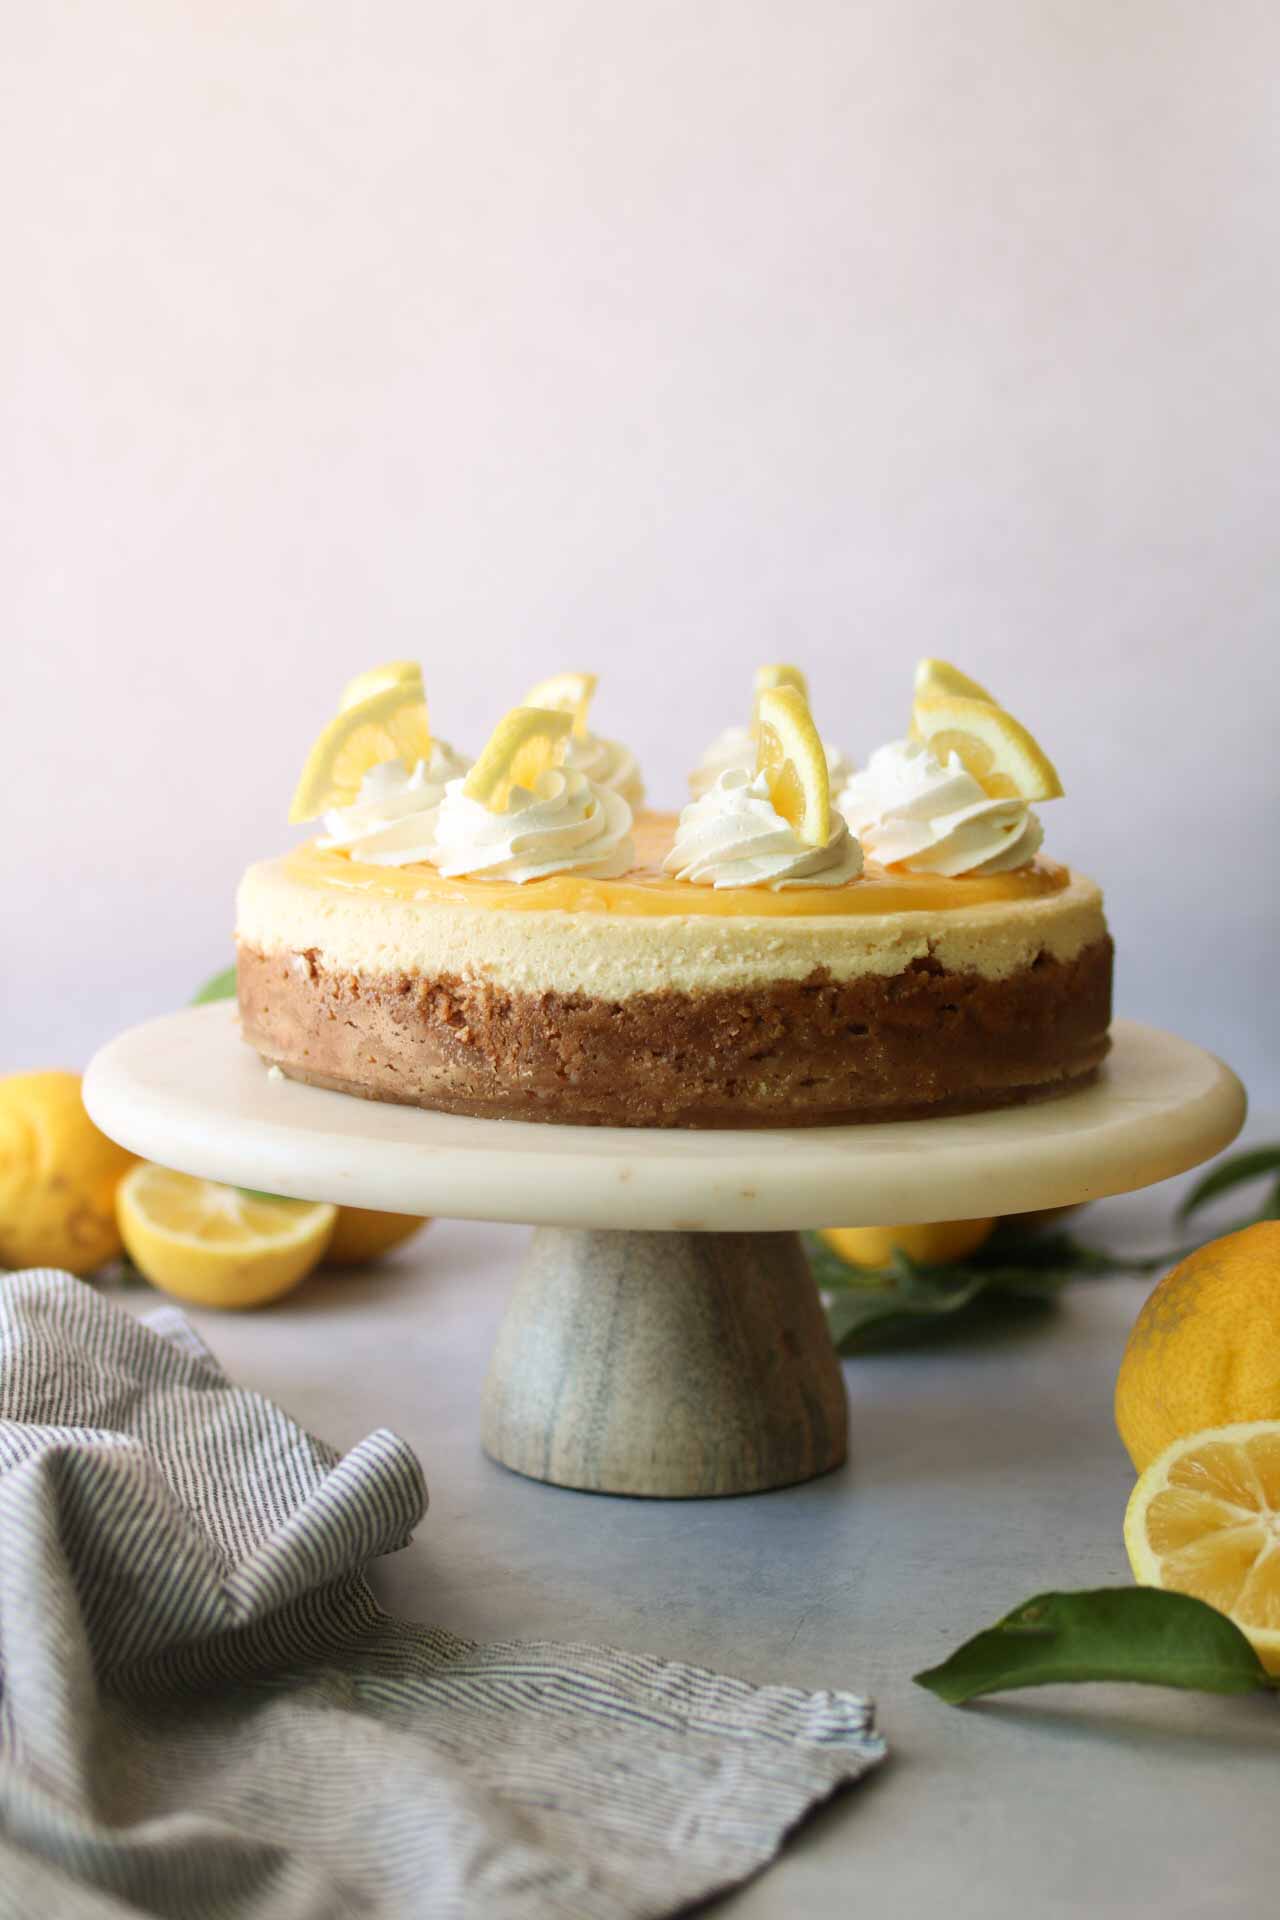
CLASSIC KEY LIME PIE

CHOCOLATE CHIP PECAN PIE