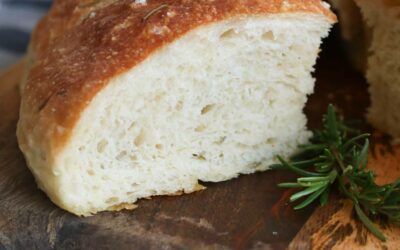
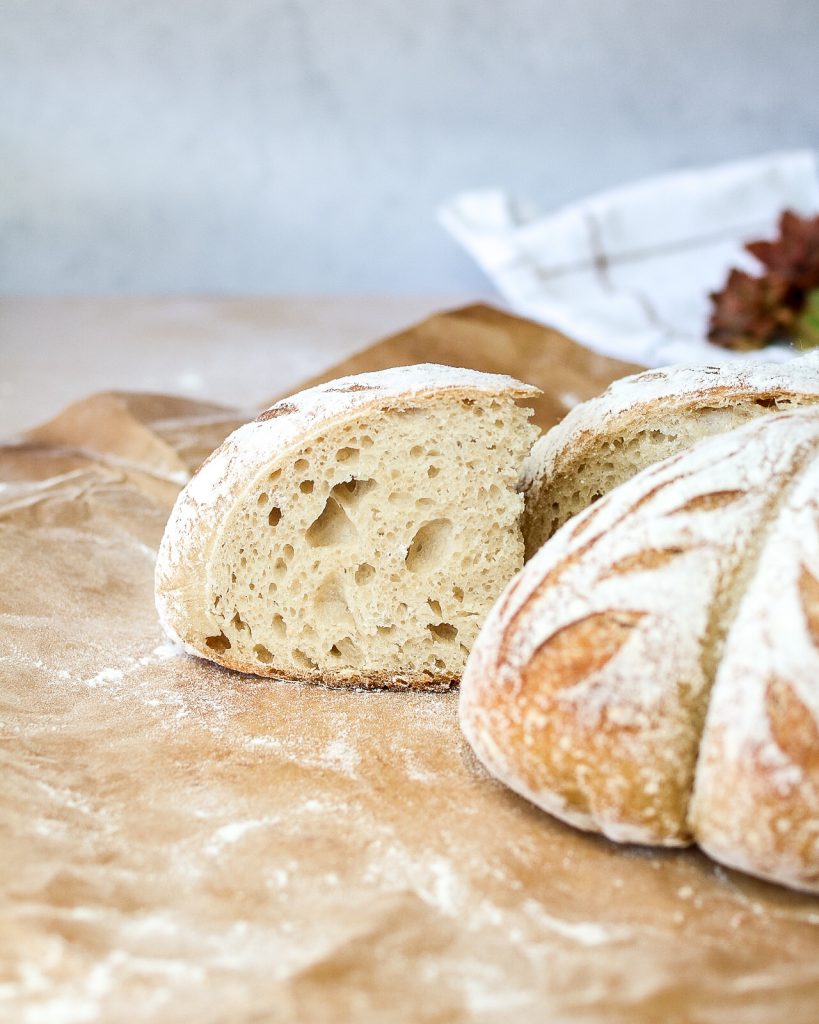
Your classic loaf of artisan bread, prepared and proofed as normal, but easily and quickly adapted to be the shape of a pumpkin! Makes for a delicious loaf of bread, cute Thanksgiving centerpiece, or fun neighbor gift.

This fun pumpkin loaf is easy and fun to make, and just uses the same preparation and proofing method as you would a standard loaf of sourdough bread. The only difference is adding some twine at the end to form into a pumpkin shape! Use the video and step by step photos below to guide you!
How to make a sourdough pumpkin
1. PREPARE THE DOUGH
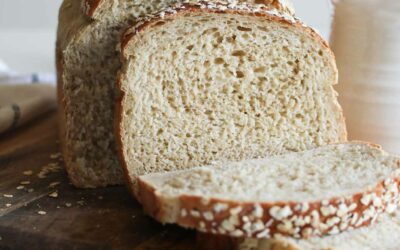
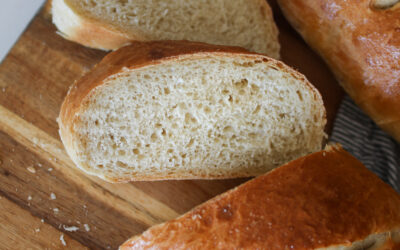
The recipe and preparation process for this base sourdough loaf can be found in my book, Classic Sourdough. If you are new to sourdough, this book will be your best friend! It starts from the very beginning and walks you through the why and how of sourdough step by step. You are also welcome to use your own sourdough recipe if you’d like. Another great bread to use is my easy artisan bread.
2. FINAL PROOF
I have found that it’s easier to shape and score with a cold loaf, so for the final proof I place mine in the fridge overnight.
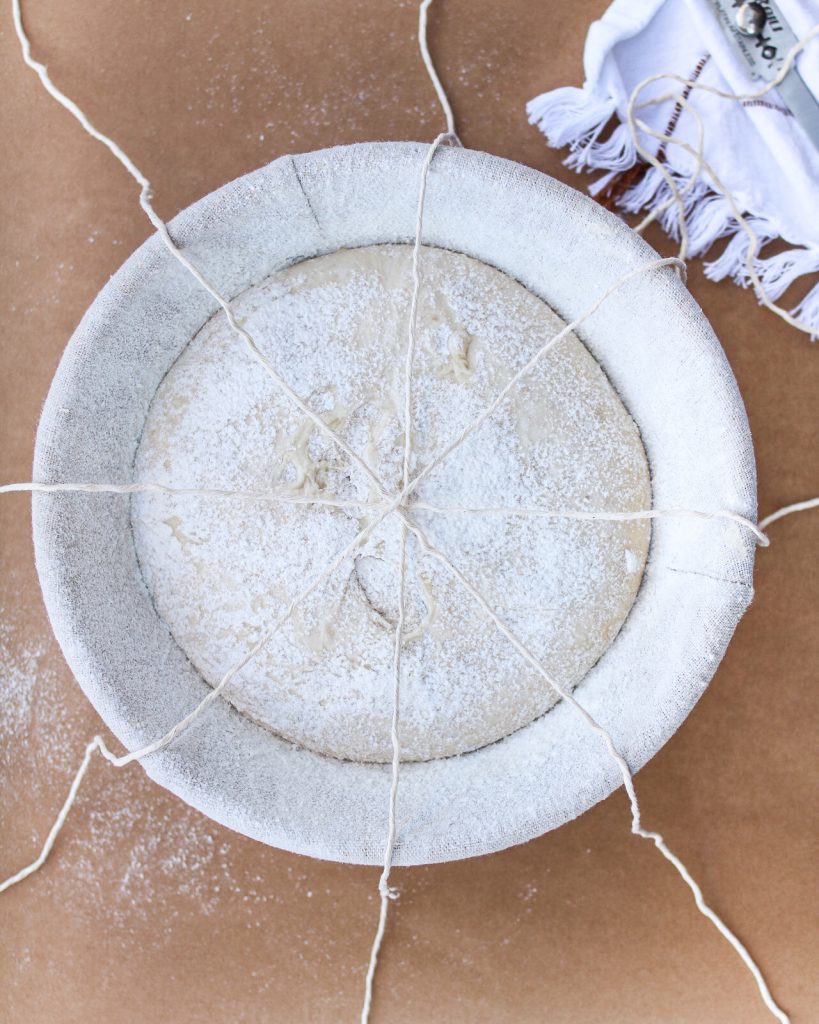
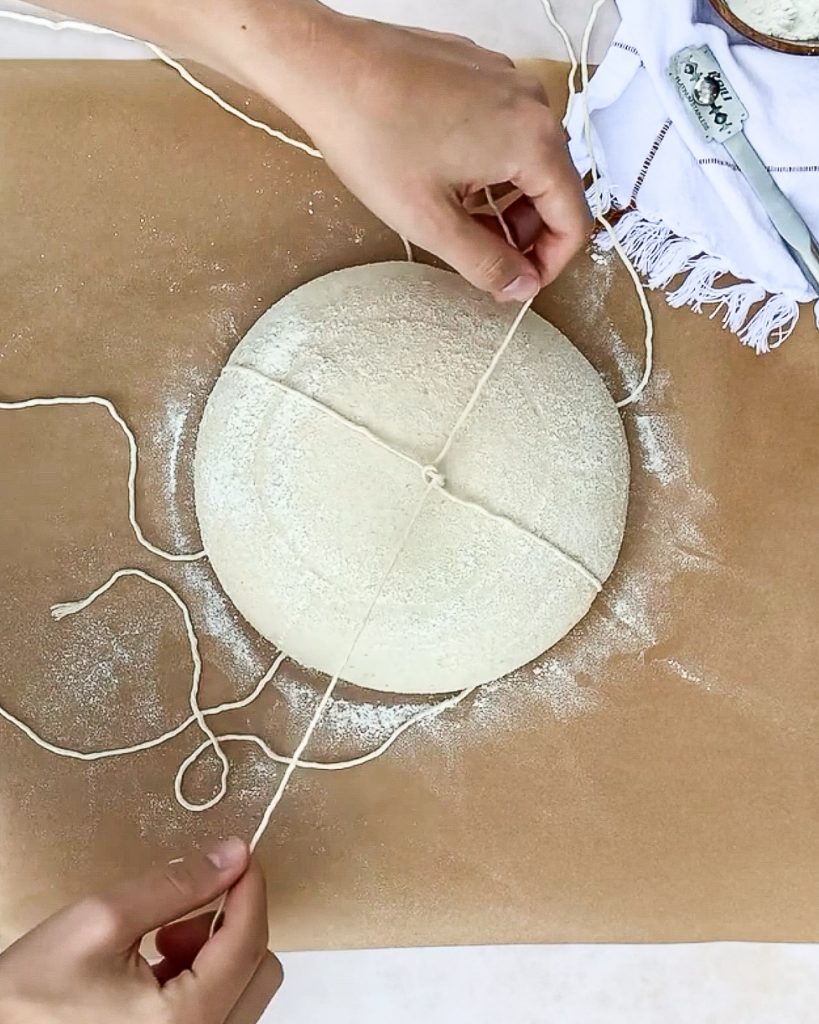
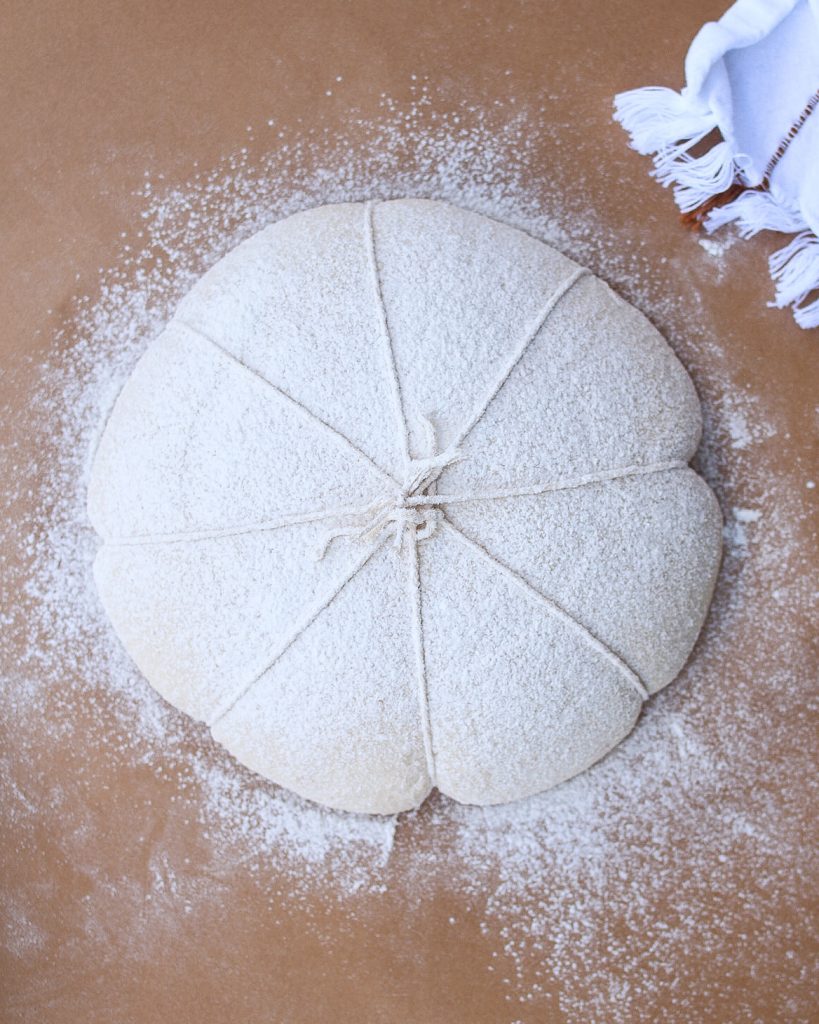
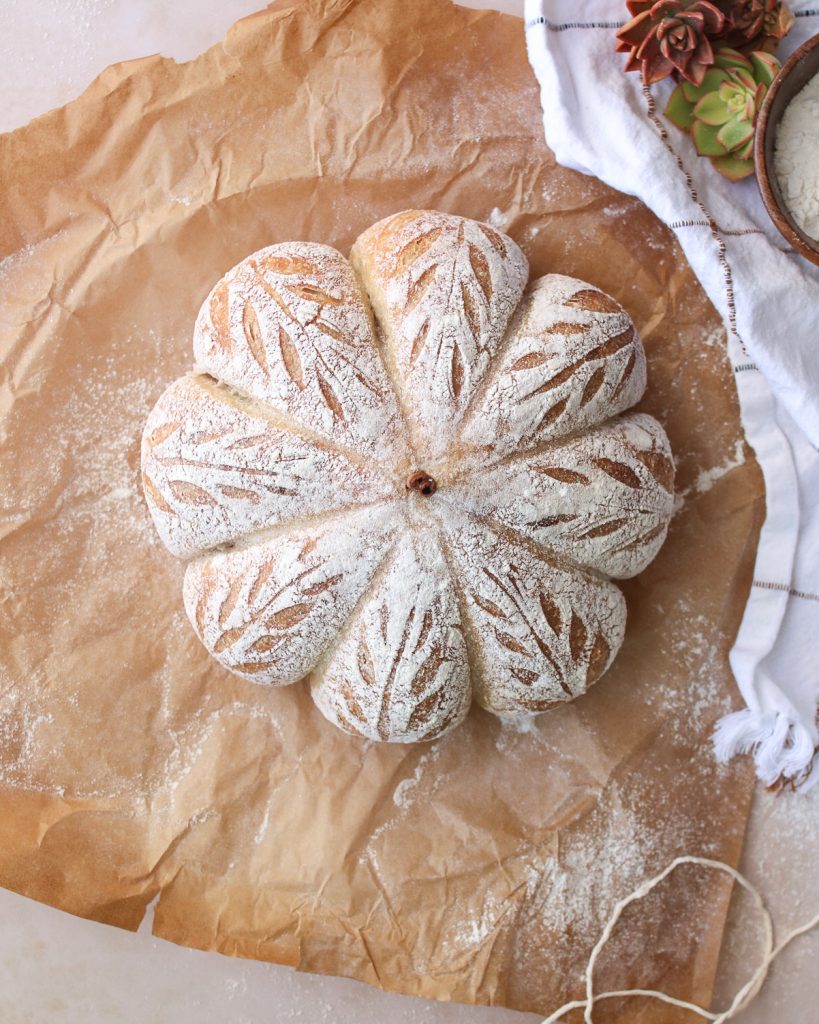
3. FORM & SCORE
Flour the top of the proofed loaf. Arrange 4 pieces of baker’s twine, creating 8 sections, like pizza slices. Gently and swiftly flip the loaf over onto a piece of parchment paper, removing from proofing bowl. Tie the ends of each piece of twine together. Just don’t pull too tight as you’ll restrict the loaf from proofing in the oven and it may crack. Give it a little breathing room.
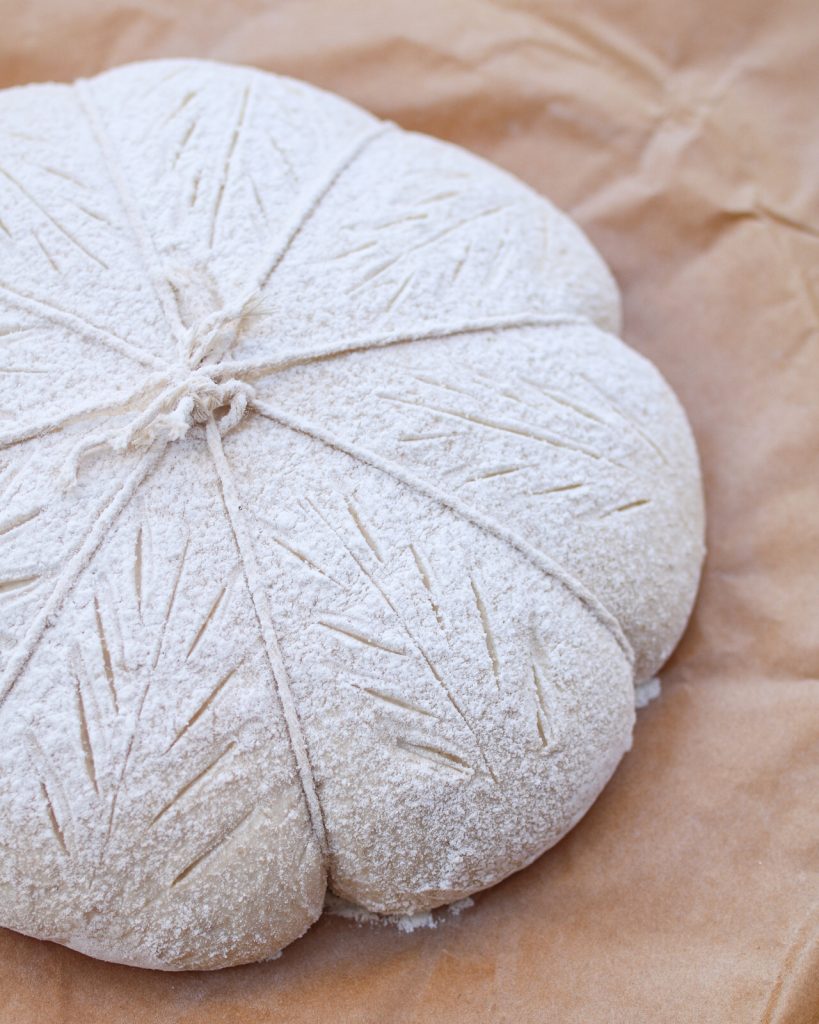
Trim the strings. Score each section as desired. You could keep it simple by just scoring one simple vertical line in each section, or add the gentle side strokes like you’ll see in the pictures.
4. BAKE
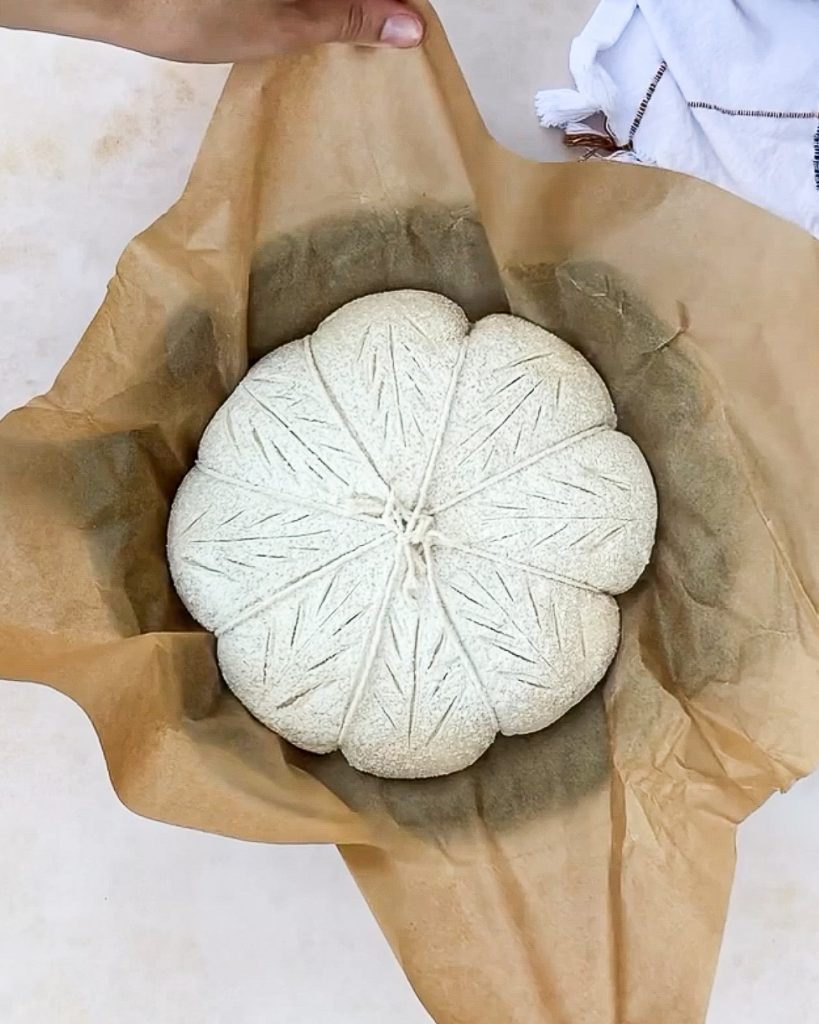
Transfer the loaf to a dutch oven and cover. If you don’t have a dutch oven, you can place it on a baking sheet. To create that nostalgic crusty exterior you get from a dutch oven, you can add a try of ice cubes to the oven while baking to mimic a steam effect.
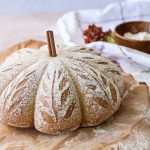
After baking, cut off the twine and insert a cinnamon stick in the center to mimic a stem. Enjoy!

Video Tutorial
Watch this quick and easy video tutorial to see how easy it is to make an artisan pumpkin loaf!
If you love artisan breads & fall baked goods, I also recommend:
Easy Rustic Artisan Bread
Caramel Apple Pecan Sticky Buns
Snickerdoodle Apple Cobbler
Best Ever Carrot Cake
Classic Sourdough Bread
Sourdough Pumpkin Loaf
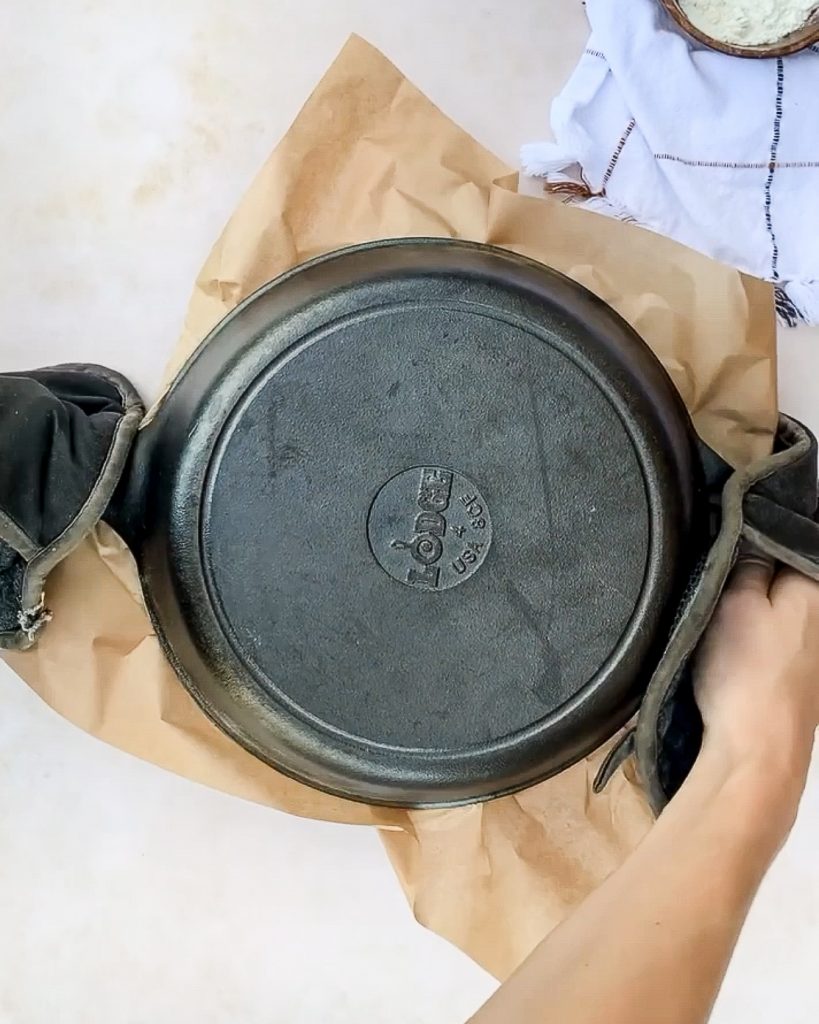
Equipment
- Dutch oven
- Baker's twine
- Proofing bowl
- Bread lame or sharp knife
- Parchment paper
Ingredients
- 1 batch artisan bread (sourdough or easy rustic) *see notes for links
- 1 cinnamon stick (for decorative stem)
Instructions
- PREP DOUGH: Prepare a loaf of sourdough or easy artisan bread according to instructions. For it's final proof, I recommend proofing it slowly in the fridge, making the dough easier to work with. If you are short on time you can proof in a warm oven or on countertop, then place in fridge for about 30-60 minutes so it can be slightly chilled before baking.
- Preheat the oven to 500° F with a dutch oven inside heating up.
- SHAPING: Flour the top of the proofed and chilled loaf. Place 4 strings, about 2' long, of baker's twine, on top of the dough - creating 8 sections like pizza slices. Gently and swiftly flip the loaf over onto a piece of parchment paper, removing from proofing bowl. Knot the ends of each piece of twine together. Just don't pull too tight as you'll restrict the loaf from proofing in the oven and it may crack. Give it a little breathing room.
- Trim the twine. Score each divided section as desired. You can keep it simple by just scoring one simple vertical line in each section, or add the gentle side strokes like you'll see in the pictures.
- BAKING: Transfer loaf on the parchment paper to the preheated dutch oven. Place the lid on.* Immediately turn down the oven to 450° F. Bake for about 25 minutes, then remove the lid. Bake for an additional 10-15 minutes, or until you reach desired browning.
- Remove from oven and let it cool for a few minutes until its easier to handle. Cut off the twine and place a cinnamon stick in the center to mimic a stem. Store in an airtight bag for up to 3-5 days or in the freezer for 3 months.
Notes

DID YOU MAKE THIS RECIPE?
Tag @loskitchenco on Instagram and
hashtag it #loskitchenco