
Easy Rustic Artisan Bread
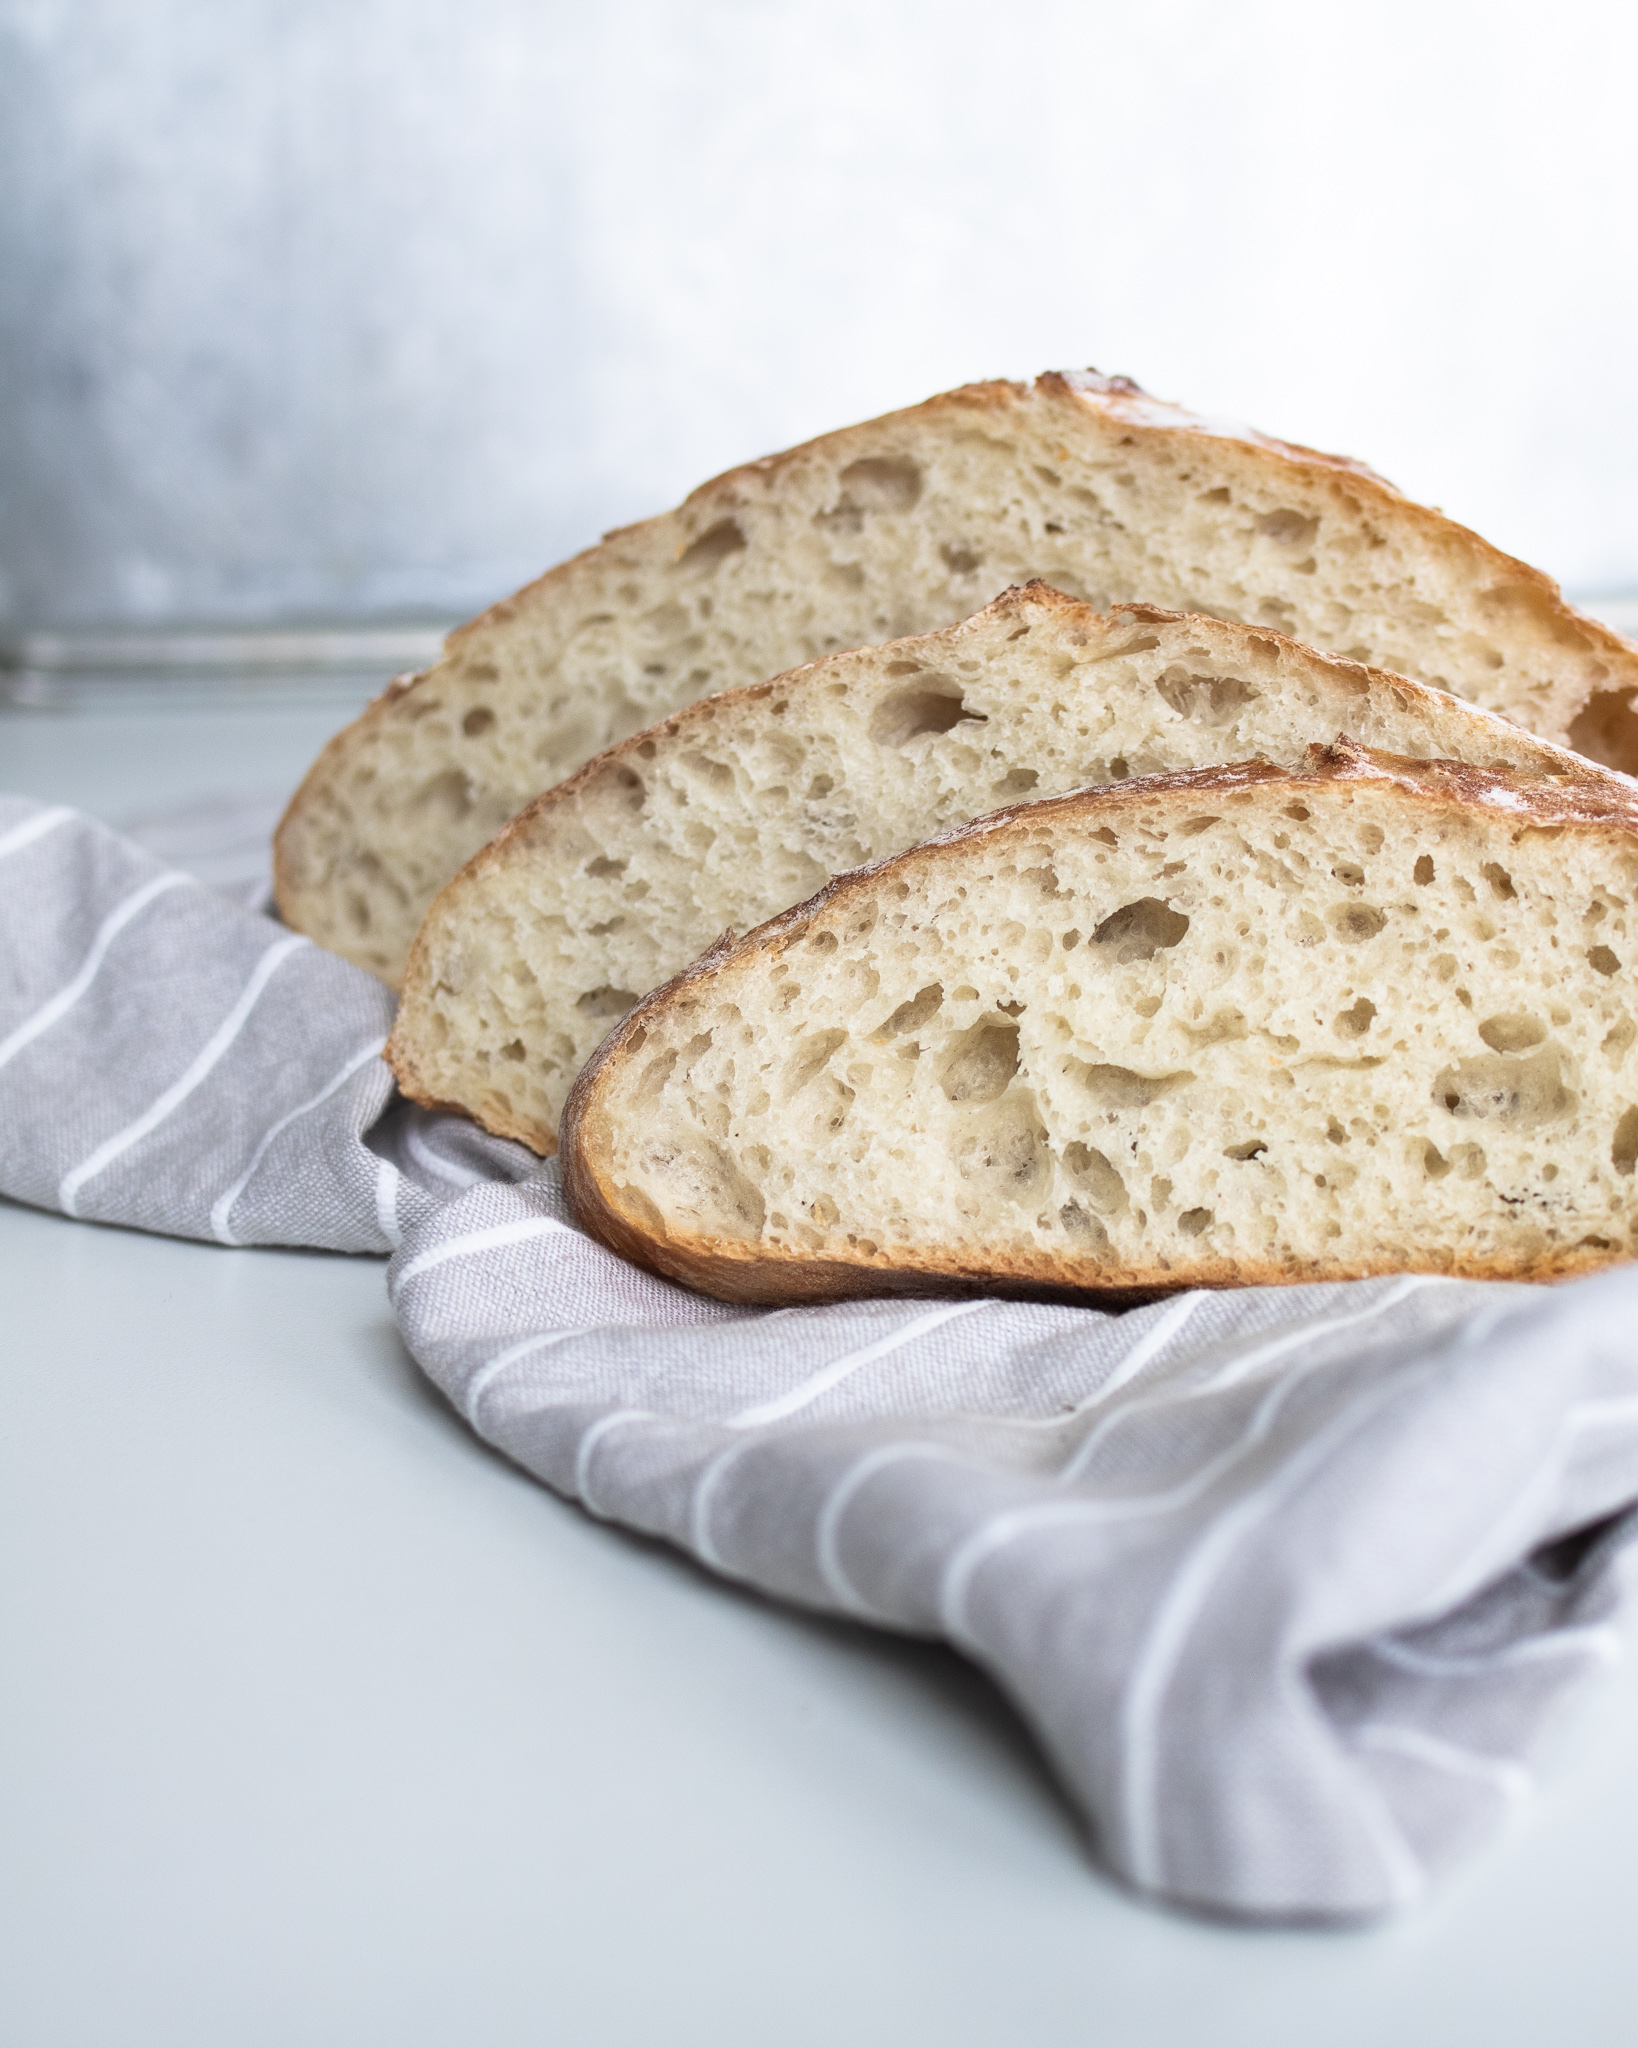
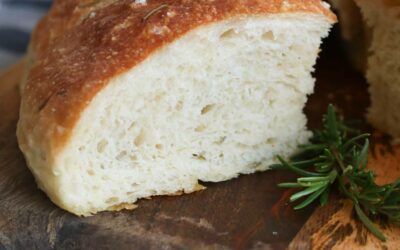
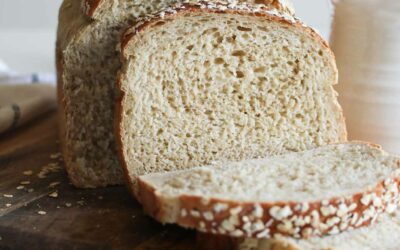
With little ingredients, little time, little tools, and little effort, you can make your own artisan bread from home. This bread has a perfect crusty exterior and an incredibly soft interior. It’s a classic for long time bakers and a perfect beginning for new bakers!
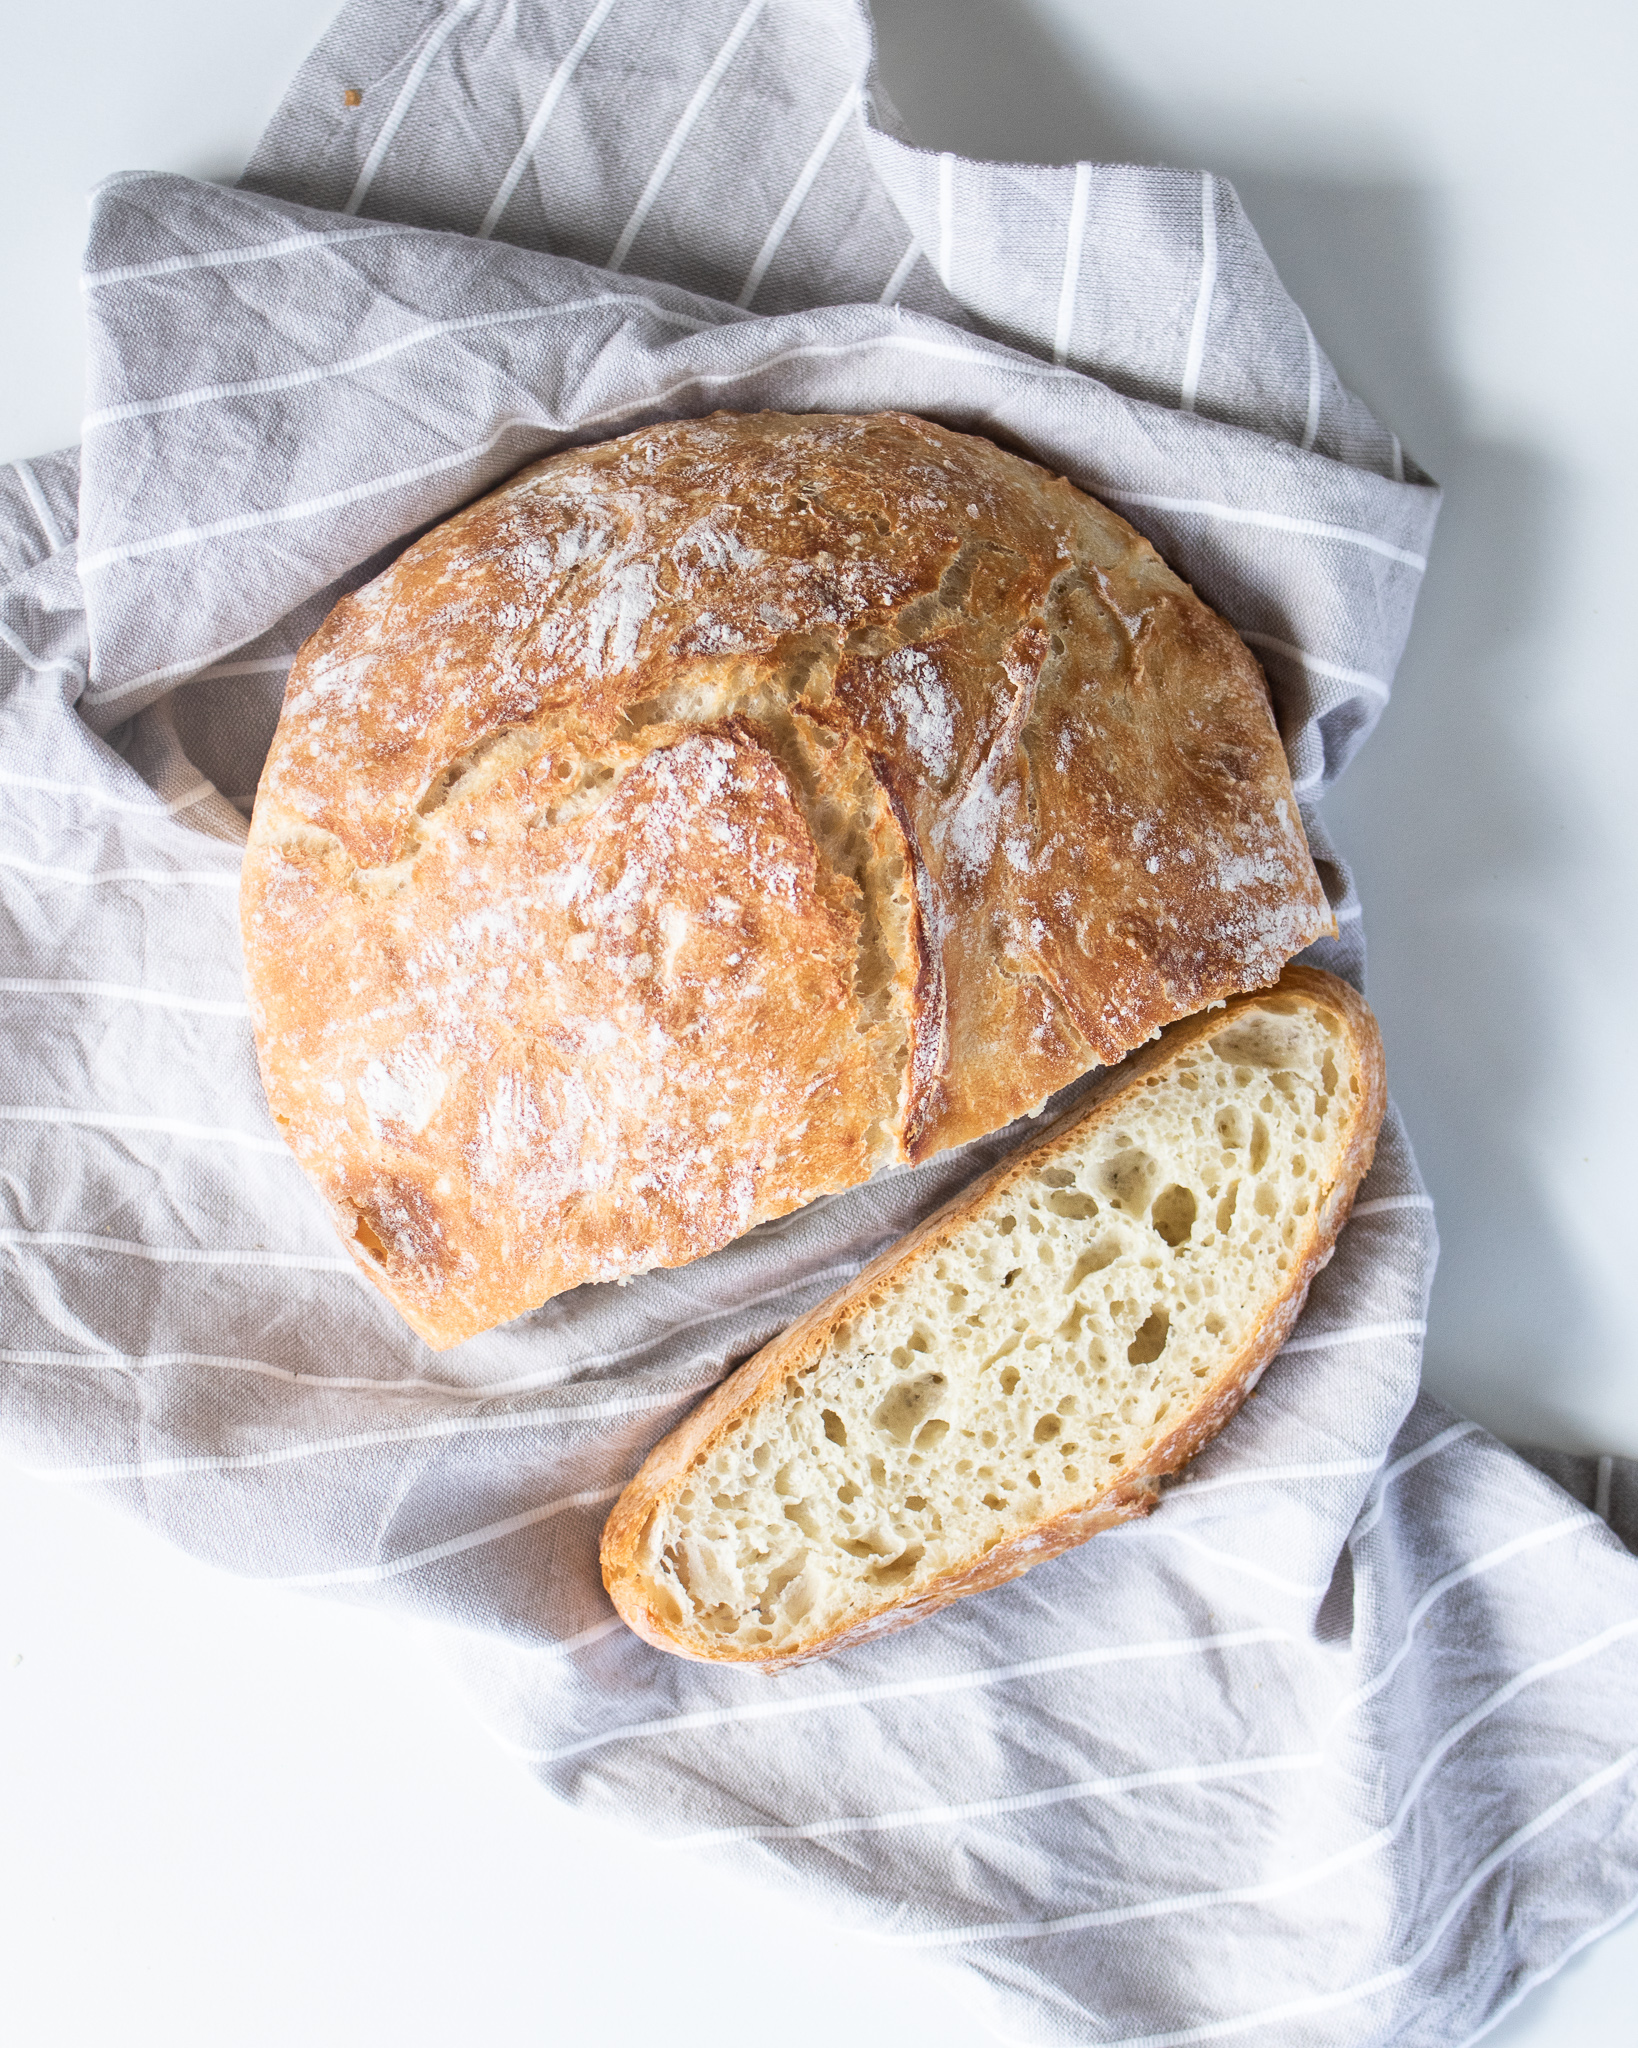
Sometimes homemade can seem like a daunting task with the kneading and shaping and double proofing…EXCEPT for artisan bread. This bread is incredibly easy with no mixer, no kneading, and hardly any shaping involved. It’s the perfect “set it and forget it” kind of bread. And did I mention it’s absolutely DELICIOUS? Like sourdough it has a thin crispy crust with the classic soft, crumb structure with holes…yet unlike sourdough there’s no starter or days required to make this bread work. It’s long fermentation time brings out the perfect flavor and gives it time to breaks down a lot of the gluten making it easier to digest.
How to serve artisan bread
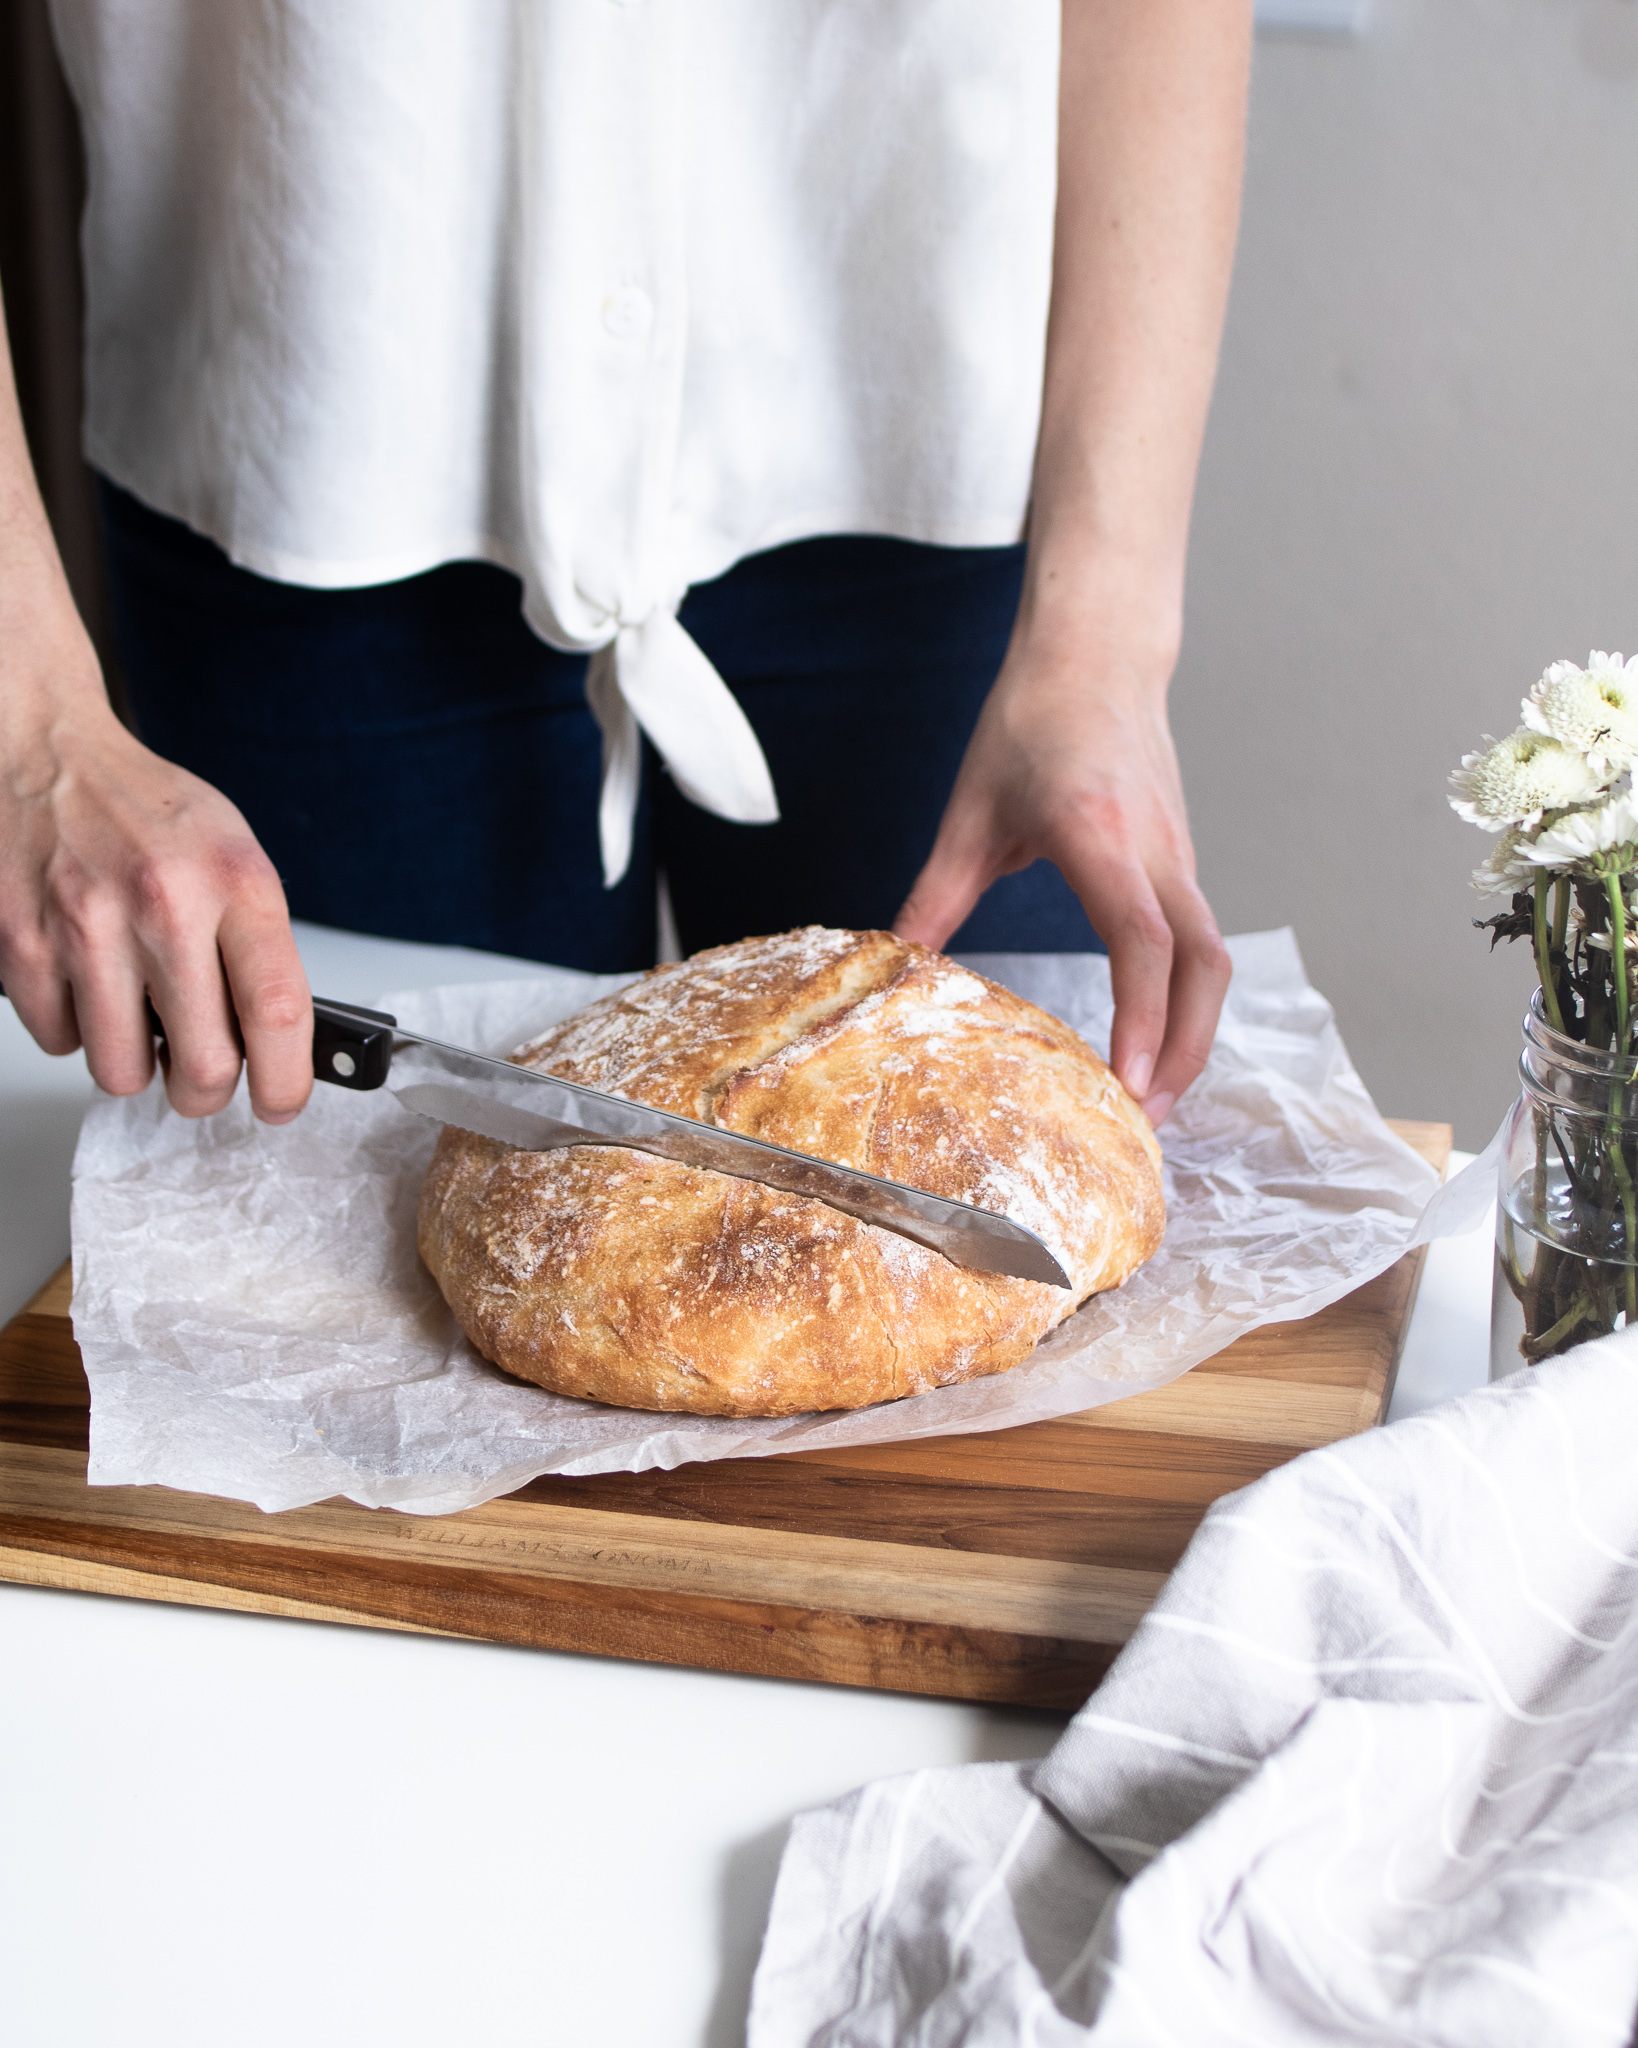
This is a breakfast, lunch, or dinner bread. Serve for breakfast with butter and jam alongside a nice omelet, or as a toasted pesto sandwich for lunch, or it accompanies almost any dinner meal. When serving with dinner I love to accompany it with a nice oil dip. There are so many options out there, but my simple go to is simply olive oil, balsamic vinegar, fresh minced garlic, salt & pepper, and rosemary. It’s classic and makes you want to endlessly dip. Even our little one asks to dip each piece of bread!
What baking pan should I use?
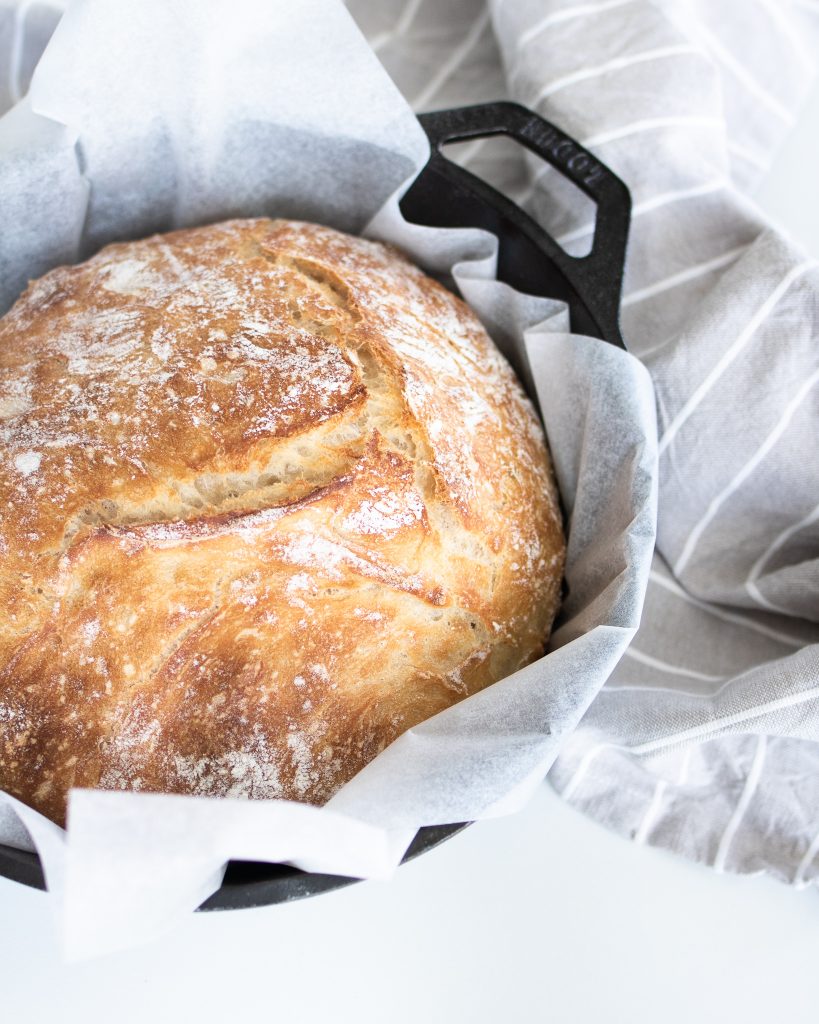
This is best baked in a cast iron pan – I use this one. I bake it for 30 minutes with the lid on, then take the lid off and bake for about another 10 minutes to finish of the perfect golden browning. If you don’t have one of those, you can use a pizza stone or a baking sheet. If you do that, I would suggest using a light spray bottle to gently mist some water on top of the loaf right before sticking it in the oven – it will just help get that nice crispy crust. I would also adjust the baking temperature to be 425 for 25 minutes, then lowered to 400 to finish the bake for another 20 or so minutes.
Can I double this?
This recipe makes one loaf, and yes, you can double it! If you only have one cast iron pan, just keep the other loaf covered in the fridge after it’s proofed while it waits for the oven. Take it out about 15 minutes before placing in the oven so it can start to get back to room temperature.
It stores great as well. Keep it wrapped airtight on the counter for a few days (if it lasts that long!) or wrap airtight and put it in the freezer. It’ll stay fresh for a good few months. When you’re ready to eat it, just pull it out of the freezer and let it thaw at room temperature, then place it back in a warm oven too freshen the crust and warm it up slightly before serving.
How to make
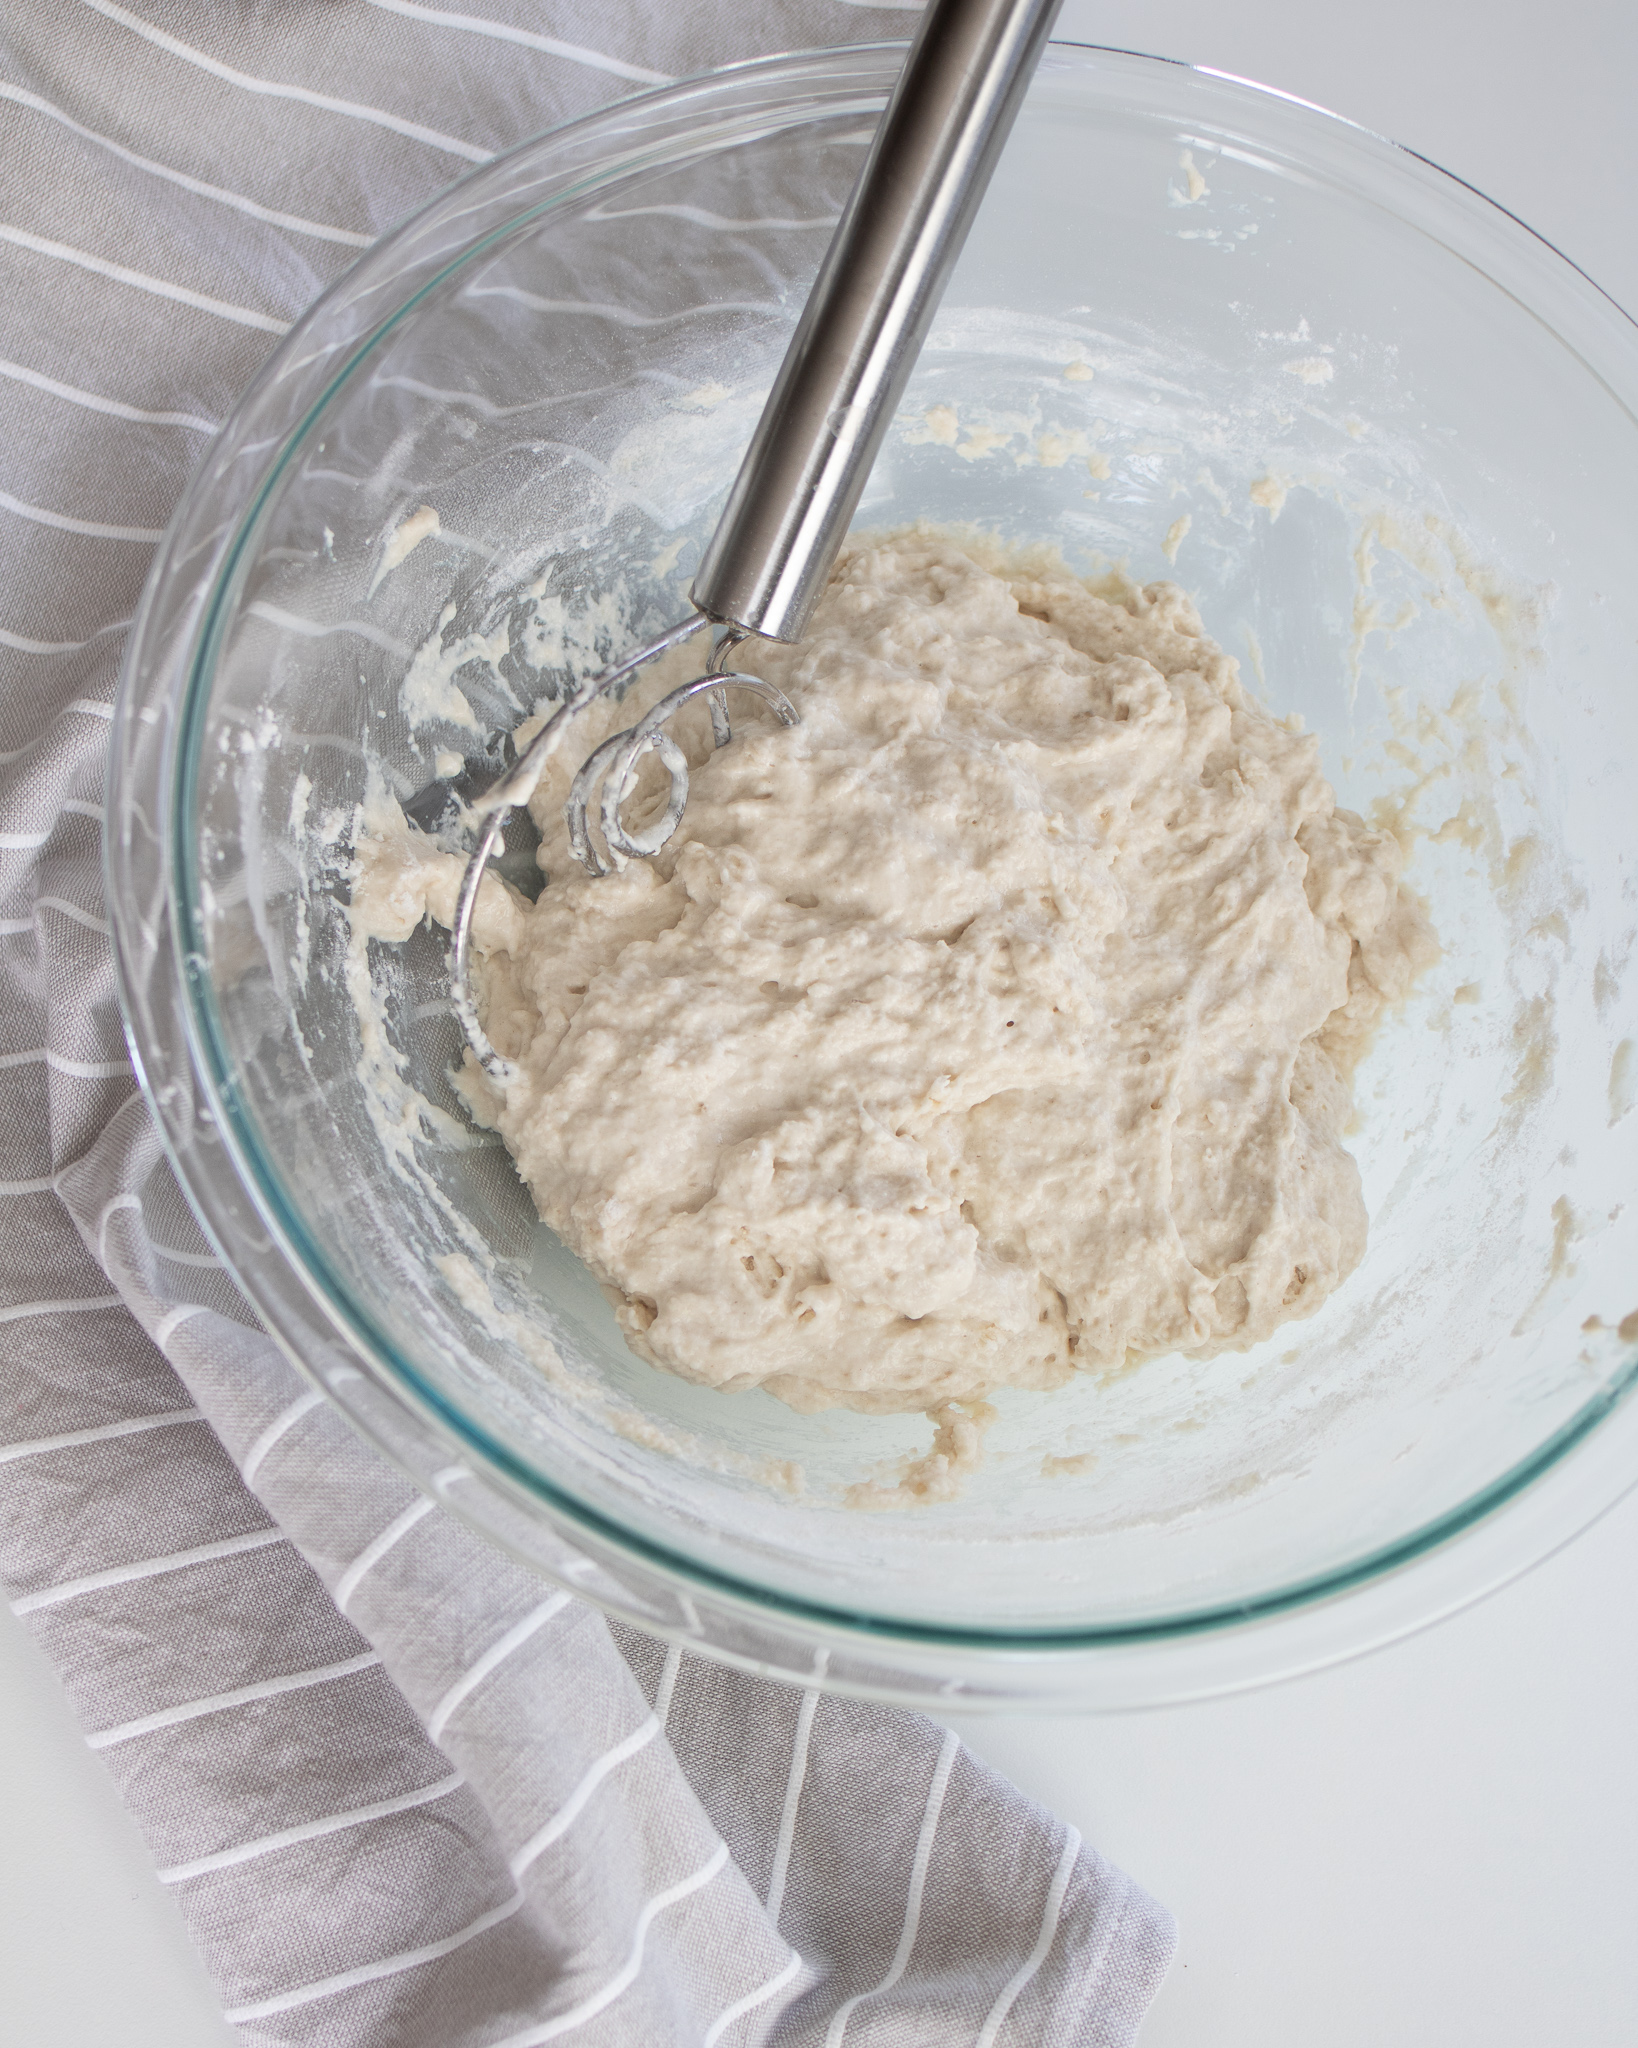
Add flour, salt, yeast, and water to a bowl and mix until all combined. Cover and let is rest for 5-18 hours.
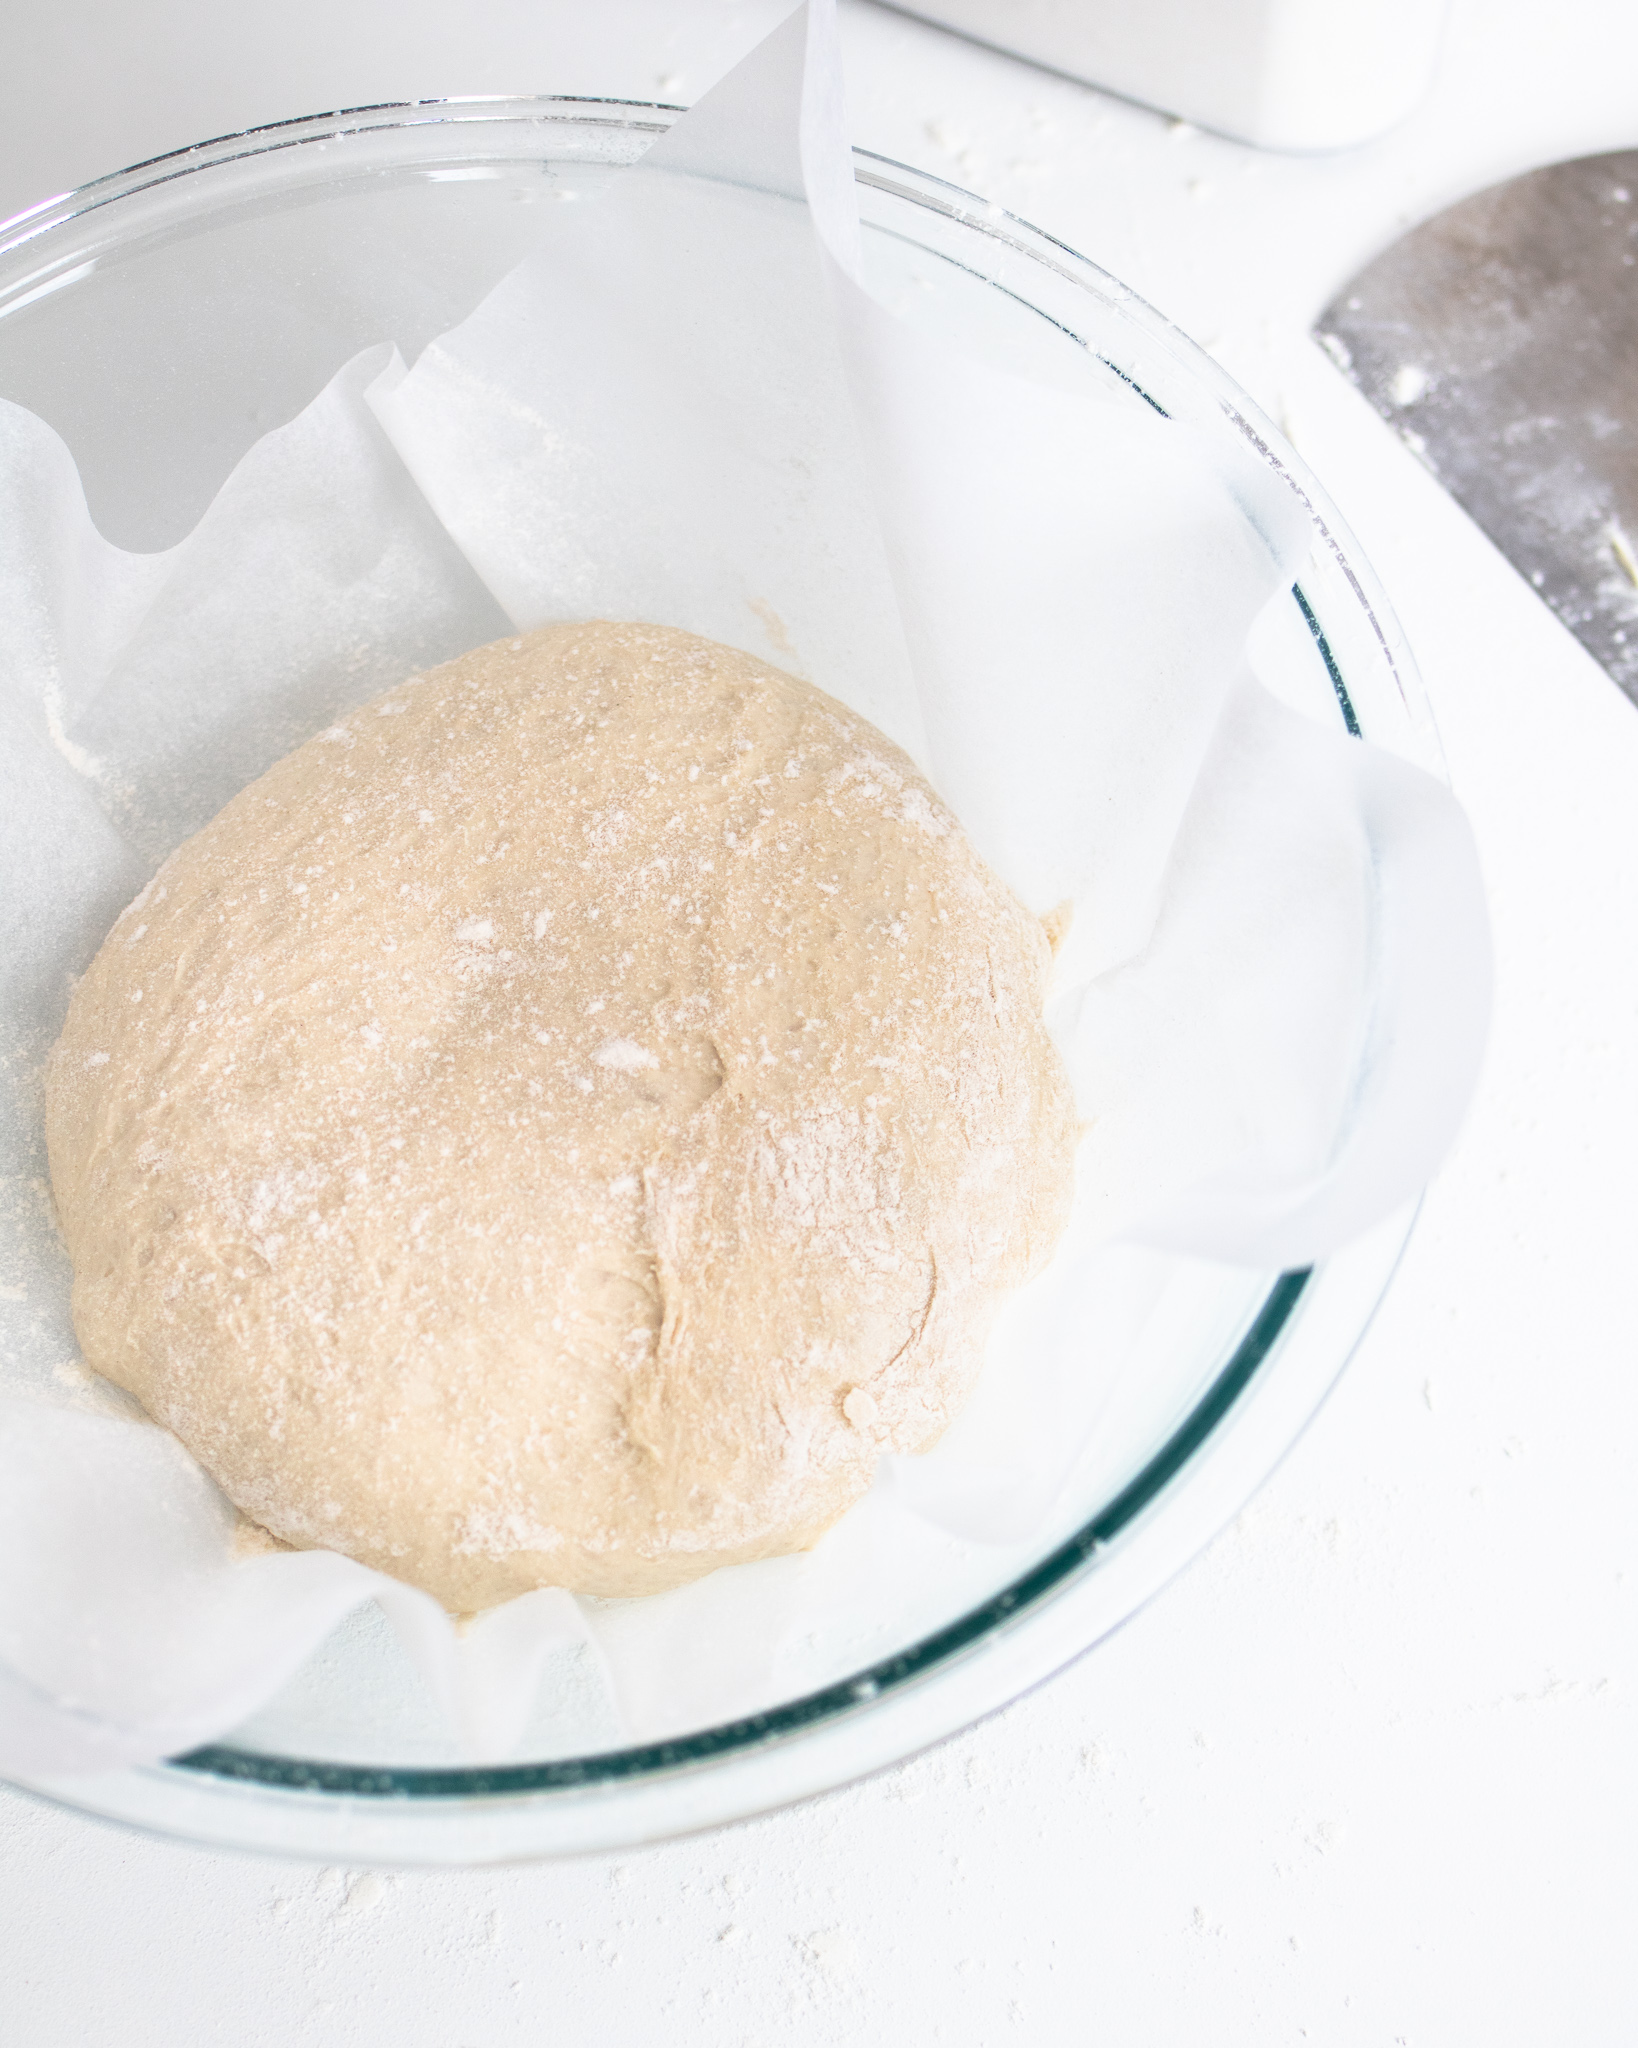
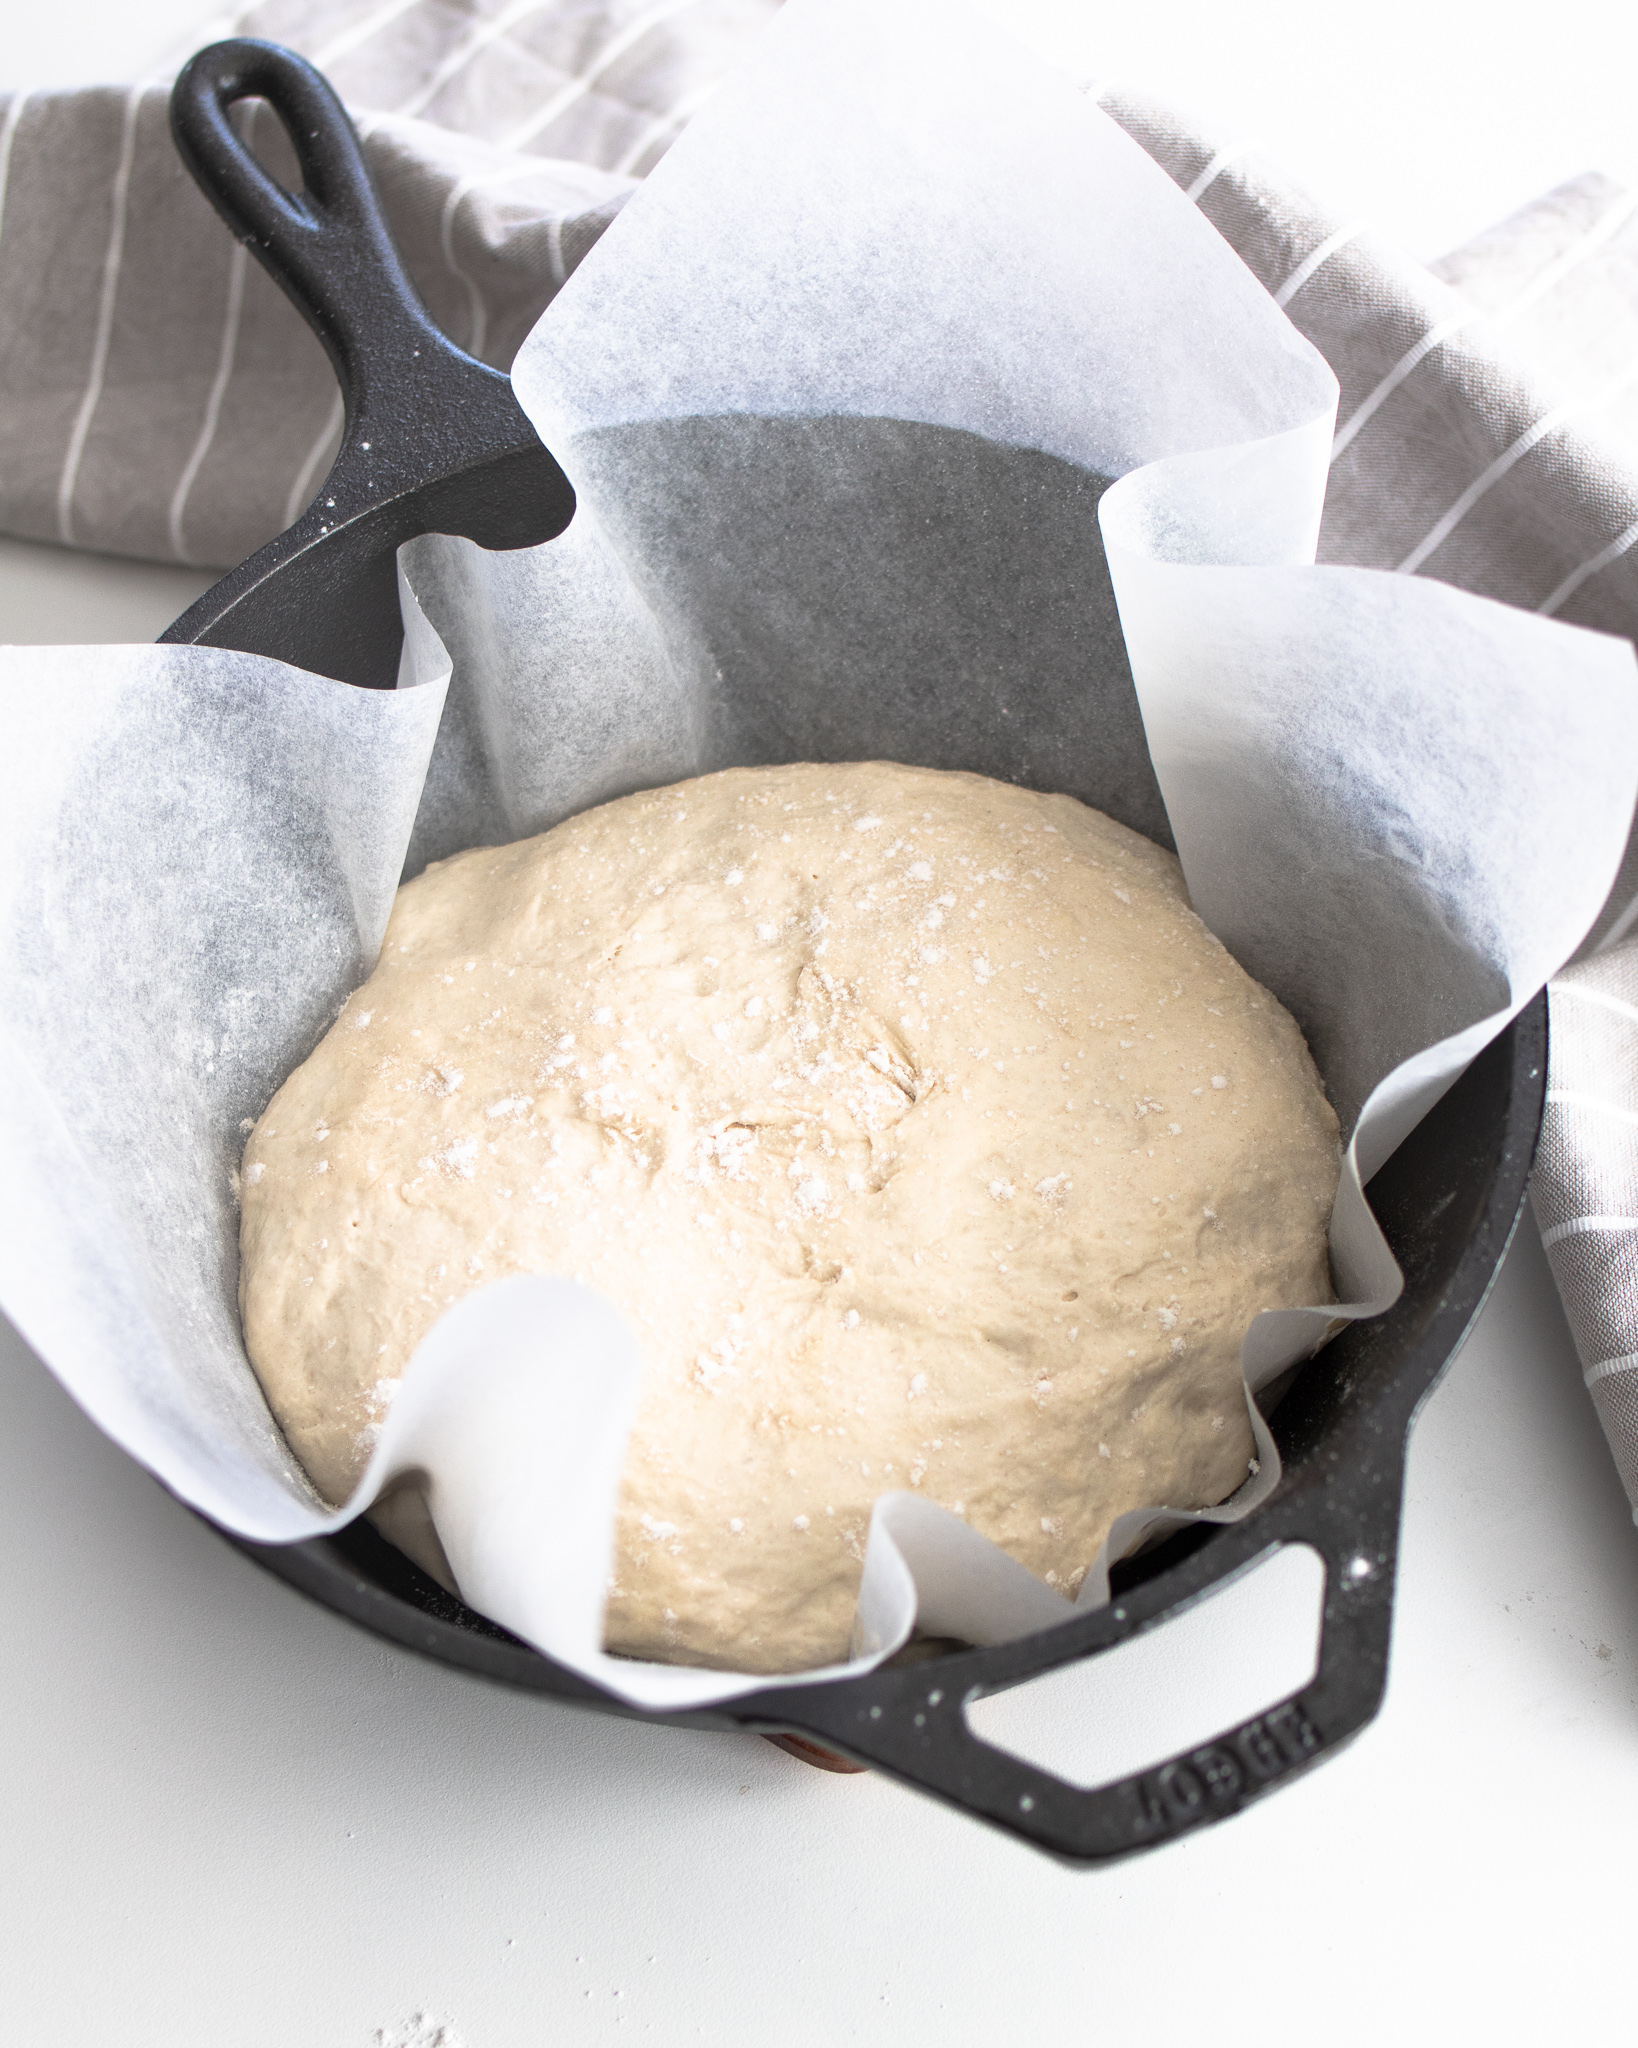
Let rest for 1 hour in a parchment lined bowl or proofing basket. Preheat oven to 450 F.
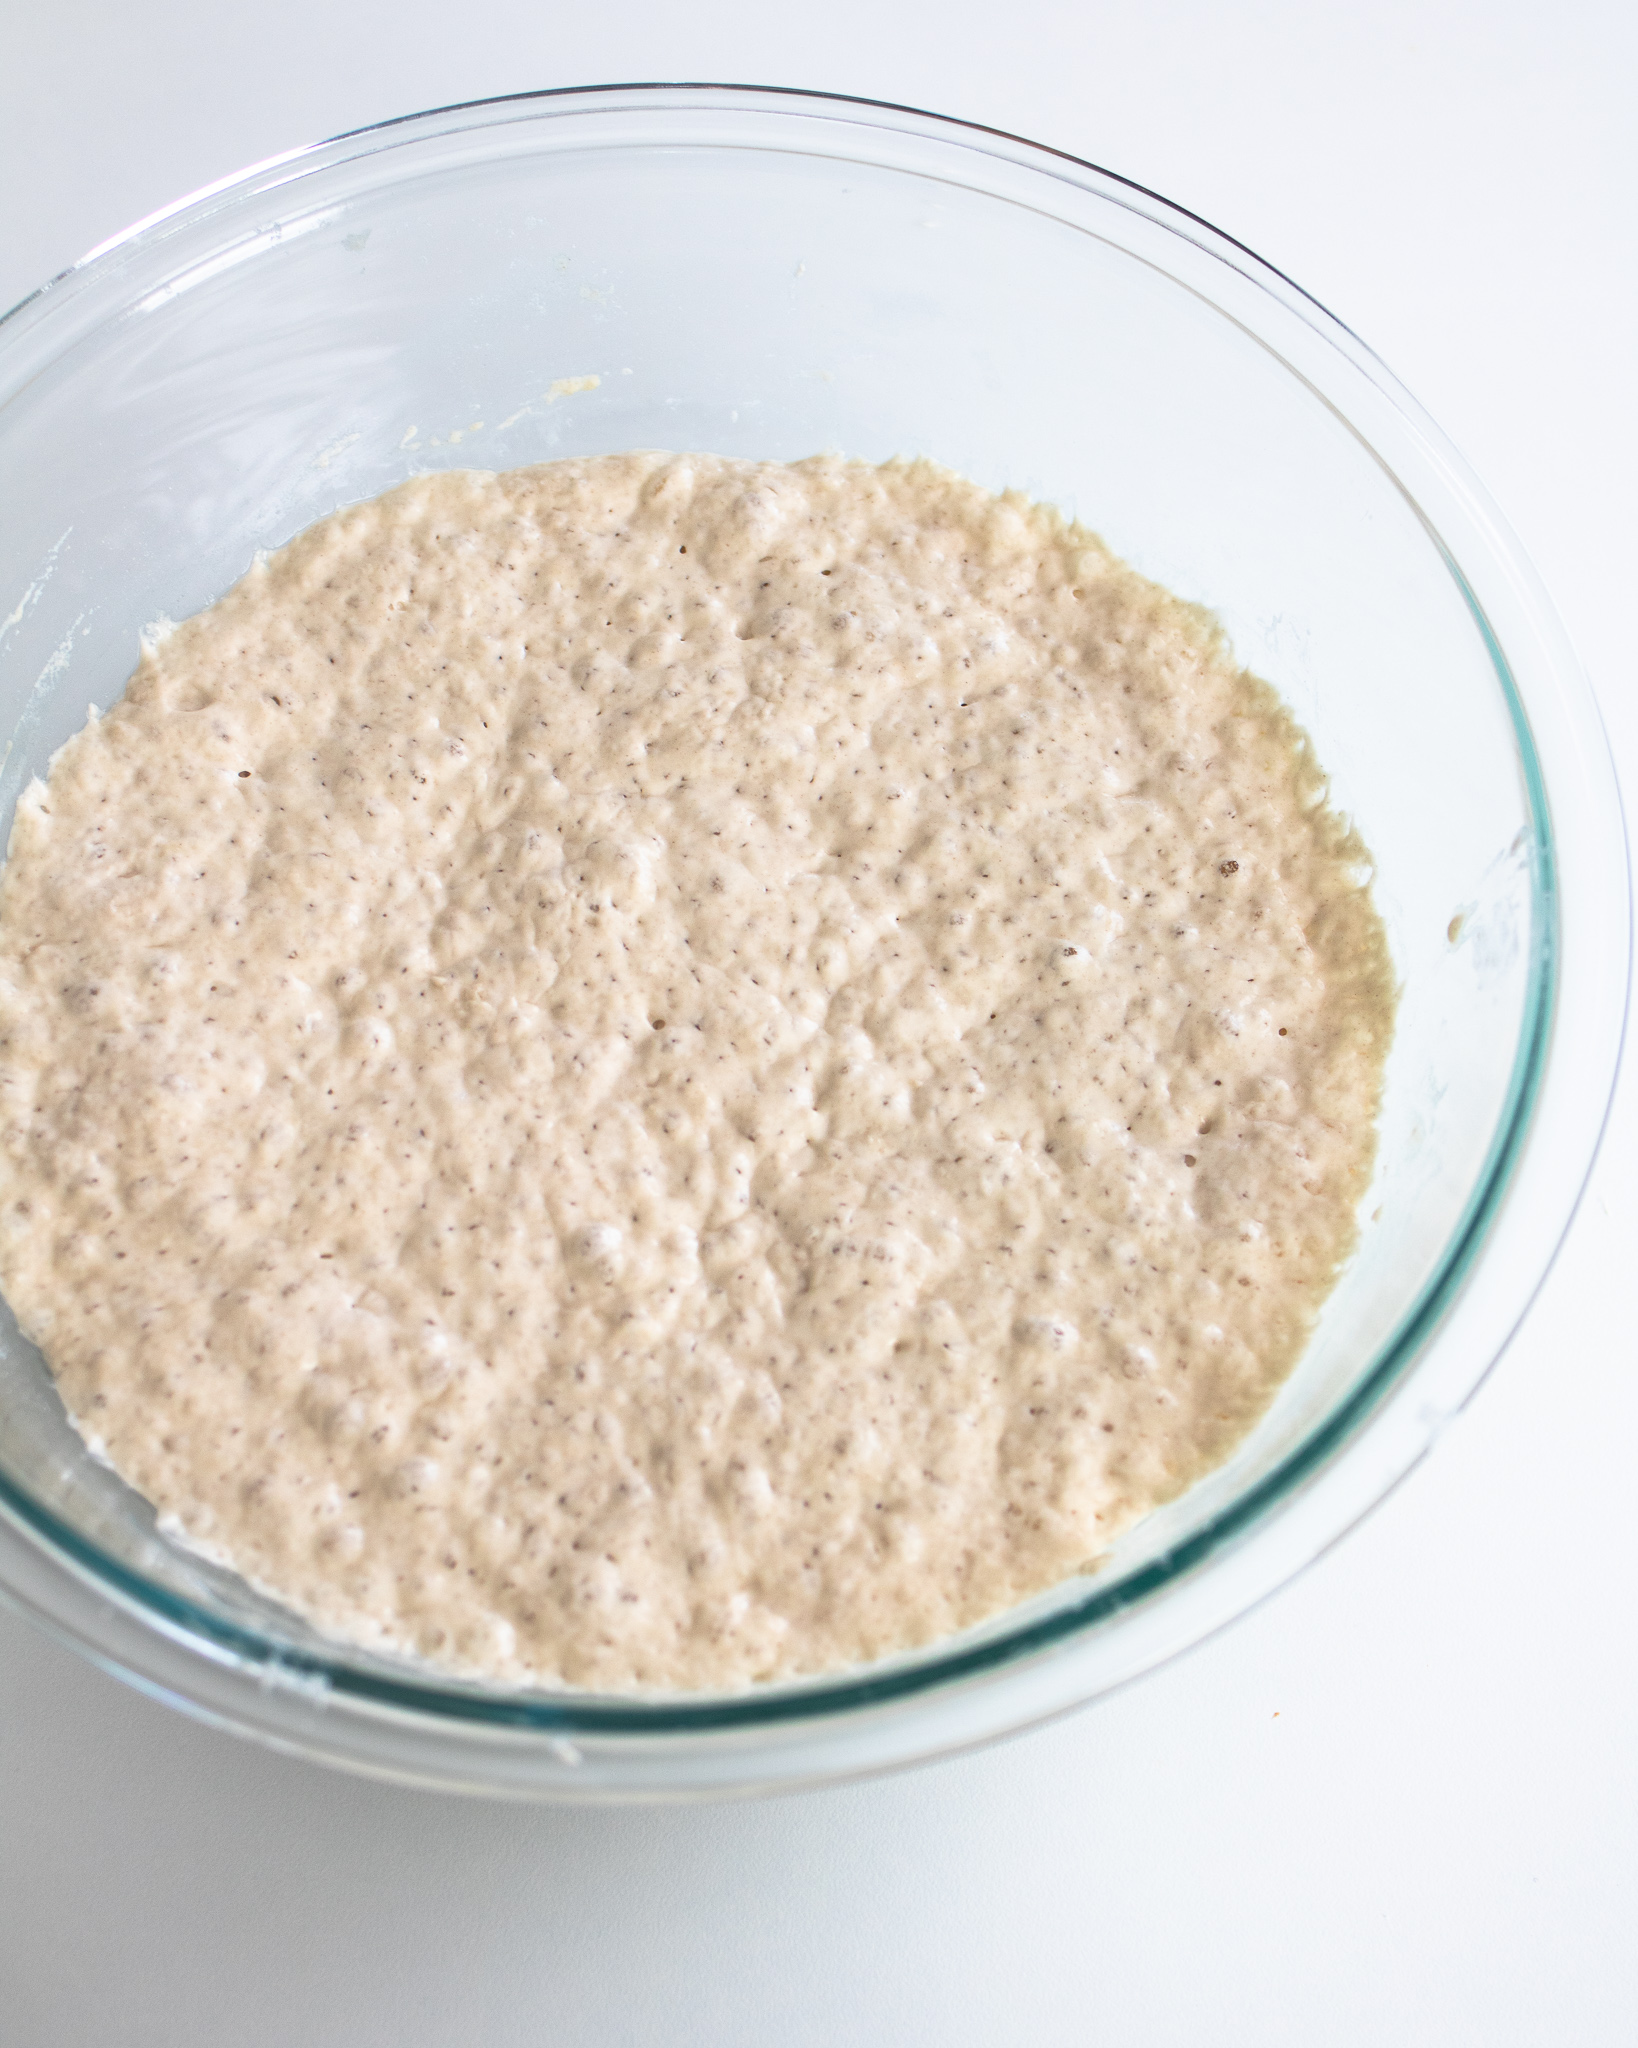
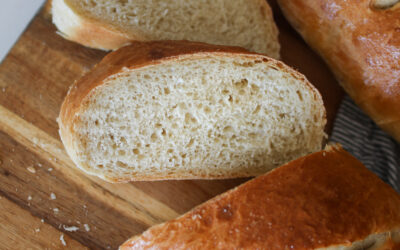
It will have risen and have small bubbles on the top. Transfer to a floured surface and form into a ball.
Bake with lid on dutch oven for 30 minutes. Remove lid and cook until golden, about 10 minutes.
Easy Rustic Artisan Bread
Ingredients
- 420 g (3 ½ cups) bread flour plus more for dusting
- 2 tsp sea salt
- 1/4-1 tsp yeast *see notes for timing options to determine yeast amount
- 355 ml (1 ½ cups) water, room temperature
Instructions
- Dough: Mix together dry ingredients in a bowl. Add water and mix together until incorporated and all the flour is mixed in. The dough will look and feel sticky and shaggy. Cover with plastic wrap and let it rest for a minimum of 5 hours and up to 24 hours.
- Shaping: After a long rest, the dough should be risen and have bubbles on top of the dough. Dust a clean surface with flour. Dust your hands with flour as well. Using your hands or a bowl scraper, scoop out your dough onto the floured work surface. View your ball of dough as having 4 corners. Using a bench scraper or your hands, pull in each corner to gather into a round ball, creating a seam on top. Turn it over so the seam is now on the table and with your hands, continue to gently reinforce the round shape, by cupping your hands around the dough, and turning it several times.
- Rest: Place the dough ball on a proofing basket seam side up, or on a piece of parchment paper seam side down and then transfer it to a bowl to rest. Both of these items help it rest and keep its shape, but if either of those are unavailable, you can just let it rest on a parchment lined baking sheet. Dust the top lightly with flour.Cover with plastic wrap or a light towel and let the dough rest for 45-60 minutes. Meanwhile, place your dutch oven in your oven and preheat to 450° F. If you don't have a dutch oven, you can cook on a baking sheet or baking stone, the exterior of the bread just may be less crusty.
- Baking: After its rested and risen slightly, place in your dutch oven. If you wish, you can keep the bread on the parchment paper and transfer it over that way. It also makes it easier to remove the bread when finished as well. You can score the bread into a design before putting into the oven but you don't have to.Bake with the lid on at 450° for 25 minutes. Then remove the lid and bake for an additional 8-12 minutes, or until it gets a nice golden finished color. The bread will sound hollow when you tap it. Let it cool for at least 10 minutes before cutting.
- Storing: This bread stores wonderfully. You can wrap it airtight and leave on the counter for a few days or you can wrap it up and store it in the freezer for a few months. Just let it thaw at room temperature, cover with foil, and let it reheat in the oven before serving for best results. If you somehow have bread that's gotten dry at the end of the week, it also make amazing homemade croutons!
- Flavor additions: When mixing the dough in step one here's different variations you can add:– 4 cloves roasted or minced garlic + 3 TB chopped rosemary – 1 cup chocolate chunks – ¾ cup cranberries + chopped nuts of choice
Notes

DID YOU MAKE THIS RECIPE?
Tag @loskitchenco on Instagram and
hashtag it #loskitchenco

Your video instructions and all
visuals make it so simple and easy. So glad I know and love you????????????????????????????????
Glad the video helped! Happy baking! 🙂
The instructions were so easy to follow! I had a couple of questions though (mostly needed confidence), I contacted her via Instagram (IG). The answers were immediate! Not only did she answer my questions but gave me the confidence that I needed! I now feel I can bake! My first Artisan bread was so delicious!!! The IG video was incredible! Thank you for your recipe, assistance, confidence and video!
So happy to hear that Susana! Loved seeing your end result – gorgeous! Keep baking!
We’ve tried this bread twice now and love it! It is super easy and delicious! Thank you!
Thank you so much for taking the time to share Diana! Glad it was a hit!
This bread is so simple but delicious. One of my favorite recipes.