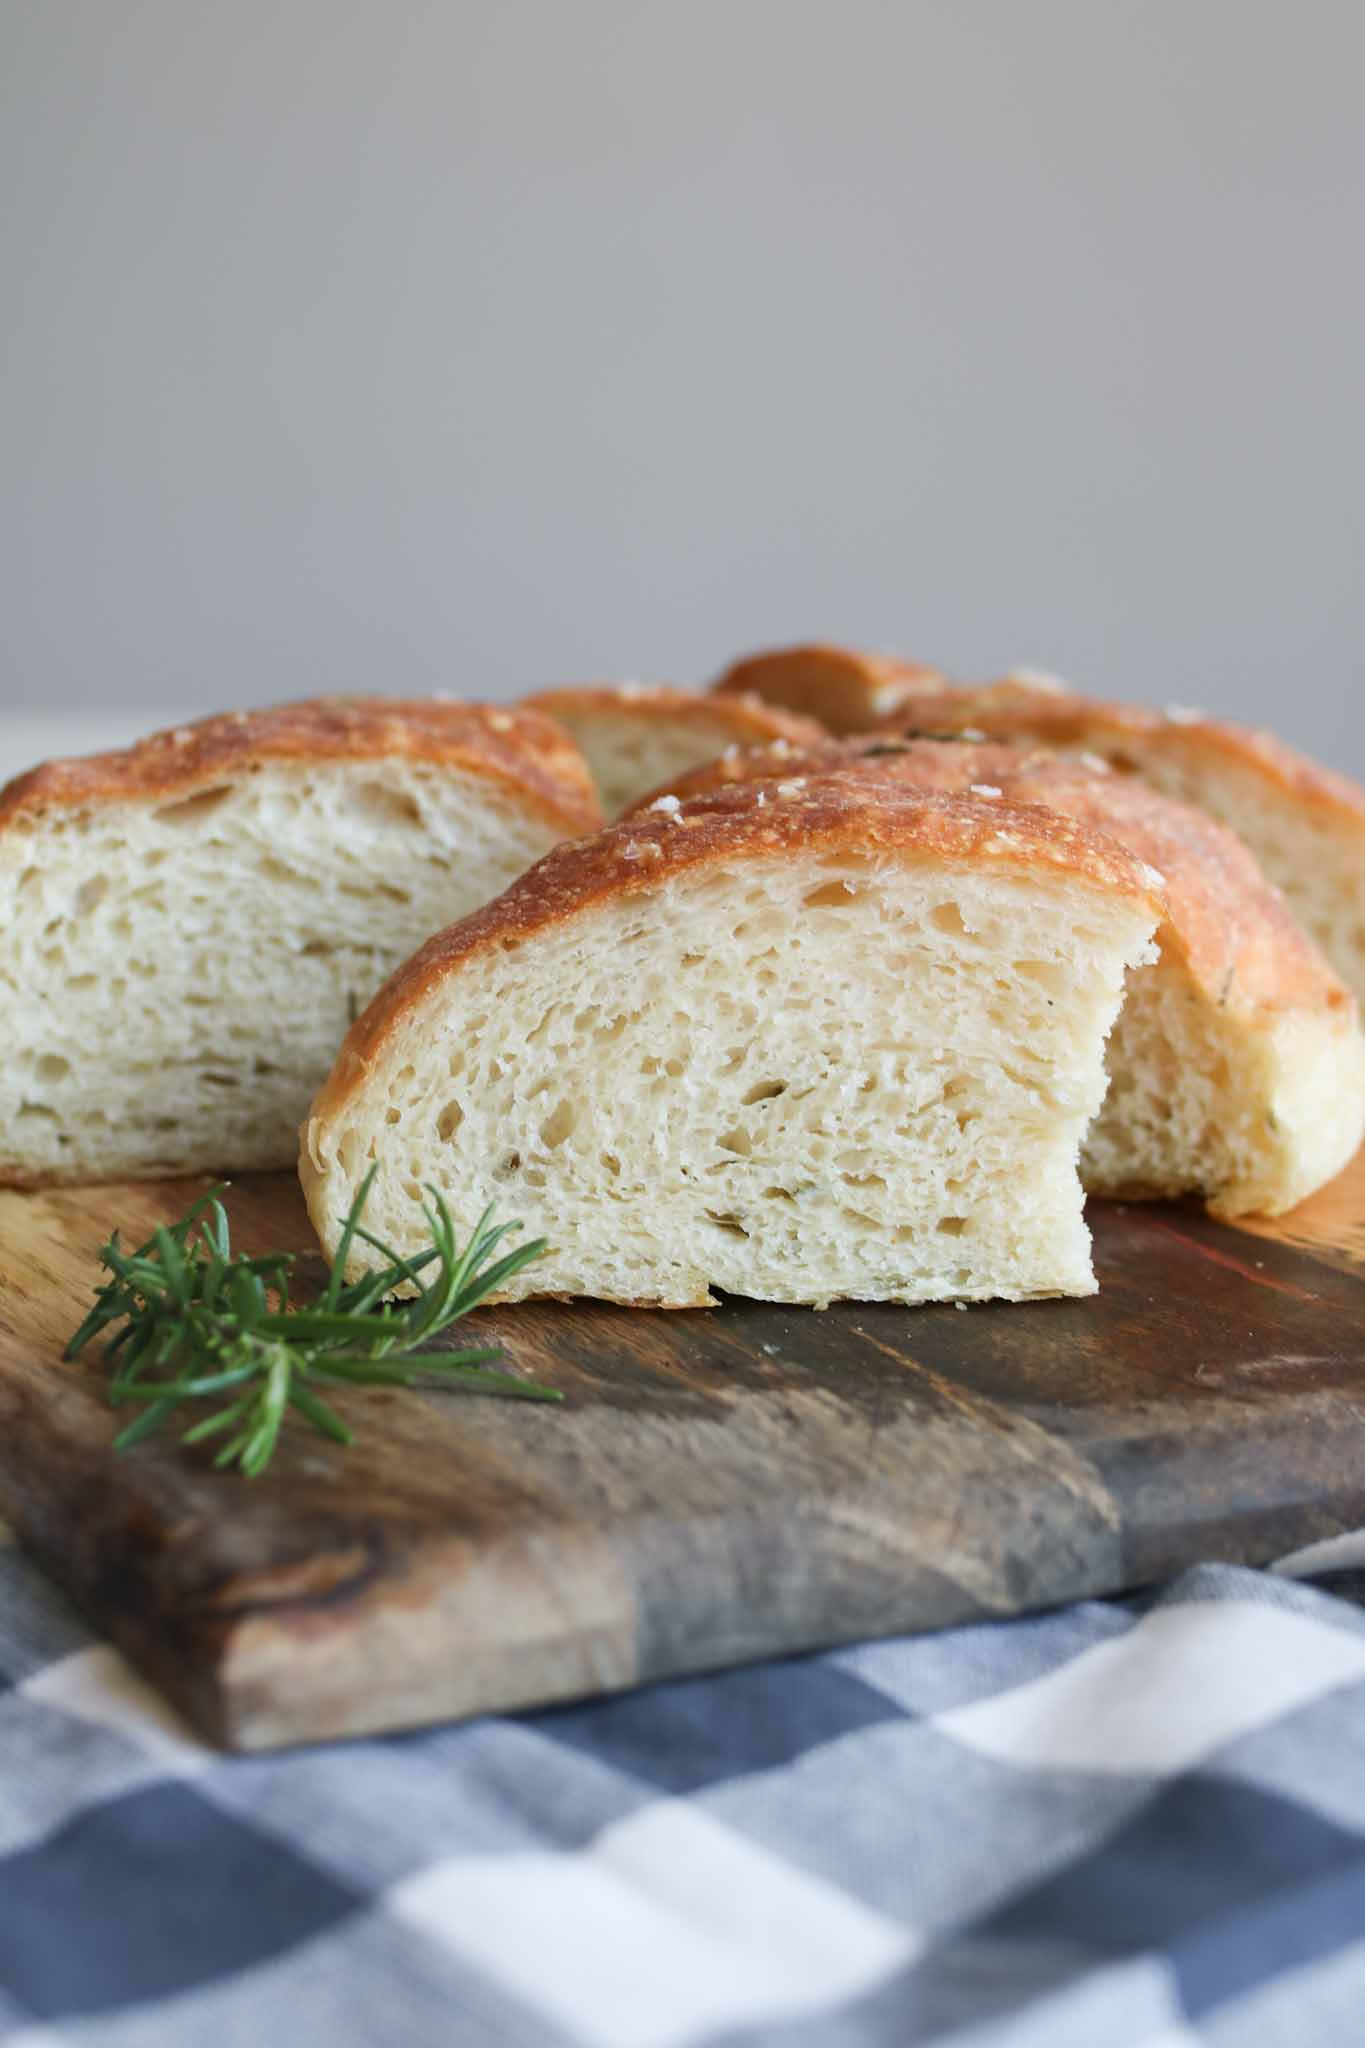
A buttery flavorful crust with a tender interior. Keep or leave out the garlic. There are multiple timing options to use this bread as an overnight dough, half day dough, or have ready in just a couple hours! This bread is your no fail go-to recipe!
Easy, flavorful artisan bread
If you want bakery style bread results with minimal effort, this bread recipe is for you.
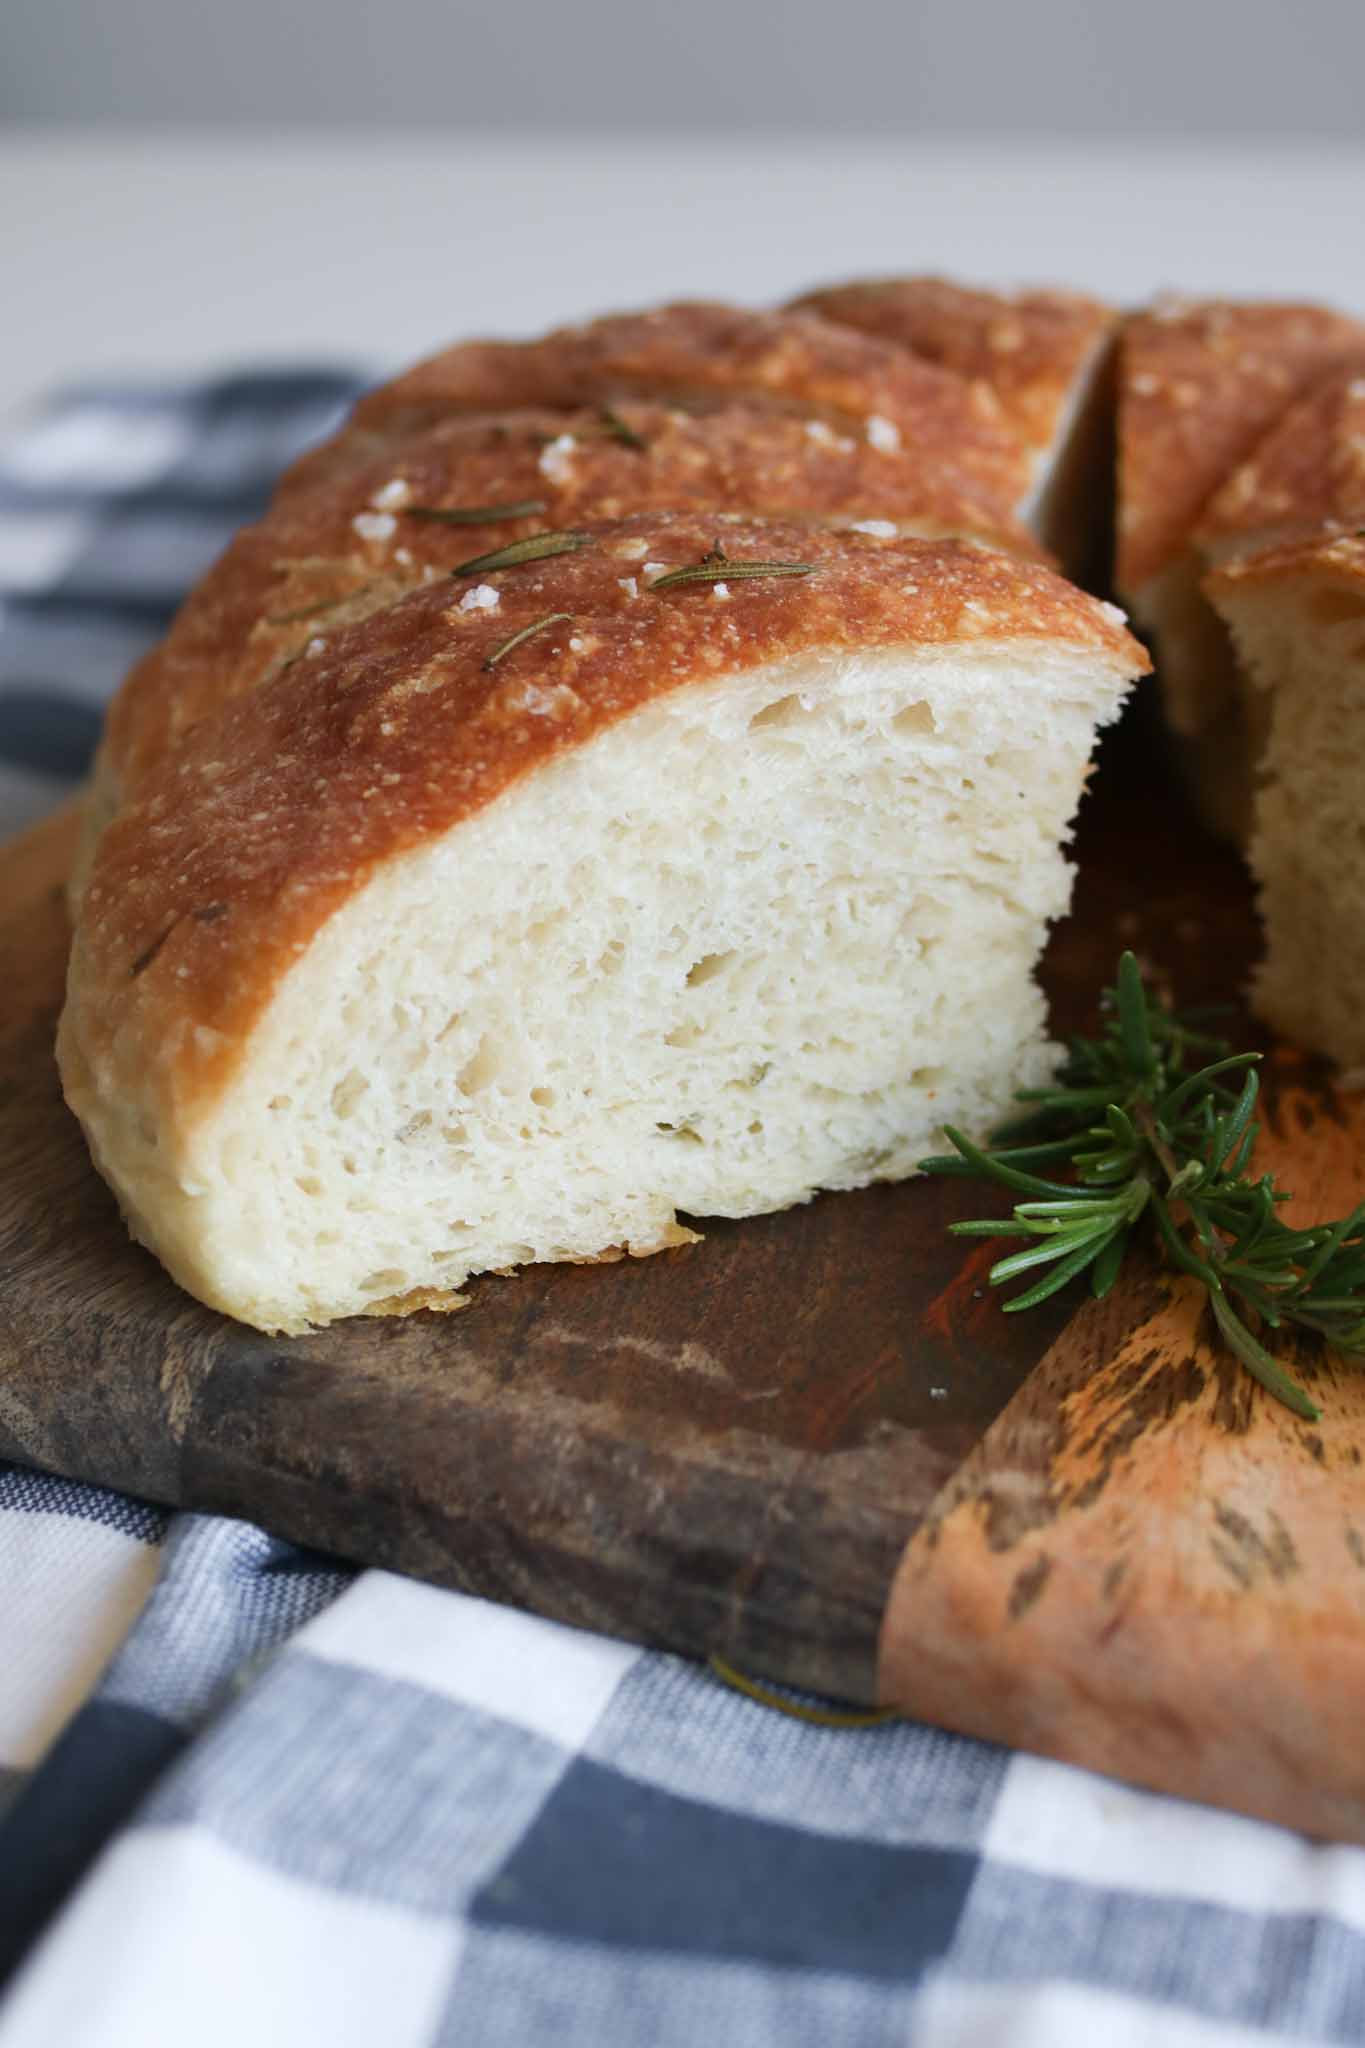
The beautiful thing about this bread is that it takes NO KNEADING! This makes it an approachable recipe for even the most beginner bakers. The results come in the rise time. While I love the overnight rest option, as it’s extended fermentation yields a deeper flavor and fluffy texture, even the quick version that’s ready in under a few hours is incredible.
I use both methods for my family just depending on the needs of the day and how much I was thinking ahead. I love that I get fantastic results with every method, every time.
How to make no knead rosemary bread
The actual hands on time for this recipe is only about 5 minutes! And requires minimal materials and ingredients!
INGREDIENTS:
Bread Flour
Water
Yeast
Garlic (optional)
Salt (this is my favorite salt I use! Use code LOSKITCHEN for 10% off)
Rosemary
Flaky Sea Salt (this is worth getting if you don’t have it already. It truly makes the bread shine)
SUPPLIES:
Bowl
Danish Dough Whisk (or any mixing spoon…even your hand will do!)
Dutch Oven Pan (I love this combo cooker. I use it when I do covered artisan breads to trap steam and I love the crusty effect from the cast iron. But any dutch oven will do, or you can even use a baking sheet or pizza stone!)
Bench scraper (not required, but really helpful when you’re working with sticky doughs like this)
Timing Options
You’ll see in the recipe that you have a range of yeast you can use. I suggest anywhere from 1/4 tsp – 1 tsp. I provide a range because it gives you different timing options based on how long you want your bread to rise. The more yeast you use, the faster bread will rise. The less yeast you use, the slower your bread will rise.
Decreasing the yeast not only makes the bread rise slower, but the longer fermentation time impacts texture and flavor. We’ve used all the yeast options depending on the timing we have for the day, and had delicious results every time. But just something to keep in mind, that results can slightly vary depending on how much you use! Here’s suggestions to help you decide what works for you this time:
Overnight Rise (~8+ hours): 1/4 tsp yeast
Half-day Rise (~4-6 hours): 1/2 tsp yeast
Quick Rise (~2 hours): 1 tsp yeast; in colder months consider doing 1 1/2 tsp yeast
How to store & reheat artisan bread
To store…This easy no knead rosemary artisan bread is fantastic fresh, and will last wrapped on the counter top for a few days. It will also freeze will! Place in a freezer ziplock bag or wrap well in plastic wrap after it’s fully cooled and it will store fresh for a few months.
To reheat artisan bread…place on a baking sheet and bake at 350 F for about 10 minutes, or until warm. It will help freshen the crust and flavor without getting gummy (unlike the microwave).
To gift…I love gifting fresh bread! One way I love to wrap up fresh bread is in a paper bag. Because the paper bag has a little air coming through, it helps preserve the crust longer and keeps things from getting too soggy. I have a stack of these gifting bread bags on hand and have loved using them as neighbor gifts.
Video tutorial
More bread recipes you’ll love…
- Easy Rustic Artisan Bread
- Softest Whole Wheat Bread
- Homemade French Bread
- Classic White Sandwich Bread
If you make this recipe, make sure you tag @loskitchenco on Instagram and leave a comment below! You can also save for later by clicking the ‘Pin Recipe’ button on the recipe card. Happy baking!
No Knead Garlic Rosemary Bread
Ingredients
- 420 g (3 ½ cups) bread flour
- 2 tsp sea salt
- 2 tsp fresh minced garlic
- 1 tbsp fresh rosemary roughly chopped
- 1/4 - 1 tsp yeast *see notes for rise time options to determine yeast quantity
- 355 ml (1 ½ cups) lukewarm water
Topping for bread
- 4 tbsp olive oil divided
- 1/2 - 1 tbsp fresh rosemary
- about 1/2 tsp flaky sea salt
Instructions
- Dough: Mix together the bread flour, salt, garlic, rosemary, and yeast in a large bowl. Add water and mix together until incorporated and all the flour is mixed in. The dough will look and feel sticky and shaggy. If you need more flour or water to get to the stiff, shaggy consistency - add more as needed. Cover with plastic wrap and let it rest for at least 1 hour or overnight (see notes below to decide your timing and respective yeast quantity).
- Shaping: After its rest, the dough should be doubled in size and have bubbles on top of the dough. Dust a clean surface with flour. Dust your hands with flour as well. Using your hands or a bowl scraper, scoop out your dough onto the floured work surface. View your ball of dough as having 4 corners. Using a bench scraper or your hands, pull in each corner to gather into a round ball, creating a seam on top. Turn it over so the seam is now on the table and with your hands, continue to gently reinforce the round shape, by cupping your hands around the dough, and turning it several times. Pulling it on the table as you shape it will help give the dough tension.
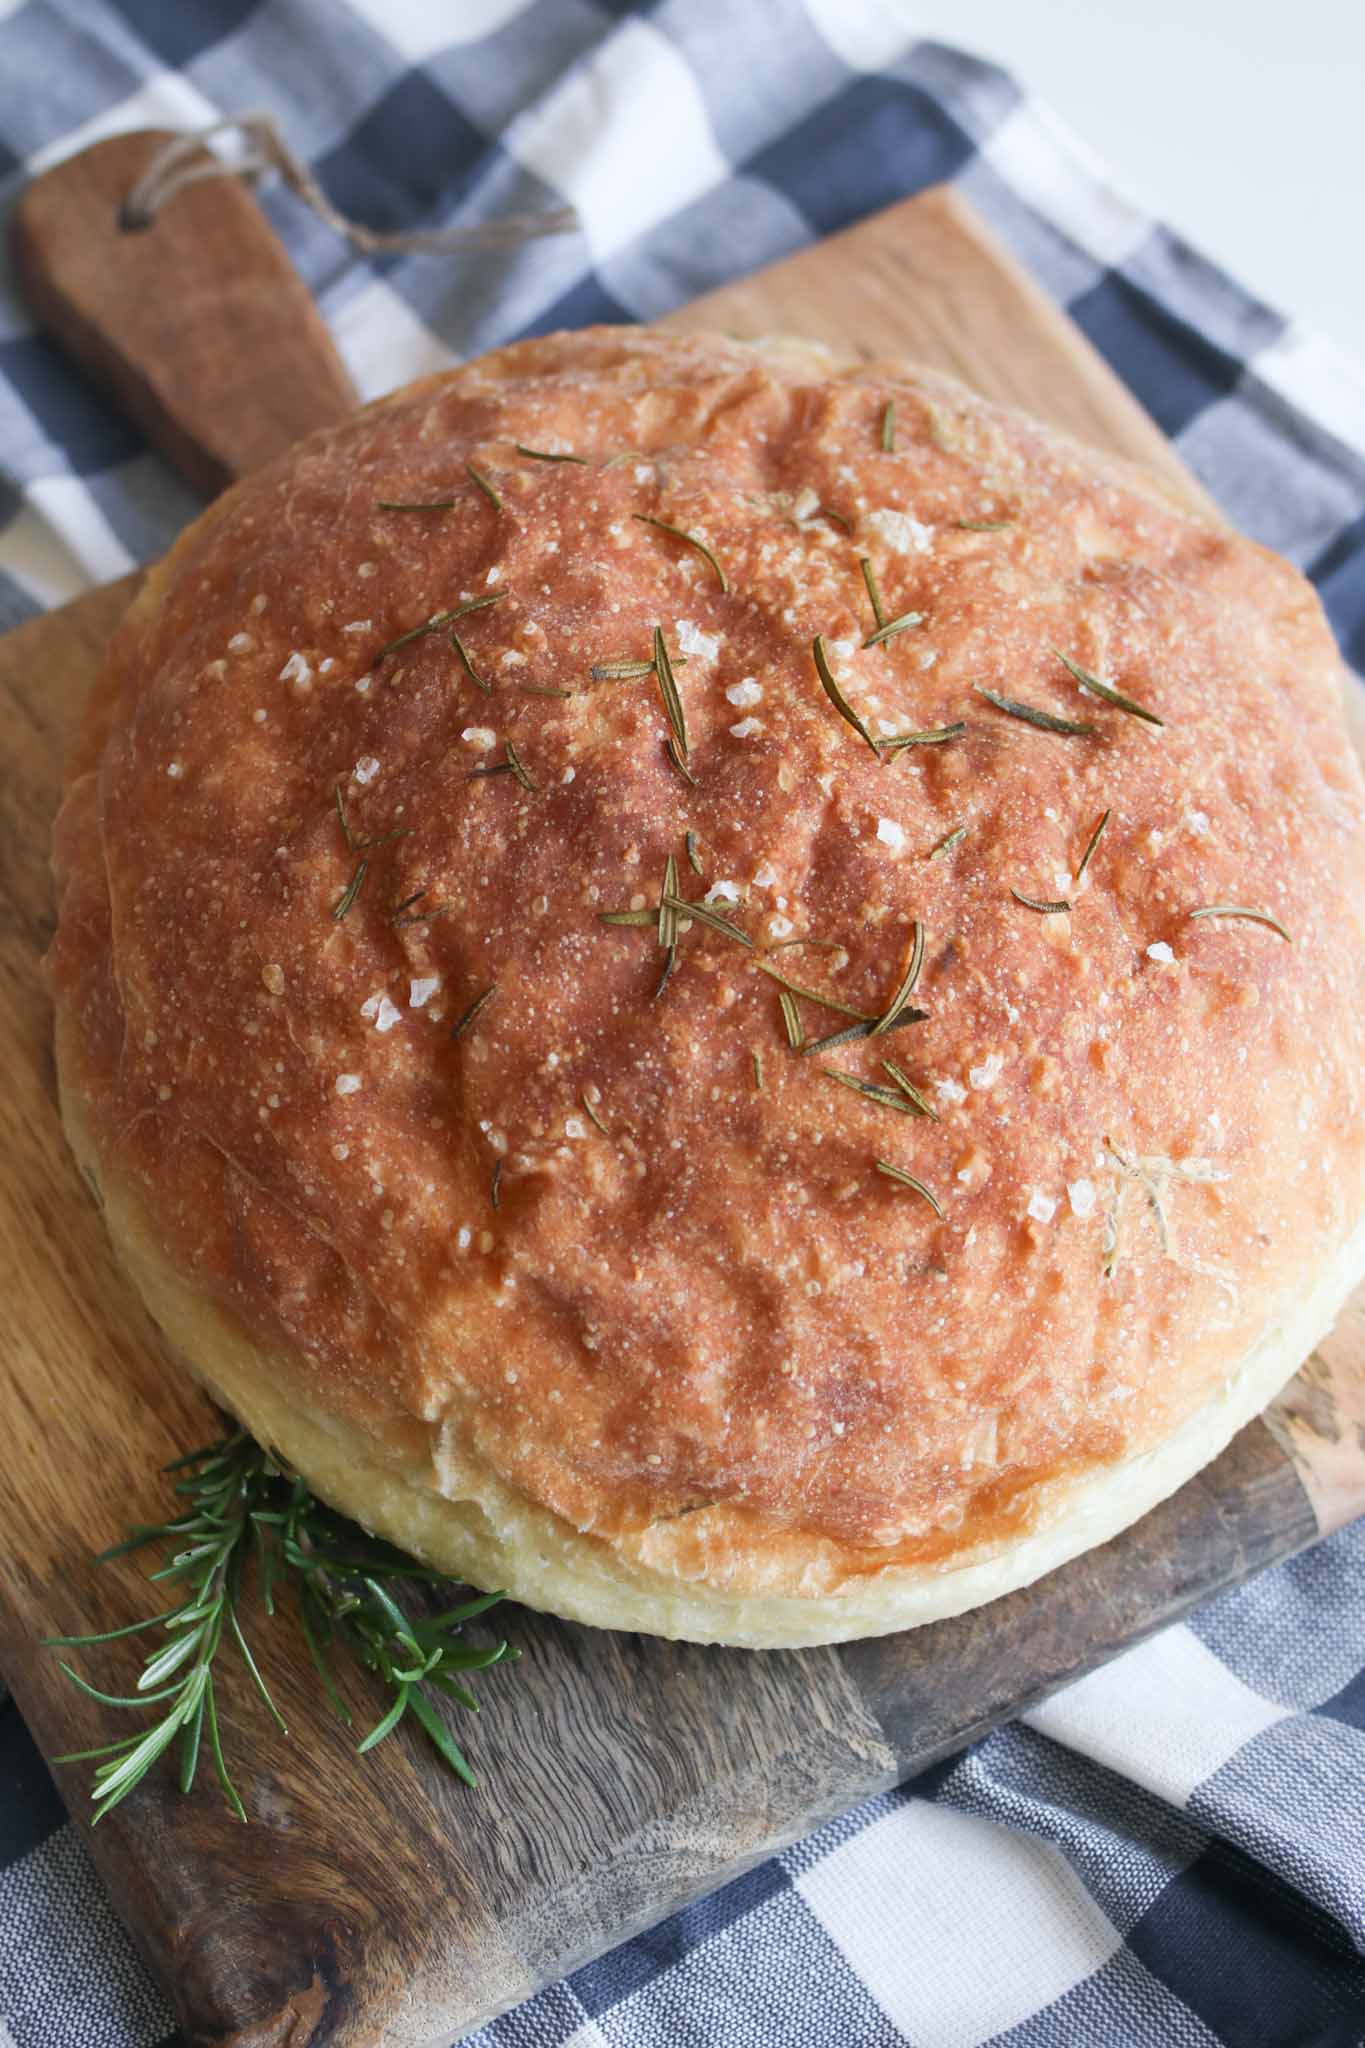
- Rest: Coat a cast iron pan with 2 tbsp of olive oil. (Alternatively, you could use a baking sheet or pizza stone). Place the dough in the pan, seam side down. Gently rub the top with another 1-2 tbsp of olive oil until it's fully coated. Sprinkle the top with flaky sea salt and fresh rosemary. Cover and let it rest for 30-60 minutes. Meanwhile, preheat your oven to 425℉.
- Bake: Once it's risen about 50% in size and feels puffier, place in preheated oven and bake for about 22-28 minutes, until the crust reaches a nice deep golden brown color. Let it cool for 10-20 minutes (if you can stand waiting!) before cutting to prevent the bread from squishing.

This looks delightful. Do you have an airfryer and have you made bread in it? If so what temp and time do you use. Thanks
I haven’t tried it in an air fryer but I know many other people have done bread in an air fryer so it’s worth giving it a shot for fun!
Served up with calamari salad, fresh caught smoked wahoo, and Mahi-Mahi jalapeño spread. Of course olive oil and balsamic. The bread was amazing🙏.
That sounds AMAZING! So glad you enjoyed!