
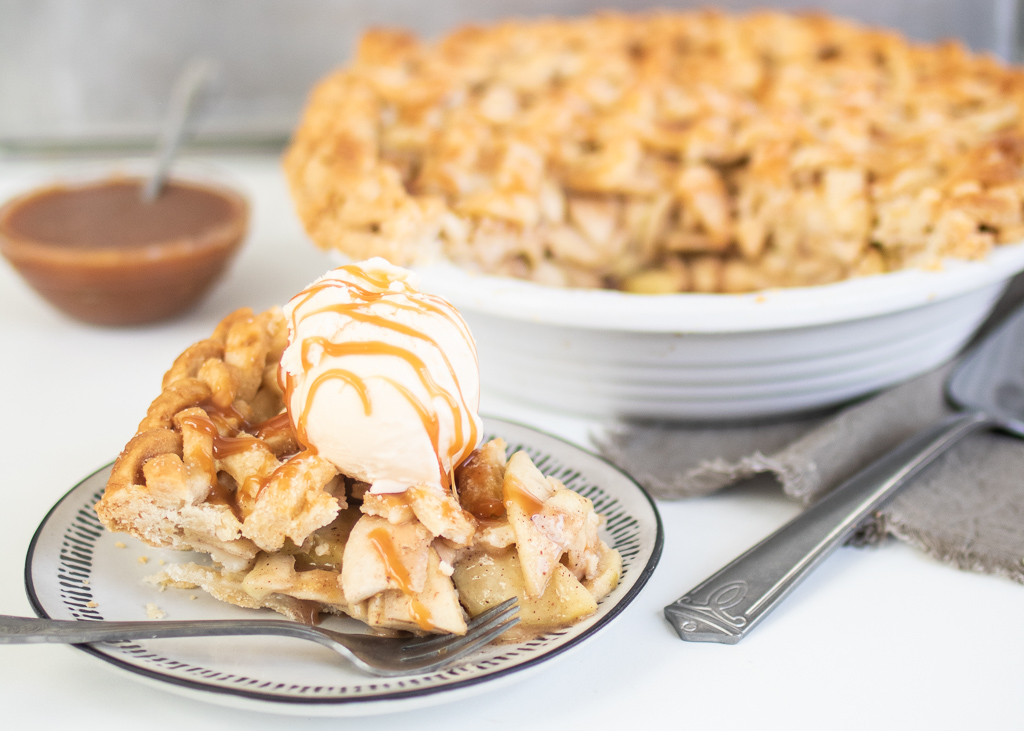
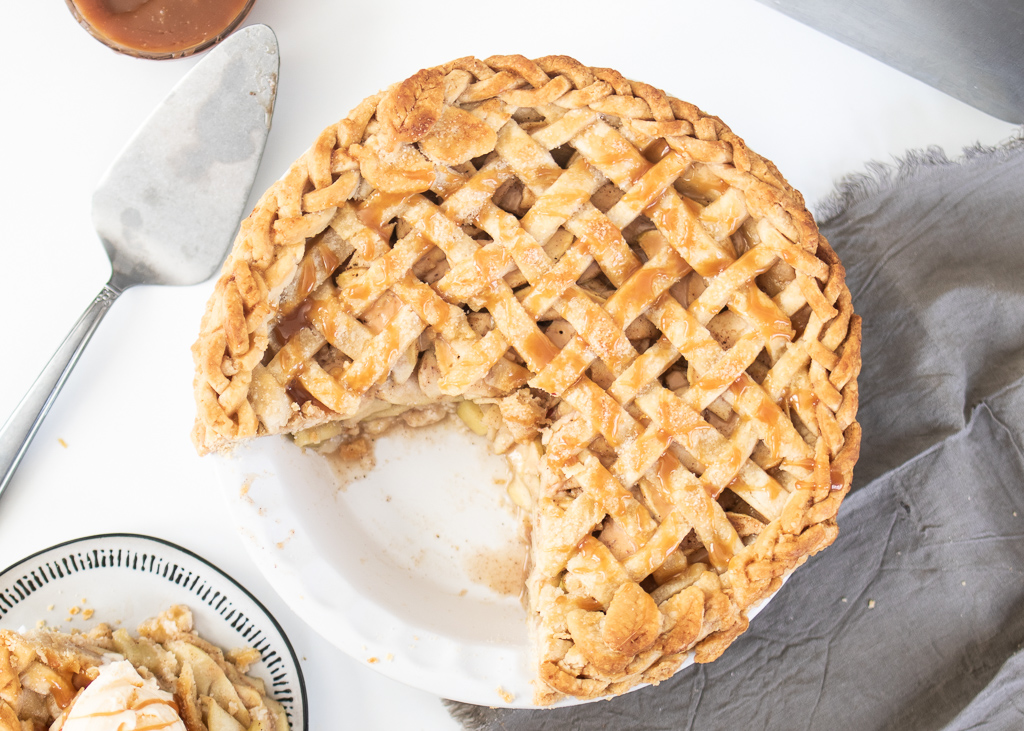
A classic apple pie with a twist. Add gooey salted caramel to those delicate thinly sliced apples and flakey American pie crust and you have yourself a show stopper apple pie.
5 Pie Crust Tips:
1. Use COLD ingredients. Then wrap, and let it chill for an additional 30-60 minutes before working out. This isn’t mandatory, but makes it easier to roll out the dough, especially if your kitchen is warm!
2. Do NOT over work the dough. Handle as minimally as possible. Overworked dough and too much flour are two main culprits for having dough break apart on you.
3. Don’t be afraid to have a lot of dough on the top edges. Pie crusts naturally shrink in while baking, so having a generous amount there will help it keep its shape. To crimp, simply use your pointer finger in one hand to make an indentation, and use your thumb and pointer finger in another hand to pinch. There are lots of helpful YouTube videos on this as well.
4. To transfer the dough from your work surface to the pie dish, there are a few ways:
– Use a bench scraper to carefully lift off the work surface, using your hands and scraper to transfer. (Less preferred for me)
– Use a rolling pin to peel one edge off of the work surface, letting it gently hang while transferring.
– Use a silicone mat as your work surface. Putting one hand on top of the dough, flip the silicone mat over the pie dish, using your hand to gently put the dough into place.
5. If some pieces of dough rip, it’s okay! Gently press the dough into place. Adding patches of dough if necessary to fill any larger tears or holes. By the time you put a filling in, no one will know!
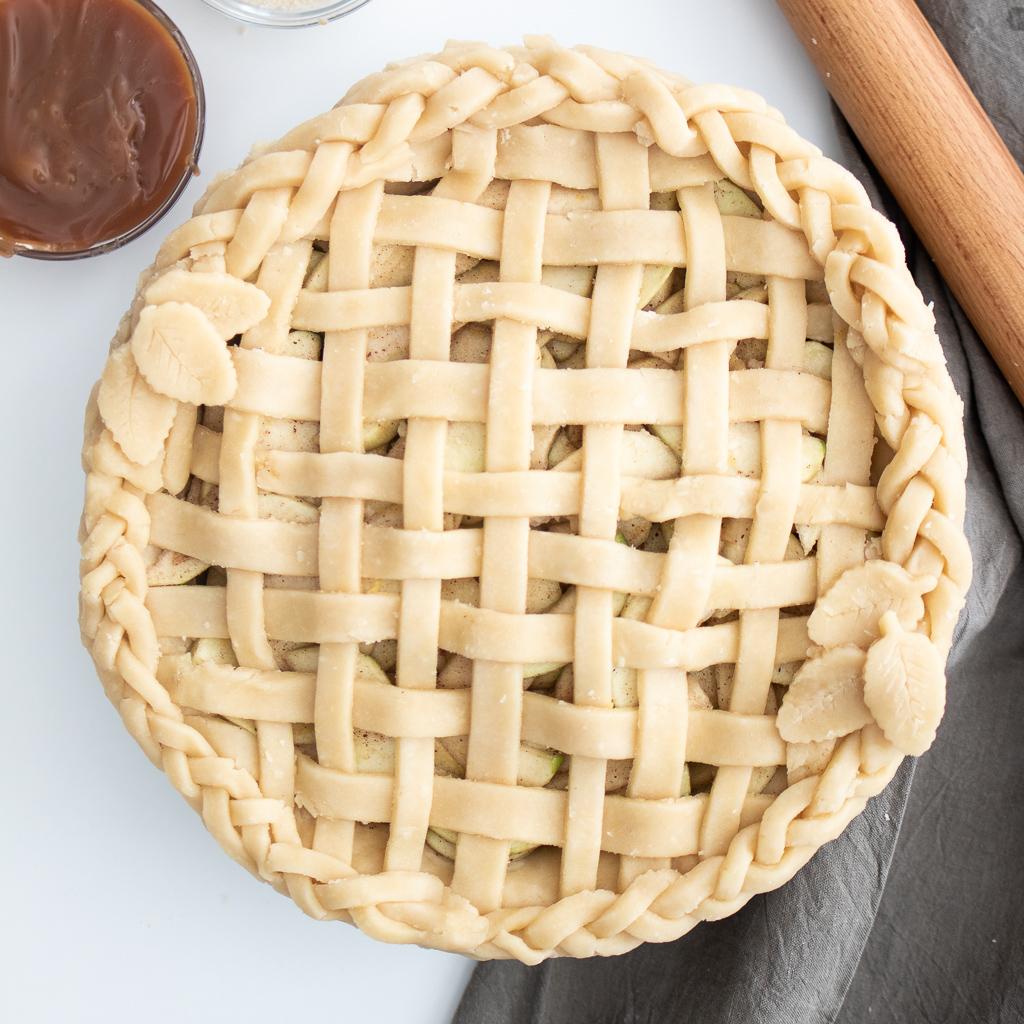
Lattice Crust:
Lattice crusts look impressive and, while they can seem intimidating, with a few small steps you’ll be able to pull it off first time!
1. Roll out the dough set aside for the top into a rectangle. Cut into thin strips.
2. Place a row of strips on top of the filled pie, about 1/2 -1 inch apart.
3. Pull back every other strip and place a strip of pie dough going the opposite direction. Put the strips back into place.
4. Pull back the alternate strips and place another strip of pie dough going the same direction as the first. Put strips back into place.
5. Continue until the pie is covered.
6. You can either crimp the edges traditionally or a braid as pictured below. To create a braid, cut thin strips, seal the top of 3 strands together and gently weave into a braid. Brush water on the edge of the crust prior to placing the braid to help seal. Repeat as necessary to round the pie.
Happy baking!
Salted Caramel Apple Pie
Ingredients
Pie Crust (if doing a lattice crust or similar, double this recipe)
- 2 ¼ cups flour + more for working
- 1 cup shortening
- 1 tsp salt
- 2 tsp vinegar
- About 4-6 TB ice cold water
- coarse sugar to top (optional)
Pie Filling
- 6-8 medium apples, mix of granny smith and another variety (pink lady, honey crisp, etc.)
- 2 TB lemon juice
- ½ cup granulated sugar
- ¼ cup brown sugar
- 1 tsp cinnamon
- ¼ tsp nutmeg
- ¼ cup flour
- 1 cup (whole recipe) salted caramel sauce or store bought caramel sauce
Instructions
Pie Filling
- Peel 6-8 medium apples of 2-3 varieties (not mandatory, but will add a depth of flavor). If you only choose one, choose Granny Smith so it's not overly sweet. Slice the apples as thin as possible.
- Place sliced apples in a large bowl. Pour lemon juice on top and toss the apples.
- Add the remaining filling ingredients and toss again, trying to evenly coat the apples. Set in the fridge while you make your crust.
Pie Crust
- Note: This will make a bottom crust and basic fully covered top crust. If you intend to do a lattice crust or similar design that will require extra dough, double the recipe. You may end up with a few extra small pieces, but just pop those in the oven with cinnamon and sugar for a yummy treat!
- Fill a glass with ice water. Set aside.
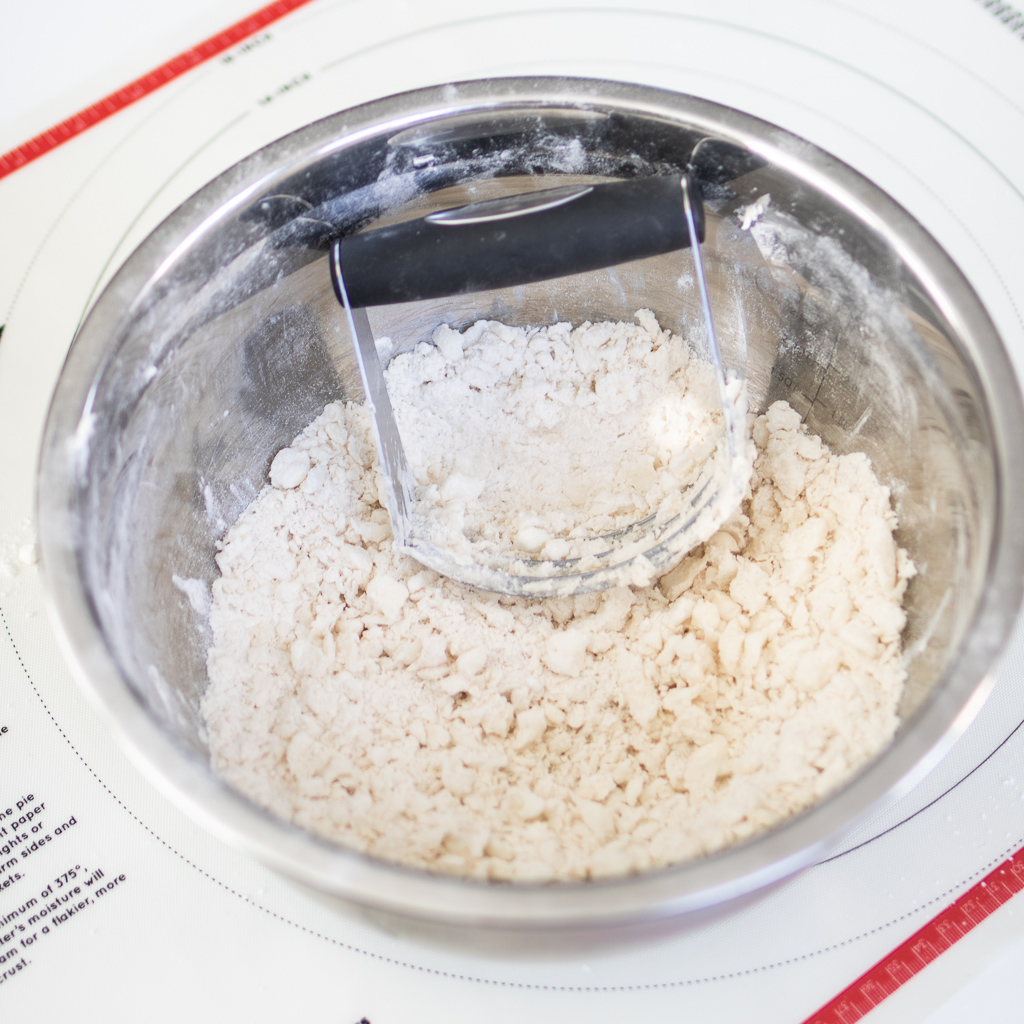
- Combine the flour and salt in a large bowl. Add the shortening. Using a pastry cutter or fork, cut the shortening into the flour. You should be left with small clumps of shortening in the mixture. (See picture above)
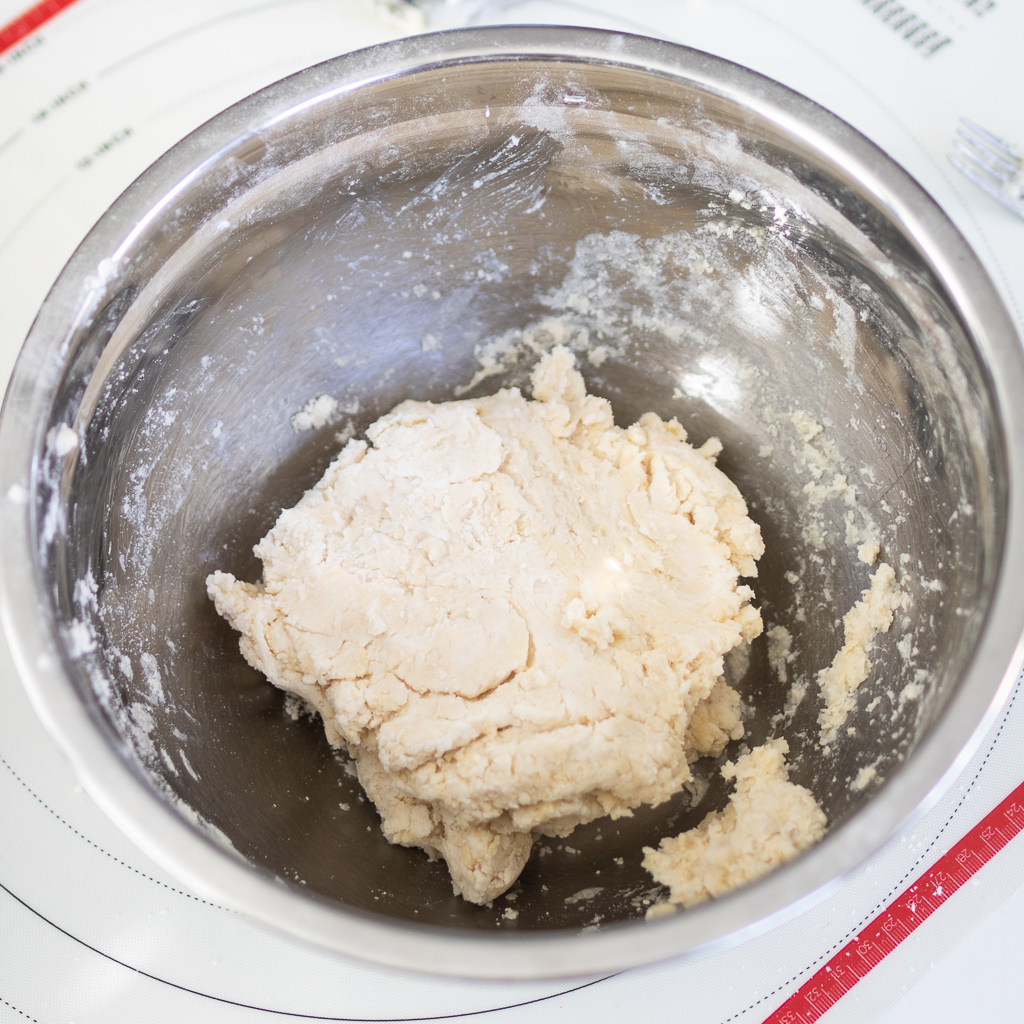
- Add vinegar and then add the ice cold water, one tablespoon at a time. Mix it in with a fork. The mixture should resemble something similar to biscuit dough. It will be somewhat sticky and hold its shape.
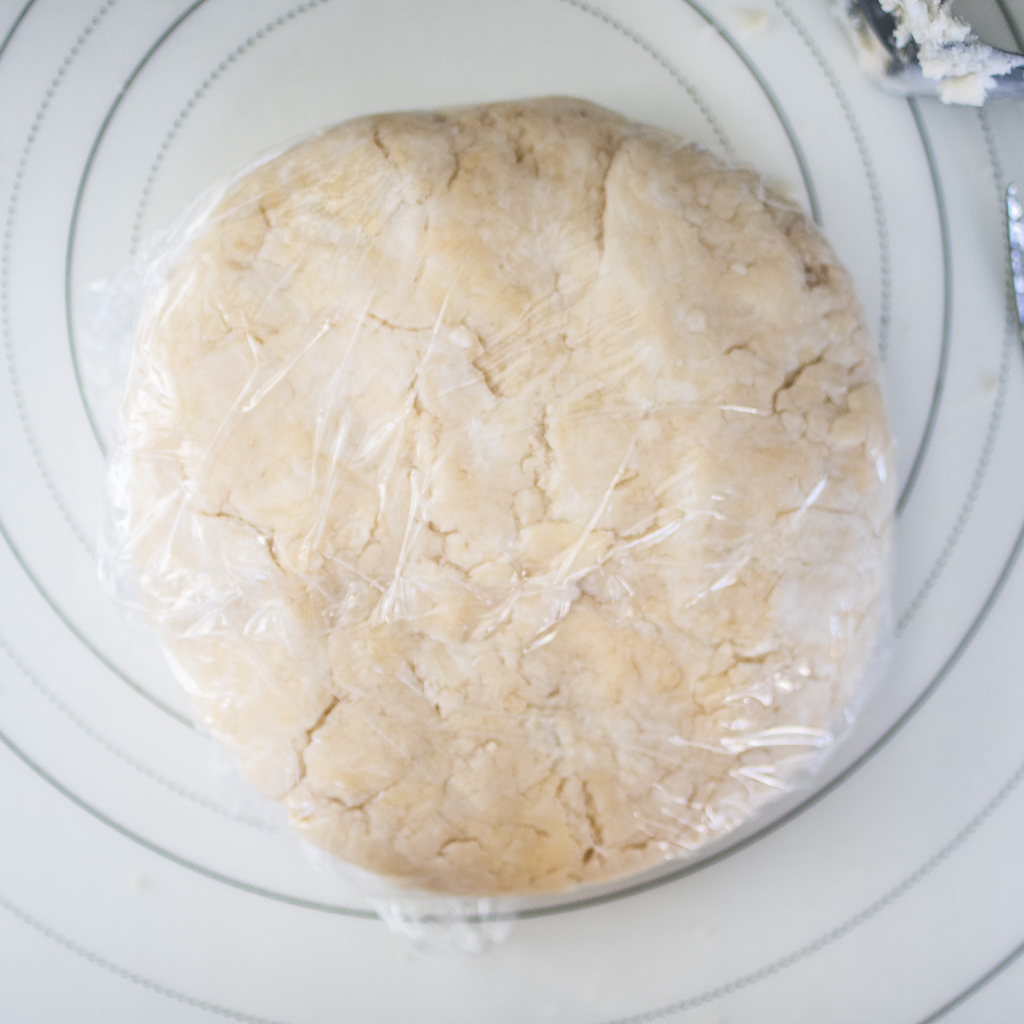
- Divide the ball into 2 even piles. Gently wrap your balls of dough in plastic wrap and let it rest in the fridge for 30-60 minutes.** This will make it easier to roll out.
Assembly & Baking
- Assembly: Preheat oven to 400°F. When the dough is chilled, pull out one ball and gently roll it out on a floured work surface. I love using a silicone mat for this for easy transfer to the pie dish. Roll it out until the dough is about 1" larger than your pie dish. (Flip your pie dish over for easy measurement against the dough)
- Transfer (see pie transfer tips in notes above) to your pie dish. Pour the filling over the pie dough in the dish. Generously drizzle about half of the salted caramel on top of the apples. Set in the fridge while you prepare the top portion of the dough.
- Pull out the other chilled ball of dough and place it on a floured work surface and roll out into desired design:-Simple fully covered crust: Roll out into a circle similar to the bottom crust. Use a rolling pin, or flip over your silicone working mat, to transfer the dough in gently place it over the filling. Crimp the edges to seal. Cut a couple slits in the top to allow air to vent during baking. Lattice crust and/or braid: See my notes and tips above in the recipe to achieve this look.
- Brush an egg wash (whisked egg and milk) over the top of the crust prior to baking. Sprinkle coarse sugar over the top (optional).
- Bake: Bake at 400°F for about 20 minutes on the lower oven rack, then turn down the heat to 375°F and bake for an additional 50-60 minutes. About ½ - ⅔ way through baking, check on the crust. If it's browning too quickly, place a sheet of tinfoil over the top to slow down the browning.
- After baking, let it rest and cool for at least a couple hours before serving. It's best served same day, but it'll stay fresh in the fridge for a few days. Prior to serving you can reheat it in the oven on 325° with foil on top. Pour extra caramel sauce on top of the crust, and serve with ice cream for the full experience.

This pie was delicious! One of the best things I have baked I think. I served it one evening after dinner and it got so many compliments, it’s been requested again since!
Thanks for sharing your experience Helen! So glad the pie turned out for you!
I recently moved to the US and made this pie for our first ever Thanksgiving. It was absolutely delicious! Everyone raved about it and no leftovers. Will definitely make this one again. Thanks for sharing this amazing recipe Lorianne xo