Homemade Chocolate Bars
Fun and easy homemade chocolate bars! They make for the perfect gifts or a chocolate party. Download the free holiday tags to
go with it for an extra touch during the holidays!
How to Make Homemade Chocolate Bars
Chocolate bars are easy to make and fun to customize for a perfect gift or use as a build-your-own-bar chocolate party! This inspiration came earlier this year from Jenna over at Butternut Bakery who made adorable Valentine’s chocolate bars. Check hers out for some festive Valentine’s ideas!
5 easy steps to make chocolate bars:
1. Melt high quality chocolate.
2. Pour in a chocolate mold (I used this one) and level off.
3. Sprinkle toppings of choice.
4. Let it sit it at room temperature and transfer to fridge or freezer to finish setting.
5. Wrap and enjoy!
Homemade Chocolate Bar Flavors
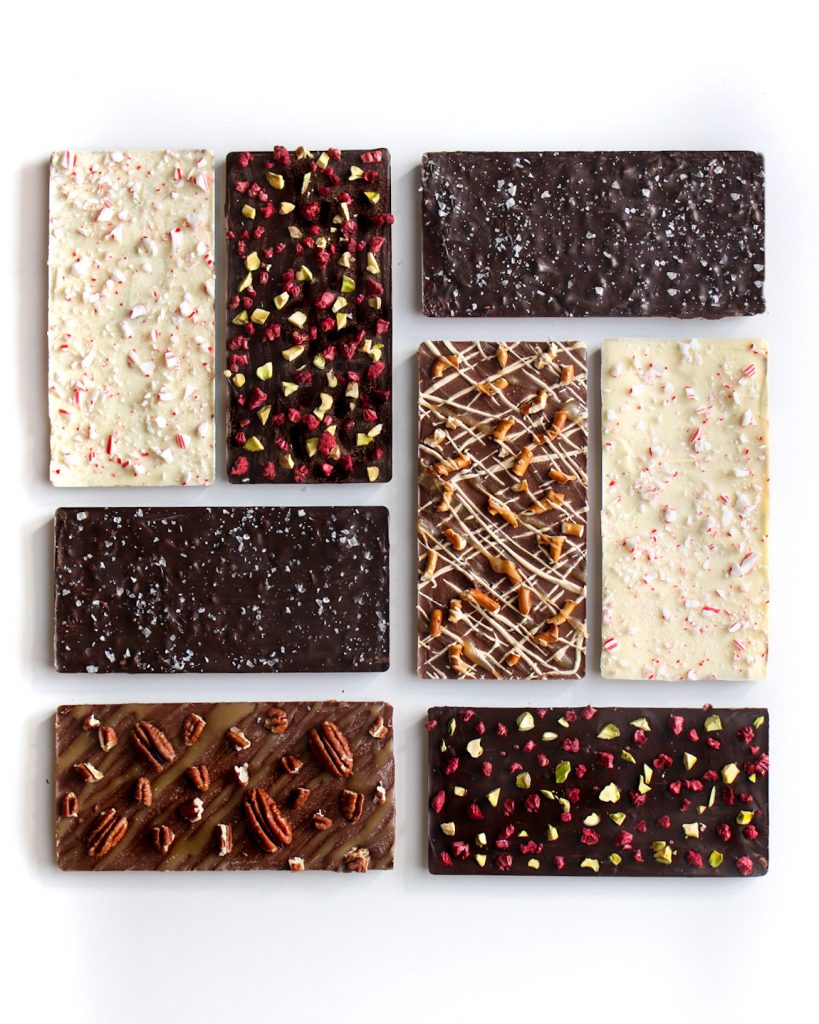
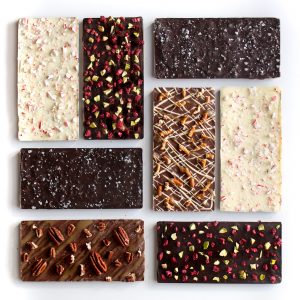
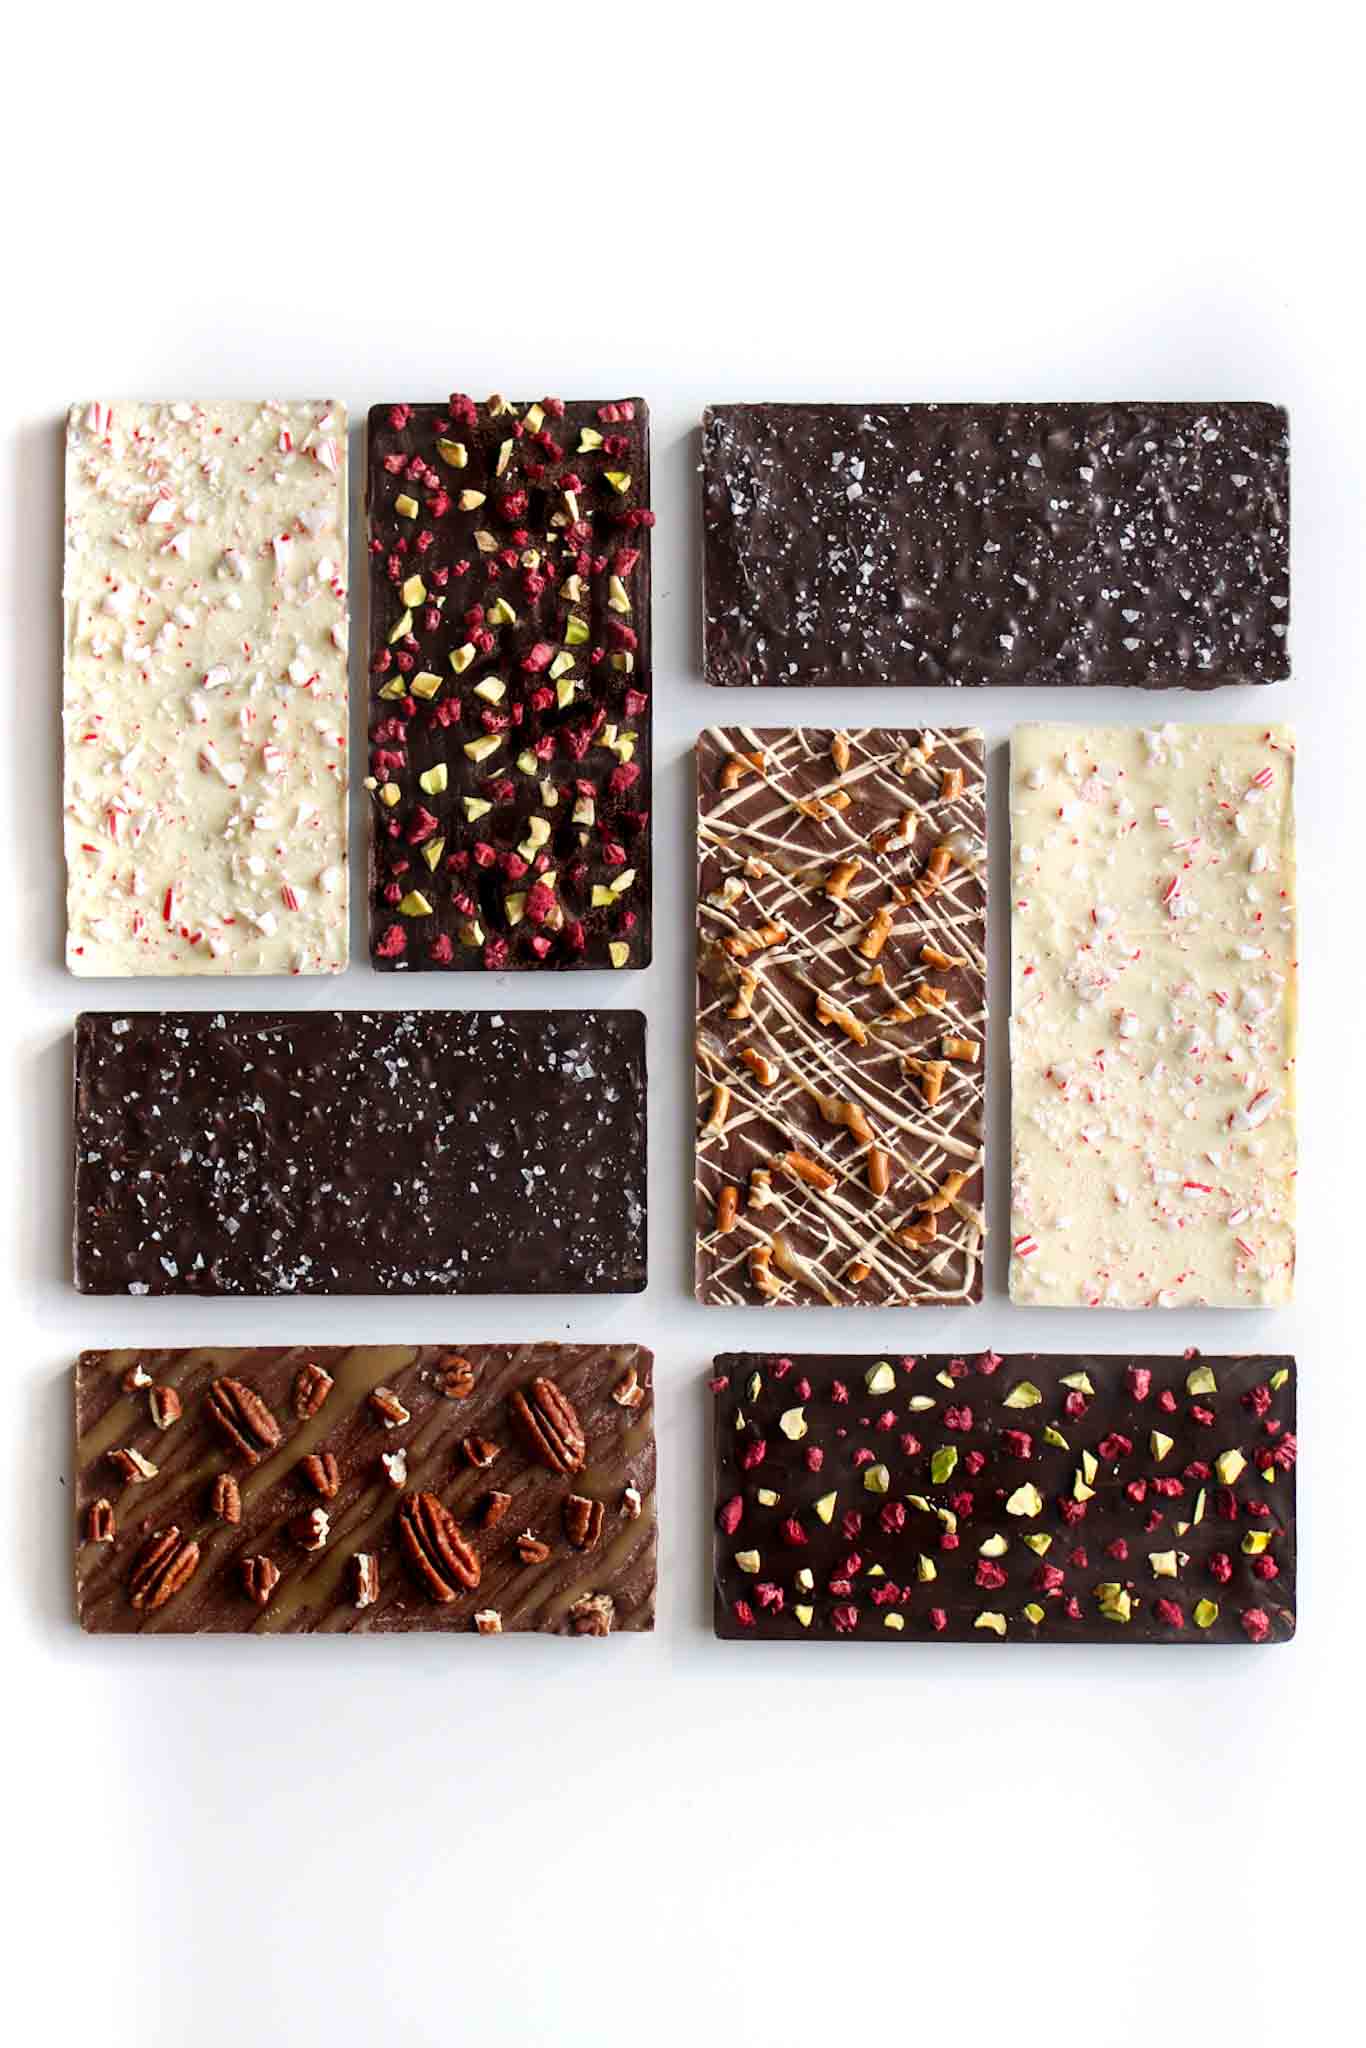
There are endless toppings for these easy DIY chocolate bars. I chose these five:
1. Milk Chocolate Turtle
– Milk chocolate topped with drizzled melted caramel and roughly chopped pecans.
2. Milk Chocolate Peanut Butter Caramel Pretzel
– Milk chocolate topped with drizzled melted peanut butter, melted caramel, and roughly chopped pretzels.
3. Dark Chocolate Peppermint Bark
– Add a thin layer of dark chocolate; let it set. Melt the white chocolate and add peppermint extract to taste; add on top of the dark chocolate and level off. Sprinkle with broken up candy canes. For my dark chocolate purists, you could just use dark chocolate and add peppermint extract to that instead! Also extremely delicious. Check my peppermint bark recipe for more info on this flavor.
4. Dark Chocolate Almond & Sea Salt
– Chop up slivered almonds. Roast in the oven at 400 for about 6-9 minutes until fragrant (stir half way through). Melt dark chocolate and mix in the the roasted almonds. Top with coarse sea salt.
5. Dark Chocolate Raspberry & Pistachio
– Dark chocolate topped with pieces of freeze dried raspberries and chopped pistachios.
Wrapping Homemade Chocolate Bars
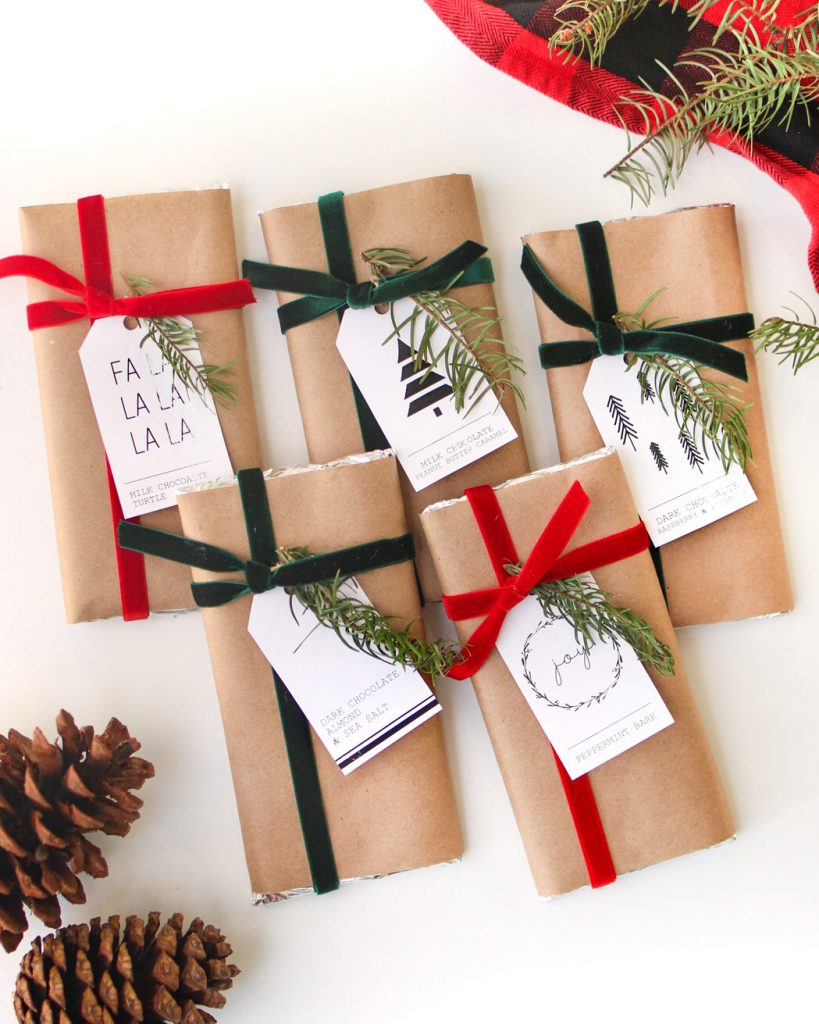
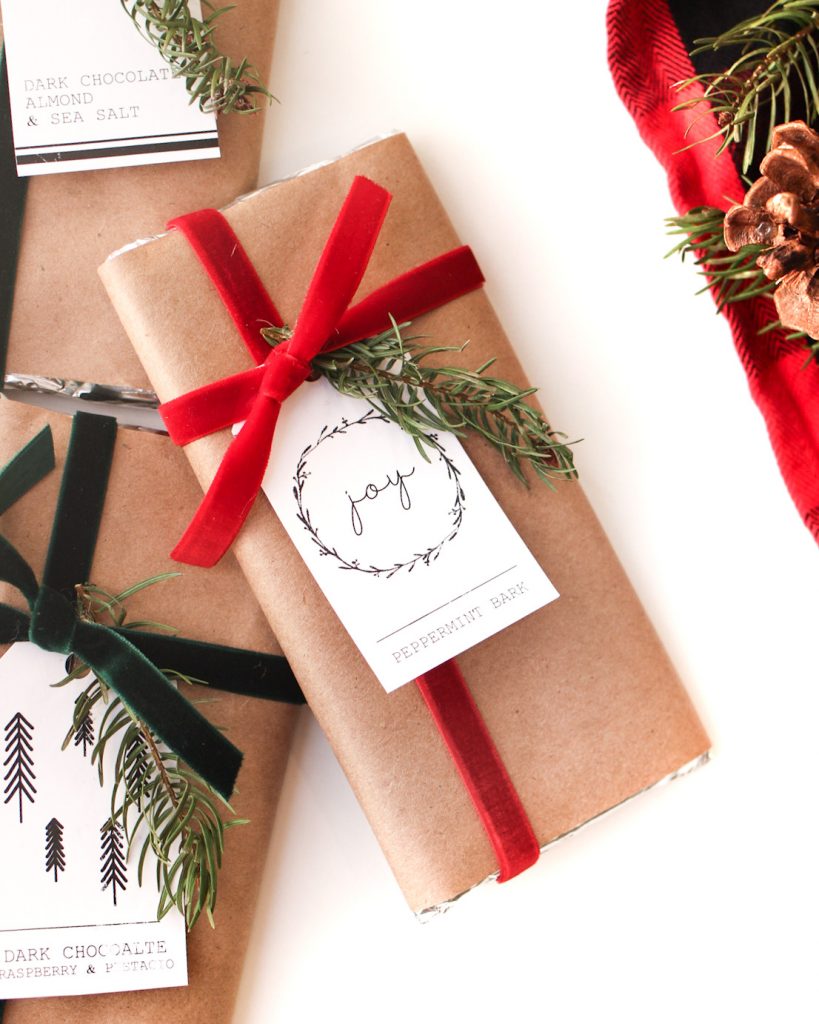
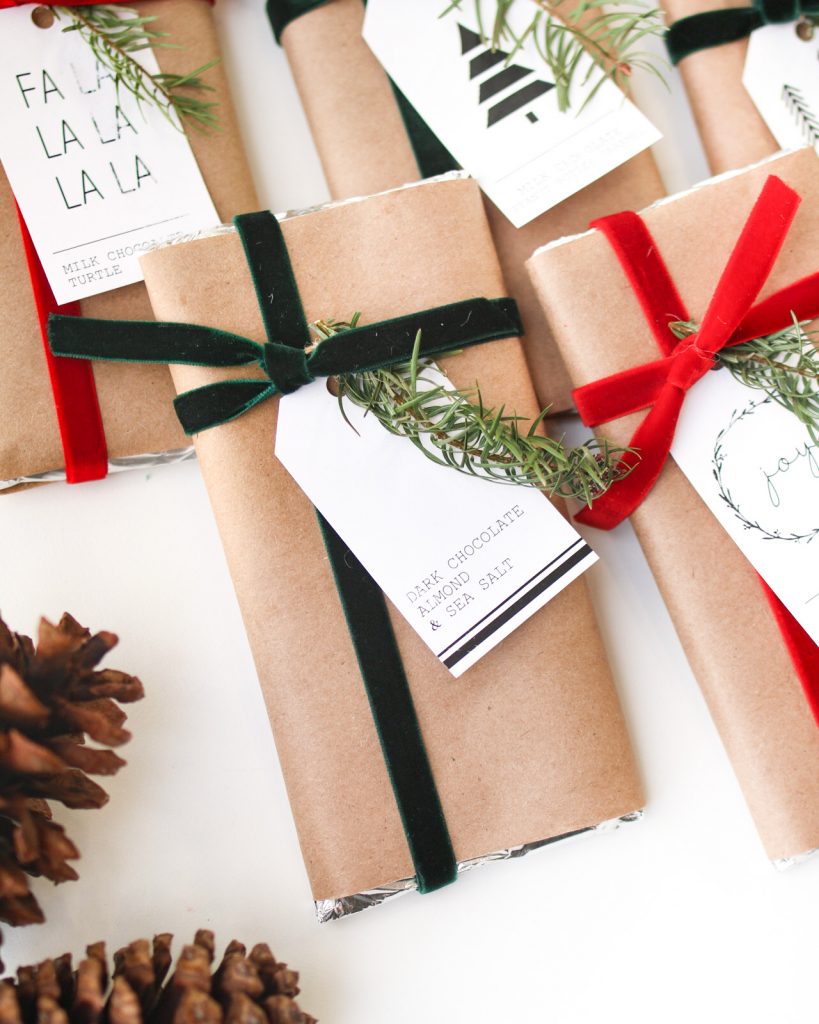
There are so many ways to wrap a chocolate bar! I wrapped mine in foil first, then brown paper, and added a simple velvet ribbon. Other ideas include wrapping in cellophane or parchment paper.
I made these simple tags to go with it. I’ve included them below as a free download. It includes a blank version as well without the chocolate names so you have the flexibility to use them with different flavors (or gifts besides chocolate).
TIP: The email should come right away. If you don’t see it in your inbox, be sure to check your Spam or Promotions folder. Sometimes it can hide there!
Homemade Chocolate Bar
Ingredients
- 4 chocolate molds
- 15 oz high quality milk, dark, or white chocolate
- toppings of choice
Instructions
- In a bowl over boiling water over stove top, melt 15 oz of high quality chocolate*. Be sure the bowl is not touching the water at the bottom. You can also heat it in the microwave. I just recommend doing so at 50% power at 30-60 second increments so you don't over heat the chocolate and cause it to seize.
- Gently stir the chocolate as it melts until it's silky smooth, then remove immediately from the heat. If using a microwave, melt until it's just almost all melted. Then continue to stir outside of the microwave until it finishes melting. This will prevent you from overheating it.
- Wipe the bottom of the bowl if condensation has formed. You do not want any water in your chocolate! Water causes chocolate to seize! Pour melted chocolate into your prepared molds. Level off evenly with an offset spatula.
- For flavor ideas, see my descriptions above in my post. Sprinkle with desired toppings of choice. Let it sit on the counter for about 10-15 minutes, then transfer to the fridge or freezer to finish setting. Remove from molds and wrap! In my post above I include a link for a free gift tag download if you'd like to use those.
Notes
DID YOU MAKE THIS RECIPE?
Tag @loskitchenco on Instagram and
hashtag it #loskitchenco



I have already subscribed to your emails. Would it be possible for me to still get a copy of the tags you used for the candy bars?
Thank you for all you share!!!
Becky
Hi Becky! Yes of course! Still enter your email above and it should still send you a download. It won’t double subscribe you or anything if you’re already signed up. 🙂 Send me a message if it never comes through and I’ll send you a copy! Happy baking!
The tags never came through for me last January. You mentioned that if they didn’t where I had already subscribed, that you would send them to me. I tried following the link again tonight, but they still didn’t come through. Please help! These will be perfect for my neighbor gifts this year! Thanks so much for sharing and inspiration!
Hi Becky, so sorry to hear they never came through! Sometimes it sends the email to people’s spam/junk folder. I just sent you an email with the file personally, but if you don’t get that one either, please let me know! Let’s get those into your hands! Gift tags are such a fun addition. Have a wonderful holiday season!
How do you prepare your molds
I don’t need to do any prep with my molds! I use the silicone molds off of Amazon that are linked in the page here and then just pour the tempered chocolate in. Does that answer your question?