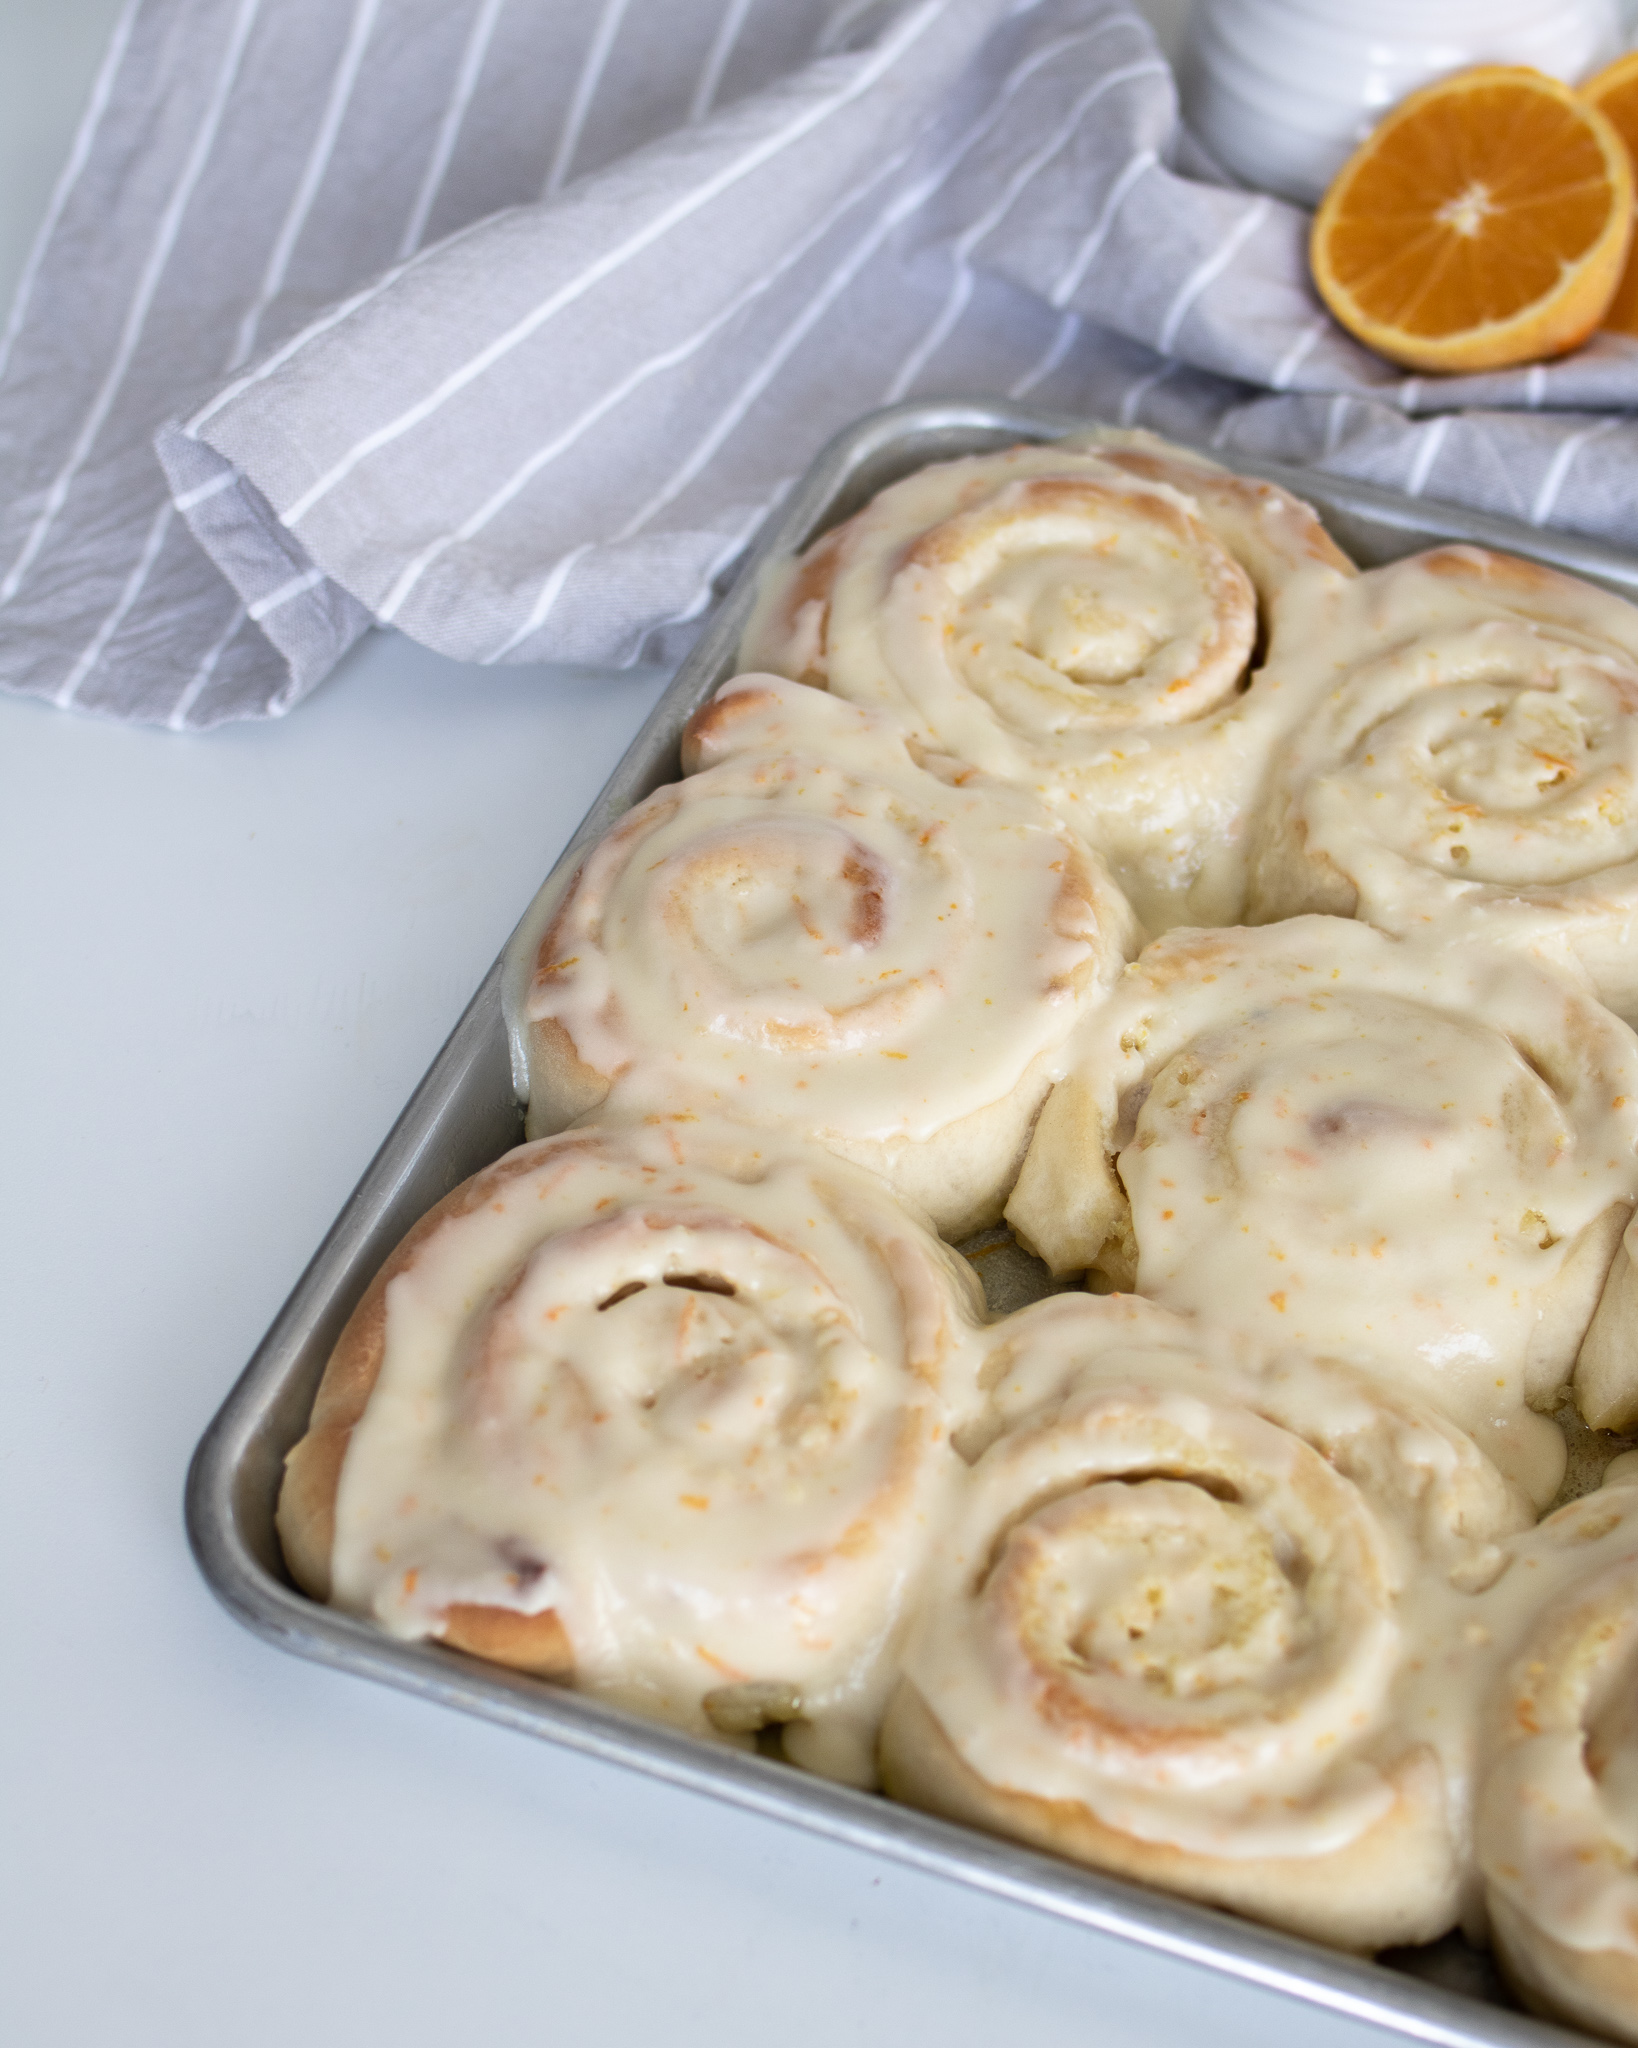
These sticky, gooey, sweet orange rolls are a traditional sweet roll in our family. The dough is soft and buttery, the filling is zesty, and the glaze is mouth watering sweet.

This base dough is incredibly fluffy and delicious. It’s the base sweet dough I use for all of my sweet rolls (see below for our list of sweet roll favorites). It’s also versatile in that if I want to make some for dinner I can double the batch (or divide the recipe) and make half into basic dinner rolls and half into sweet rolls. My dough for sweet rolls has a little more added sugar and butter, but when I’m using them for the same occasion, I just use the same dough for both!
Sweet Roll FAQ’s
Can I make this overnight?
Yes! You’ll make the dough, let it rise, and form into the rolls at night. Cover and refrigerate. In the morning let them get back to room temperature and rise, usually about 1 hour. You could also start in the morning for an all day rise in the fridge and then bake after dinner for a fresh warm orange roll.
I’m new to using yeast – any tips?
Yes! Check out my working with yeast guide for some insights and tips!
Can I cut out the first rise if I’m short on time?
Yes! I love to make the dough, let it rise, form the rolls, and then let it rise again before putting in oven – so two rises. I’ve found it makes for a lighter, fluffier roll. However, I’ve cut out the first rise before, and they’ve still been a hit, so do that if you need to and your family will still devour them.
Can I make this into a mini cinnamon roll?
Yes! Mini buns are perfect for brunches and showers, or little kids. I do so by forming my rectangle to be a longer log and shorter width. This will make your twirl tighter and smaller by the time you roll it up. You’ll have one long skinnier log instead of a shorter fat one. Cut through the log in 1″ sections, and it’ll make the perfect mini cinnamon rolls!
Ways to Form
There are so many ways you can form a sweet roll! Below I’m showing you two ways – classic swirl and muffin tin pull aparts – but feel free to form however you’d like!
Classic swirl
Muffin tin pull aparts
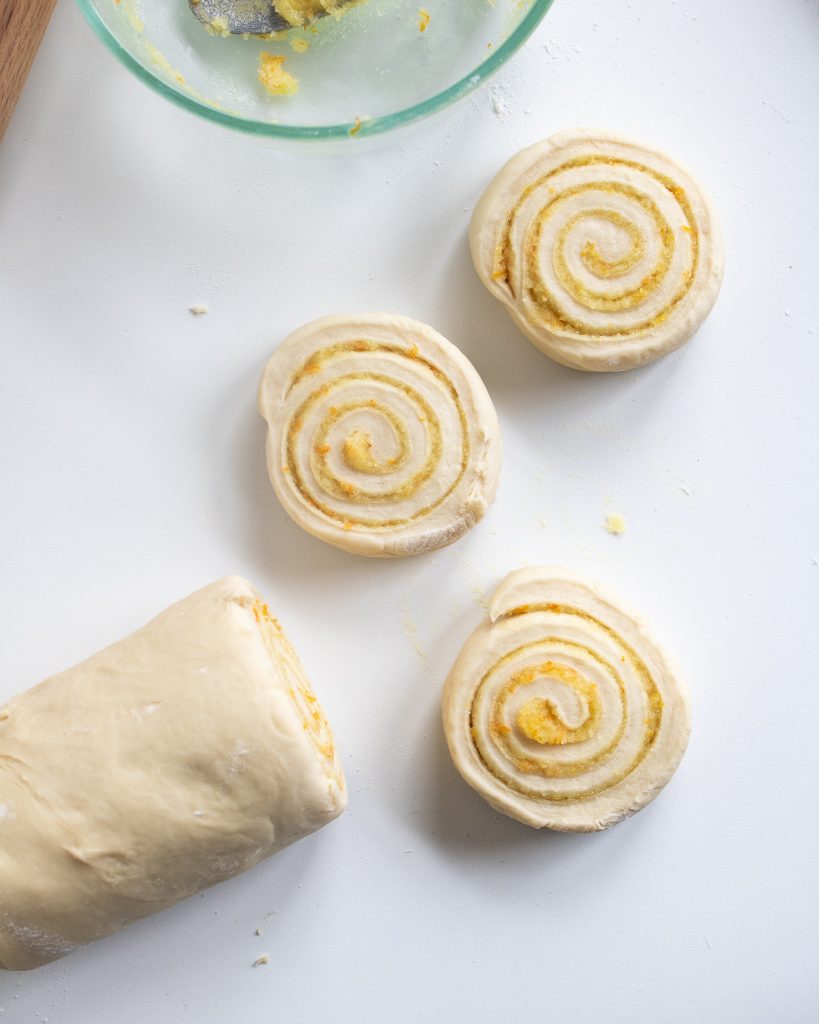
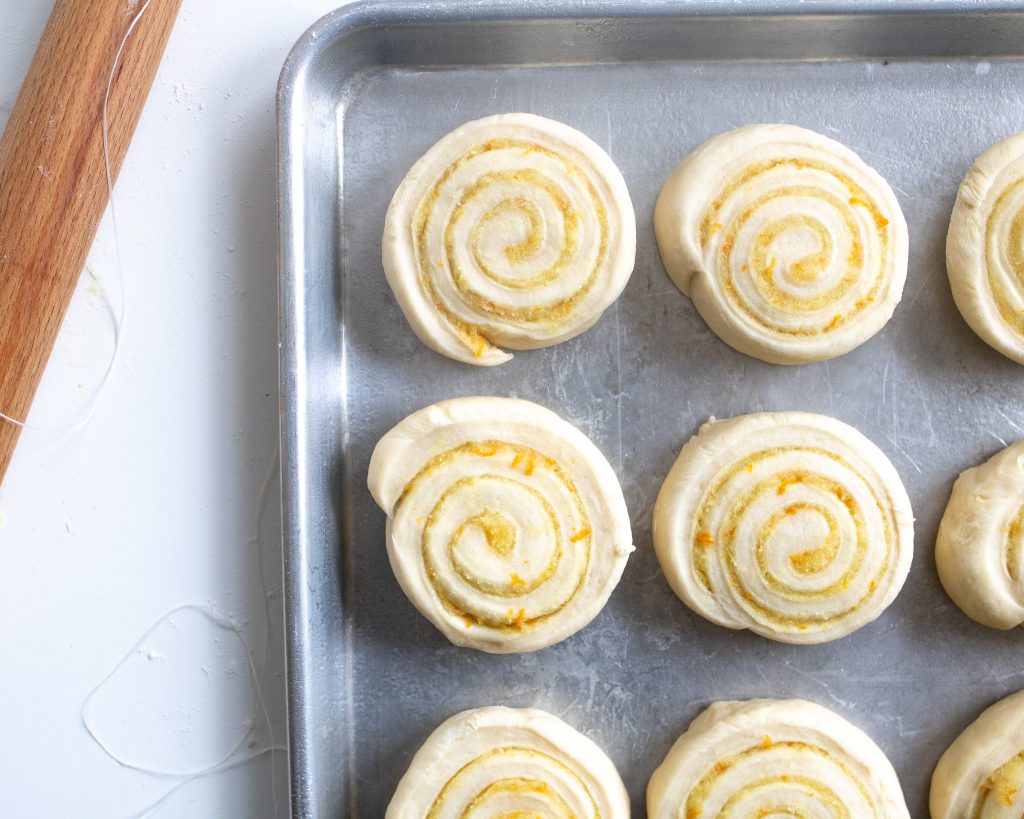
Classic swirl:
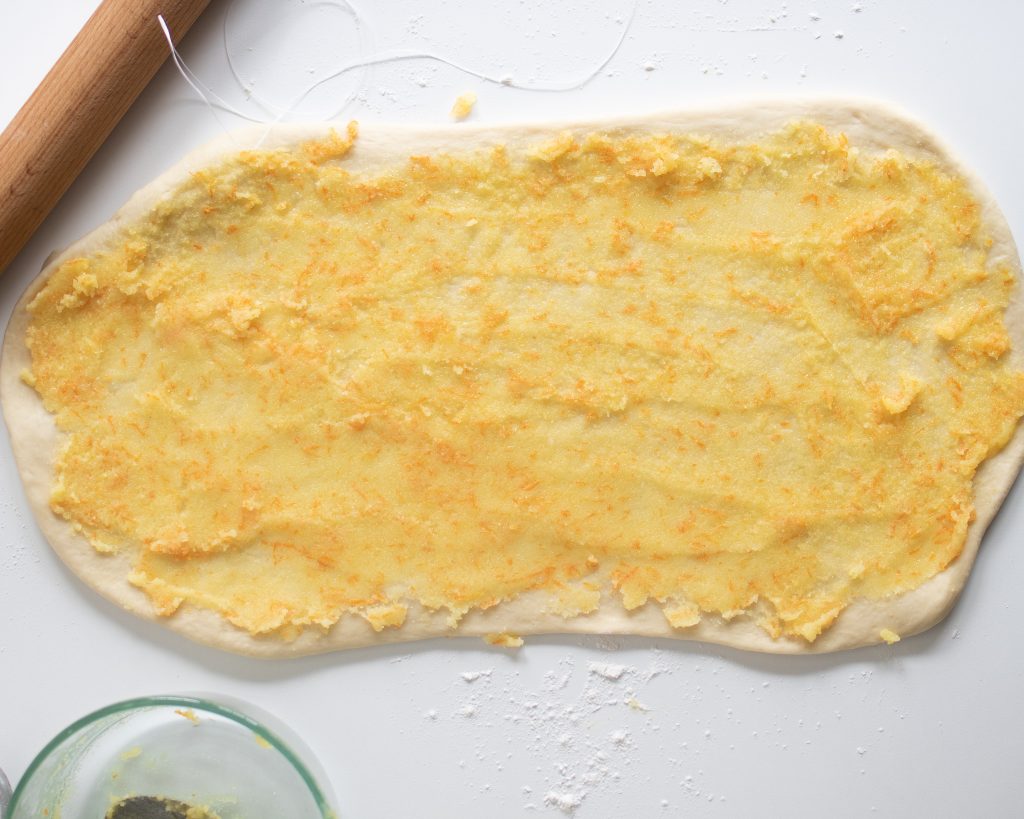
I like to roll my dough out into about a 14×18 inch rectangle. I spread an even layer of filling and then roll up starting from the shorter side (in the pictures – rolling from left to right). This makes for fattier roll, but to get a few more rolls out of it, you can also roll up starting with the long side. Both will work fine – just depends on if you’d like them big or really big.
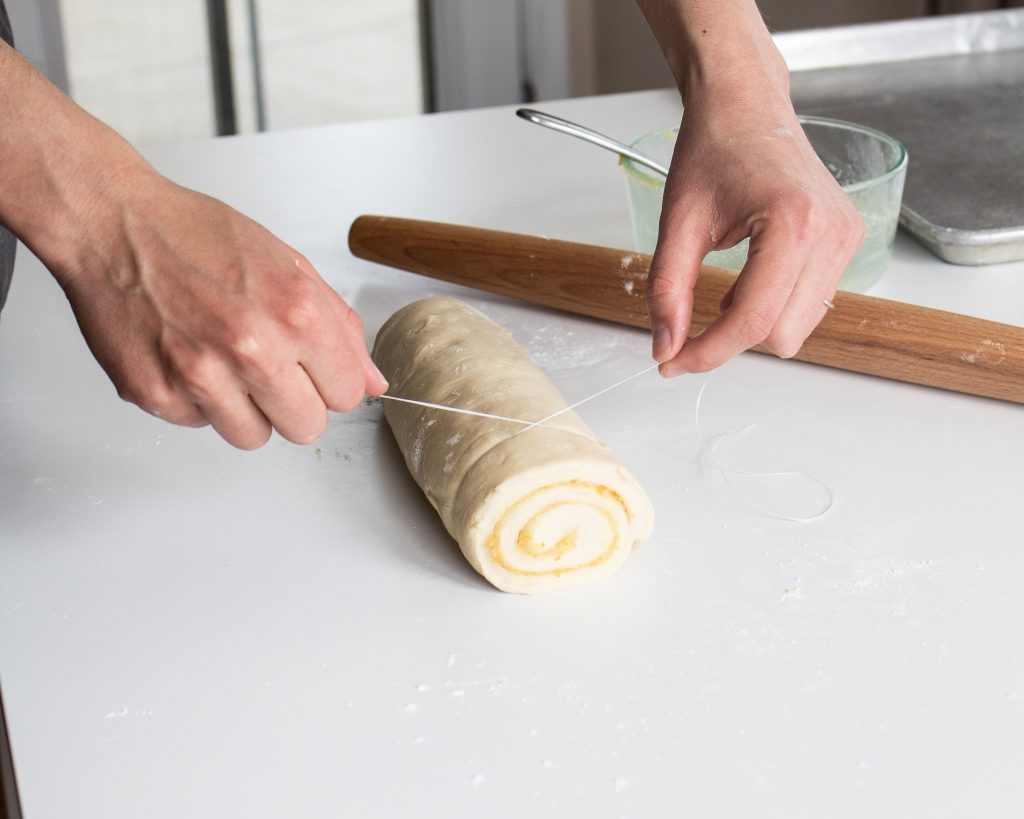
To slice the rolls, you can use a sharp serrated knife or my personal favorite…floss! I know, kind of funny, but this priceless secret I learned from my mom is now the only way I do it! It makes for a cleaner cut. Even if you have a serrated knife, it will still naturally push down slightly. The floss keeps the swirl layers perfectly even. Just cross the ends over and pull tight. It’s magic! Put these gorgeous swirls on a jelly roll pan or in a large baking pan. Whatever pan you use, just be sure to place them 1-2 inches apart so they have room to grow and rise.
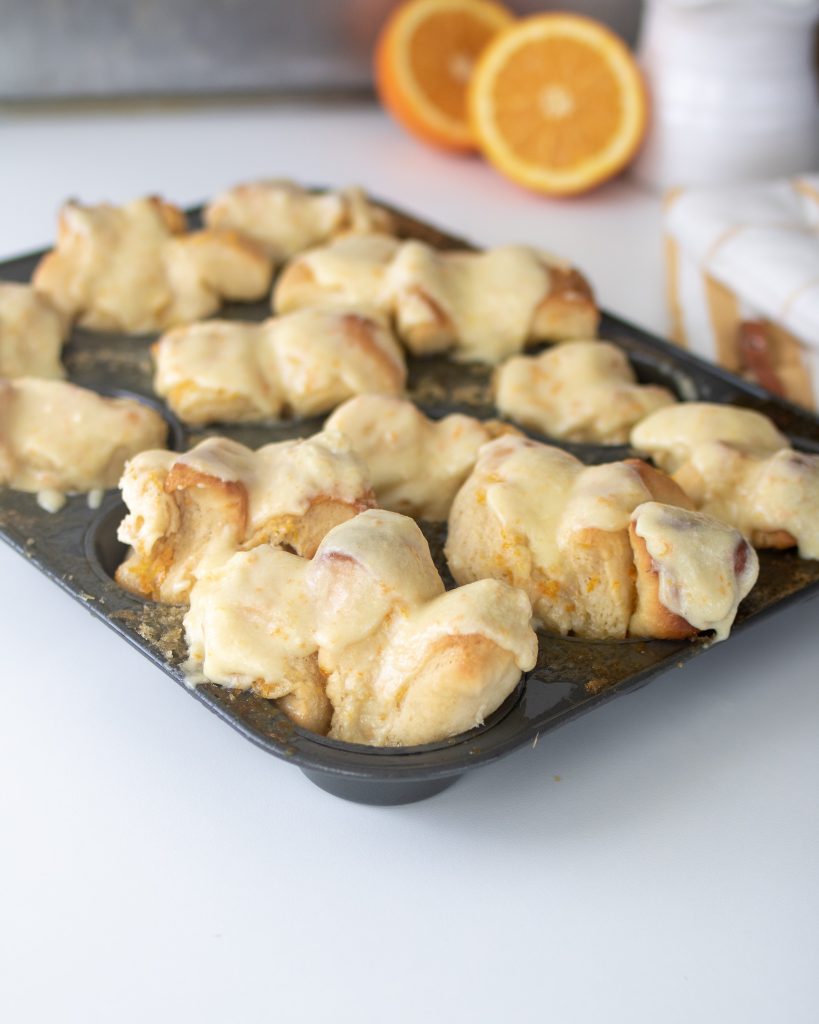
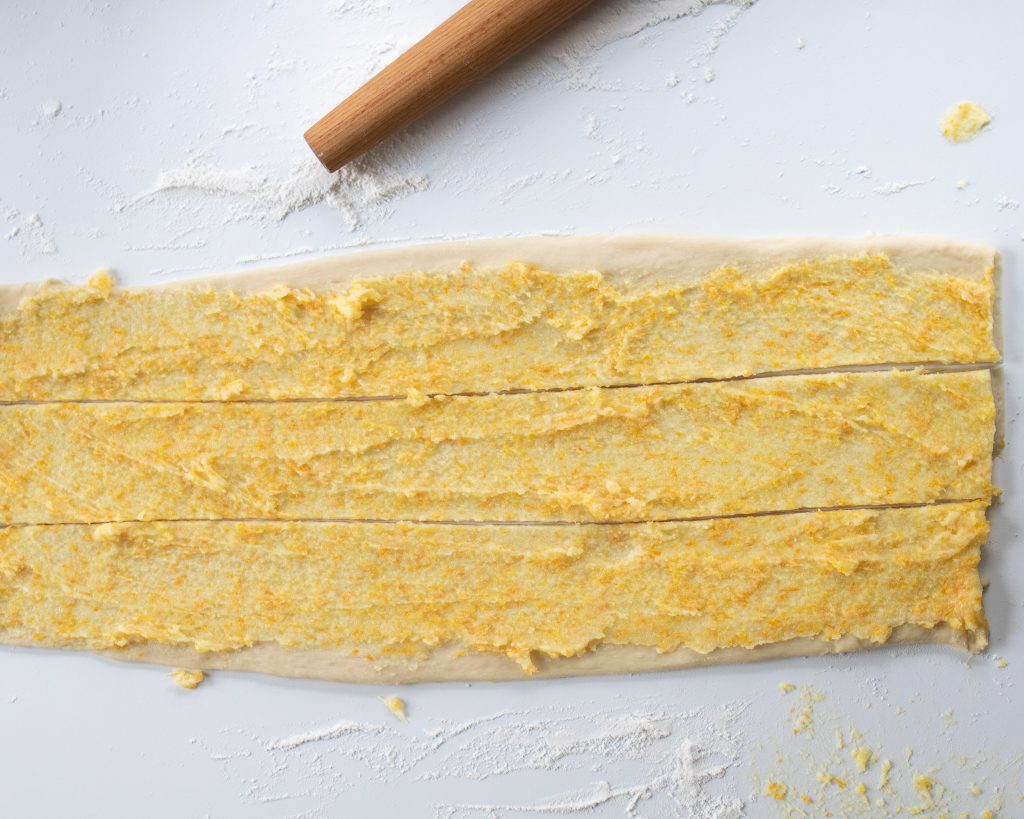
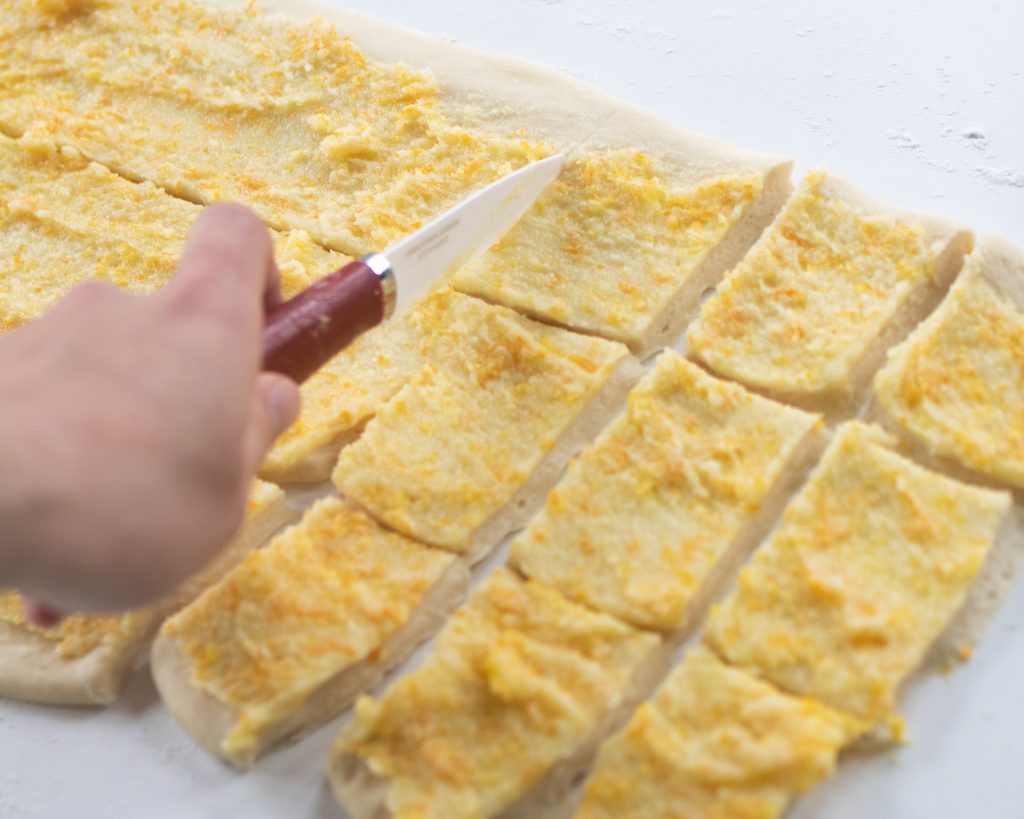
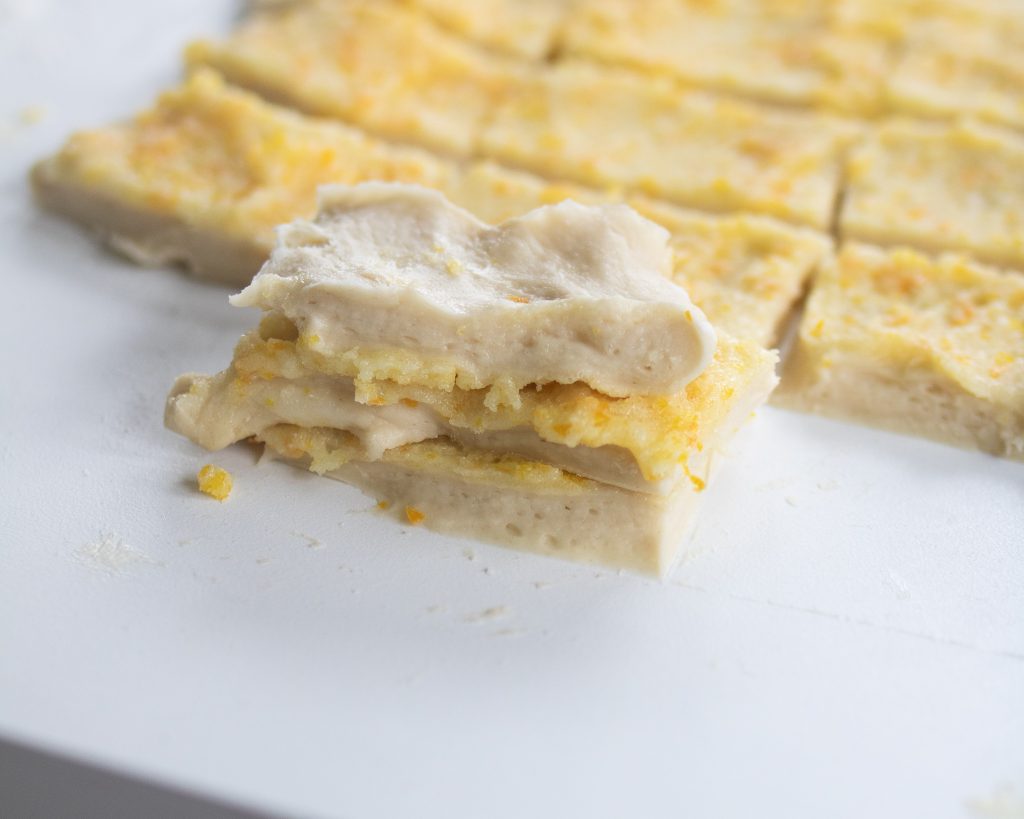
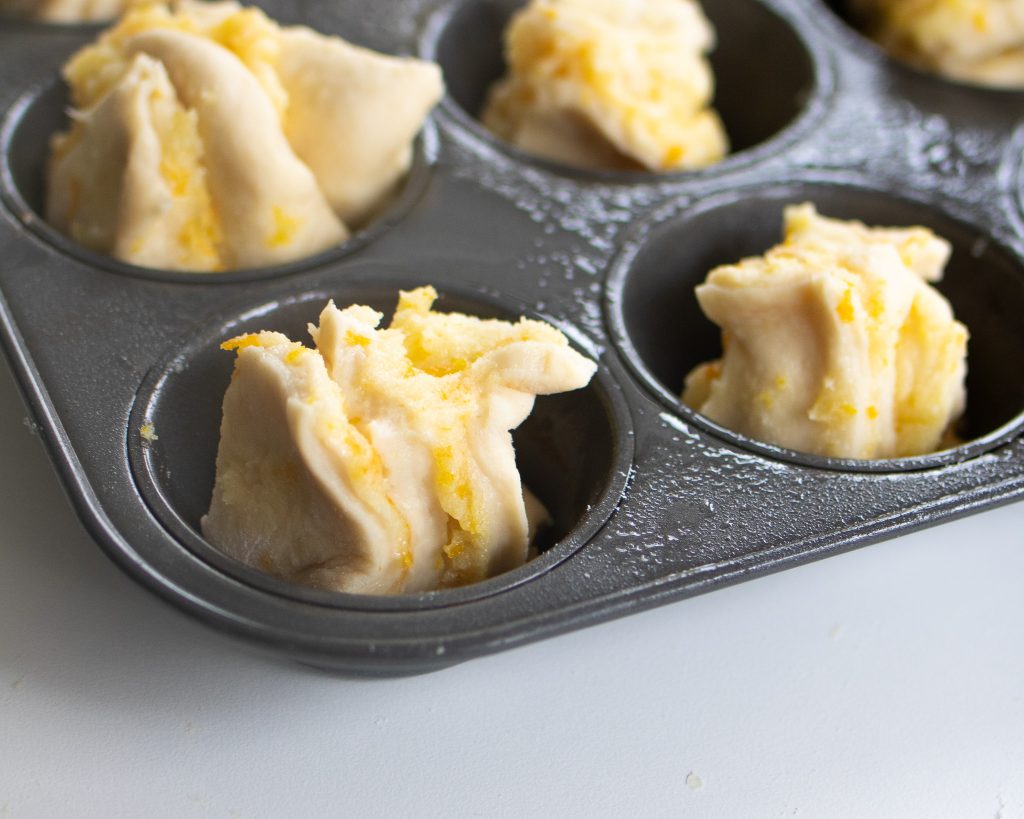
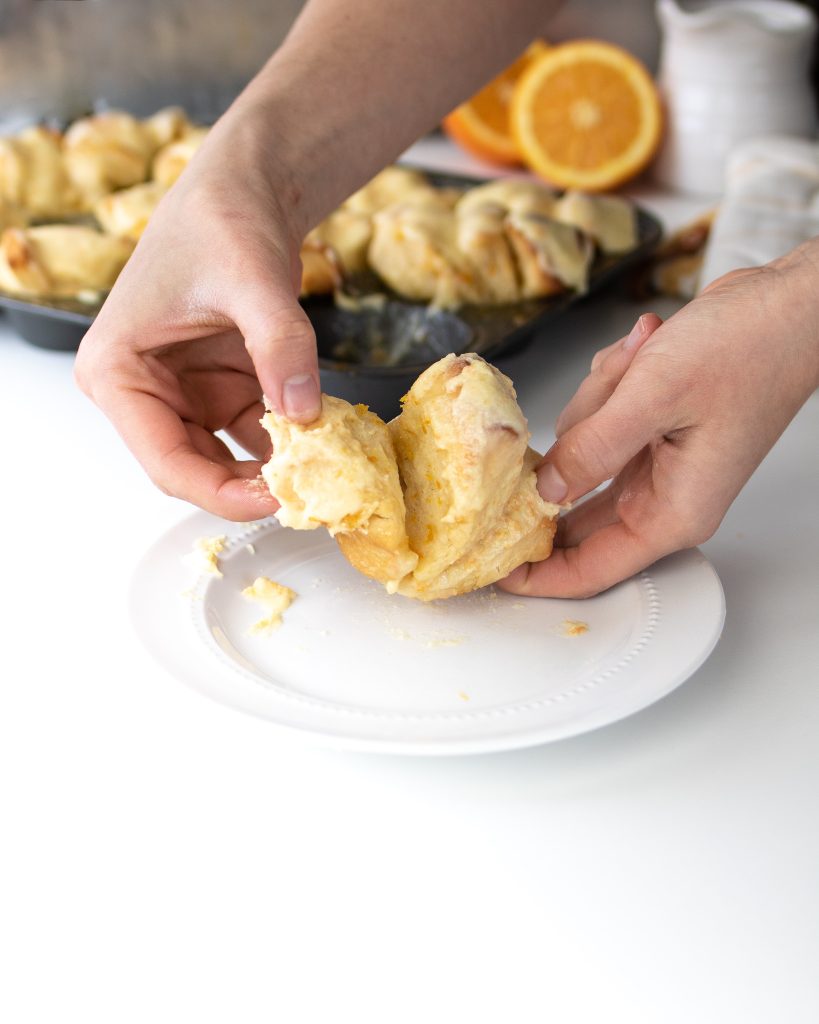
Pull aparts:
This is a fun way to form your sweet rolls because when you pull them apart, the way they are formed allows them to trap all the yummy gooeyness inside that is so fun to just pull them back one by one. All you have to do is roll out the dough into a long skinny strip, about 6″ wide. Then cut it into thirds, about 2″ each strip. You will then cut horizontally to make little rectangles, about 1″ wide. Stack 3 rectangles and place standing up in greased muffin tin.
If you love sweet rolls, try out some of my other favorite variations!
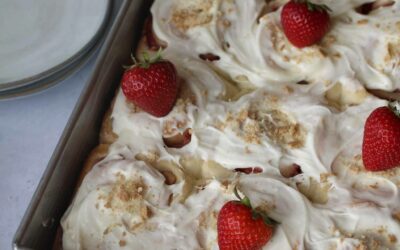
Raspberry Sweet Rolls
Classic Cinnamon Rolls
Cranberry Orange Rolls
Chocolate Peanut Butter Sweet Rolls
Orange Sweet Rolls
Ingredients
Dough
- 2 cups whole milk (at about 110 degrees F) any other milk will do; fattier the better
- 1 ½ TB instant yeast
- ½ cup sugar or honey
- 2 large eggs
- 2 tsp salt
- ½ cup unsalted butter, softened
- About 6 cups all purpose flour
Filling
- ¾ cup butter, melted (salted or unsalted is fine)
- 1 cup granulated sugar
- 4 TB orange zest (about 2 oranges)
Glaze
- 3 cups powdered sugar
- 6 TB butter, softened (salted or unsalted is fine)
- 3 tsp orange zest
- 3 TB orange juice
- 1/2 tsp vanilla
- 2 TB milk, or till desired consistency
Instructions
- Prepare the dough: Warm up milk to be warm to the touch (not hot, think baby bath water or about 110° F) Using a stand mixer* with a dough hook, combine the warm milk (not scalding hot, but warm to the touch), yeast, and sugar together. After a couple minutes, you should see the yeast starting to foam - that means its activating!
- Add your first 3 cups of flour and mix together. Once it's mostly incorporated, add softened butter, eggs, and salt. Continue to mix on low.
- Slowly add the additional 2 ½ cups of flour. In pouring your last cup, do so slowly, watching the dough. Add additional flour as needed, just a little at a time. When you've added enough flour, the dough will be soft and slightly sticky. It will also be pulling away from the bowl. You don't want a tough dough. Leave the mixer on for an additional 8-10 minutes to knead.
- Take your dough hook out, and cover the bowl to let the dough rest and rise for about 30-40 minutes.
- Filling: Mix together melted butter, sugar, and orange zest. Set aside.
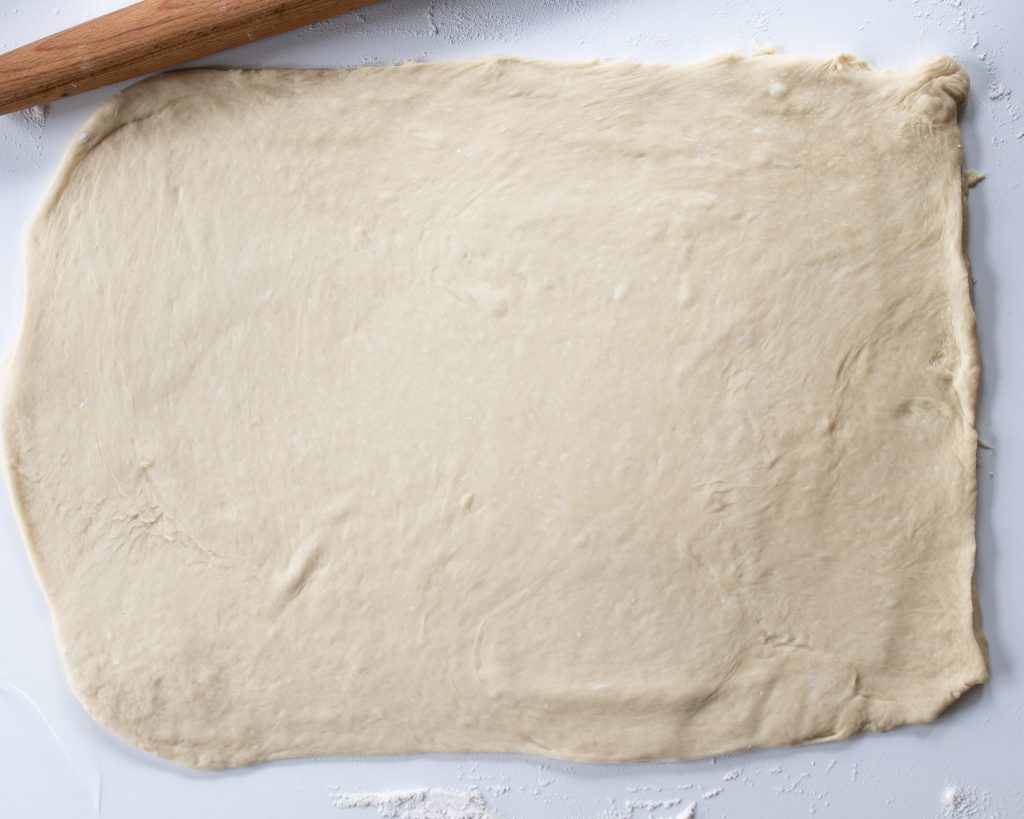
- Assembly: When the dough has about doubled, punch it down and place on a clean, floured work surface. Use a rolling pin to roll the dough out into about a 14x18 inch rectangle, making sure the dough is smooth and even in the corners. Spread an even layer of the filling.
- Tightly roll it up into a log. You can roll either direction. I like to roll from the short end to make a nice thick log. Rolling from the long end will create a slightly skinnier, longer log which will yield more rolls. Cut with a strand of floss into 1 inch sections and place in a greased jelly roll pan or baking pan, leaving about 1-2 inches in between so the rolls have room to grow. You should get about 15-20 rolls depending on how thick you make them. You can also make these into mini rolls.
- Rest & Bake: Overnight Instructions: Cover well with sprayed plastic wrap and let them rest in the fridge overnight. The next morning, preheat the oven to 350°F and let the rolls get back to room temperature and rise (usually takes about 1 hour). Baking immediately: Keep the rolls in a draft free place and let them rise until they've grown and the dough gets soft and puffy, usually about 25 minutes. While they're resting, preheat the oven to 350°F. Bake for 15-20 minutes. I like to cover them with foil about half way through so they don't brown as much on top. They're done when the tops and bottoms are starting to get lightly golden and it doesn't look doughy.
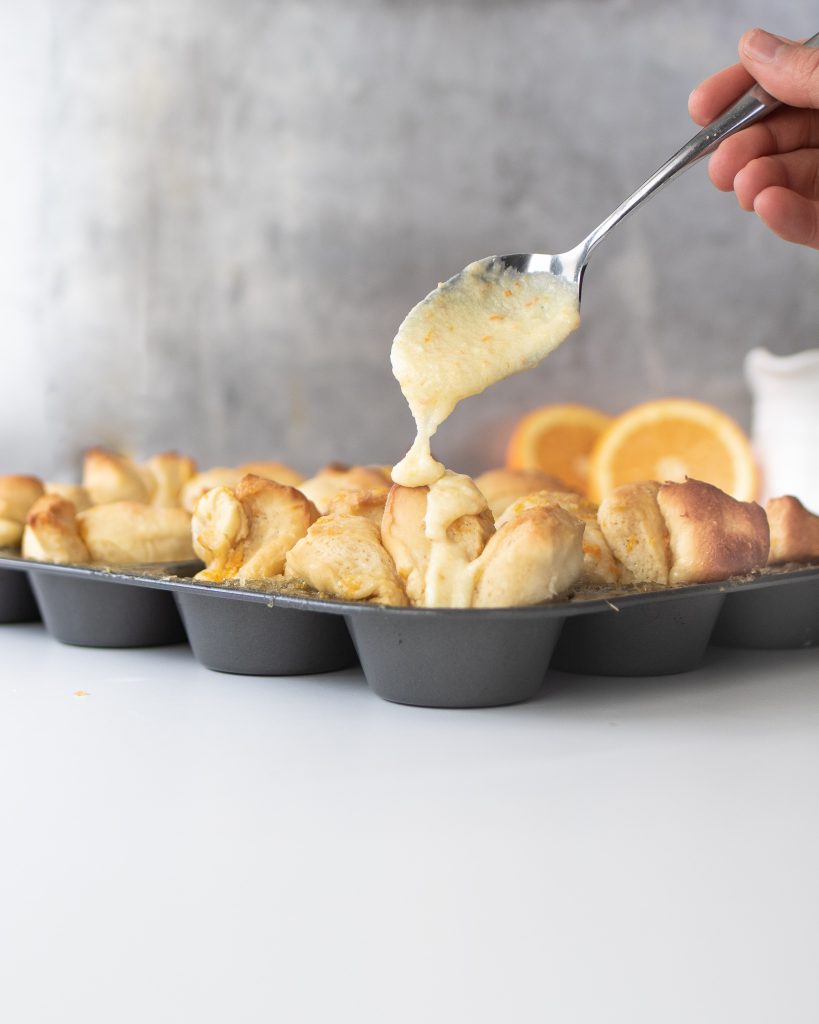
- Glaze: Using a hand mixer, start by beating together the butter and powdered sugar. Add remaining glaze ingredients and beat again to form a thick glaze. Add milk as needed to create desired consistency. Gently spread glaze over warm sweet rolls.
- Storing: Store airtight for up to 5 days. You can freeze them, but I recommend freezing the rolls plain and adding the glaze day of for best results. Heat up slightly before serving for the ultimate gooey treat! Enjoy!
I have made your classic cinnamon roll recipe four times and my family is obsessed. So I thought I would give these a try and they are wonderful. Now on to your sourdough bread! Thanks for sharing and guiding us through these awesome recipes.
So glad these were a hit!! Thanks for taking the time to share your success!
Have you ever tried making the rolls in advance and then freezing them? Wanting to make these for Christmas but don’t want to have to worry about so much work the night before.
I haven’t frozen them before, but I don’t see why it wouldn’t work! I’ve frozen my dinner rolls before and they’ve been fine! I would freeze them formed and then take them out the afternoon or night before Christmas to let them thaw in the fridge that night. Then take them out that morning 1-2 hours before baking. You could also make them the morning before instead of night and stick them in the fridge for 24 hours. I don’t think they’d over-rise within 24 hours. Whatever sounds easiest to you – but I think both options would turn out great! You’ll have to let me know if you try it. Merry Christmas!
Hey Chase, just wanted to let you know that I recently tried freezing the formed raw rolls and it worked like a charm like the dinner rolls. You can pull them out the night before and put them in the fridge, then remove and let it sit out for about 1 hour prior to baking. Otherwise, you can pull them straight from the freezer and depending on how warm your kitchen is, takes about 3 hours to come back to room temp and top off the rising before putting in the oven. Hopefully that helps. Happy baking!
Awesome! Making them now and will stick in the freezer and pull out later tonight.